|
|
Post by b1heqh54 on Jun 24, 2011 11:34:56 GMT -5
I've applied a second coat of tooling epoxy. This is very light cloth. Mostly it's scraps of 1/2 and 3/4 oz/^yd that I've set aside when covering other models in the past. I haven't laid any epoxy on it yet, just put it down on the tacky surface coat. This is what you won't see a lot of others doing: they should. I've placed it into all of the tight corners. What you do not want are air bubbles and voids. A heavier cloth will show through the tool coat over time and the surface veil will not stay in the tight corners. 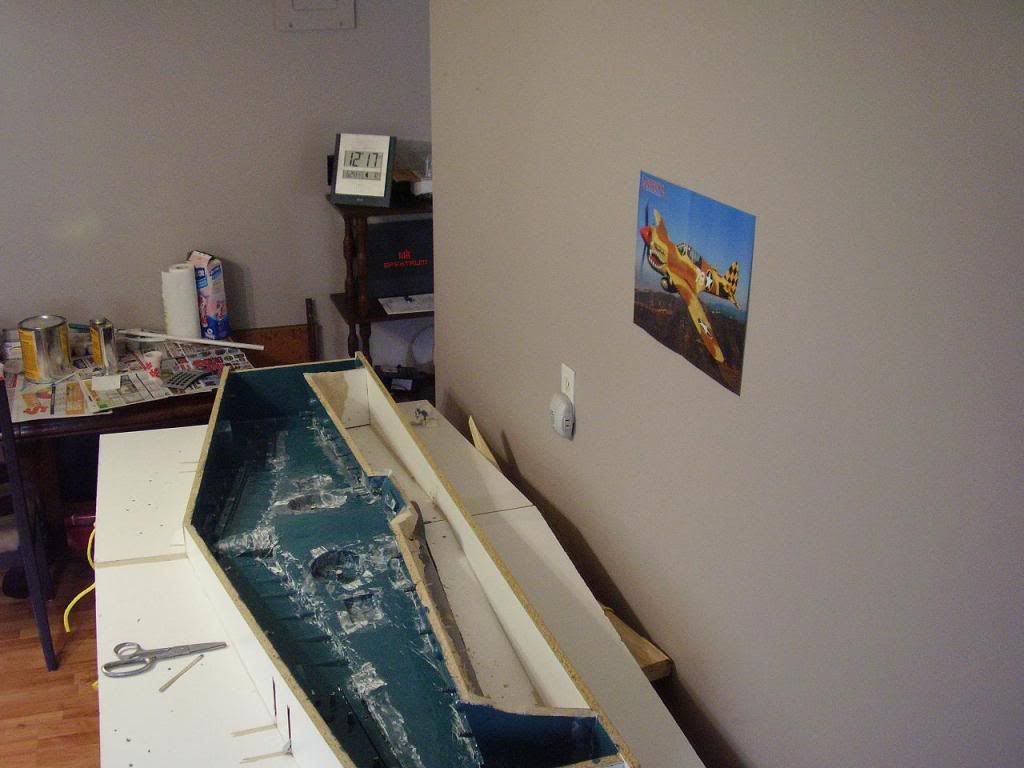 |
|
|
|
Post by b1heqh54 on Jun 24, 2011 12:21:54 GMT -5
I've wet out the light cloth ensuring that it's into all the tight spots. OK - I've now been working for 8hrs straight (can you say morphine) and I'm just about to start putting down surface veil. I hope you can see that this is something for which you need to set aside a couple of very long days and nights. Once you start, you don't want to stop or you'll need to sand the entire thing before continuing. (it never works out...) 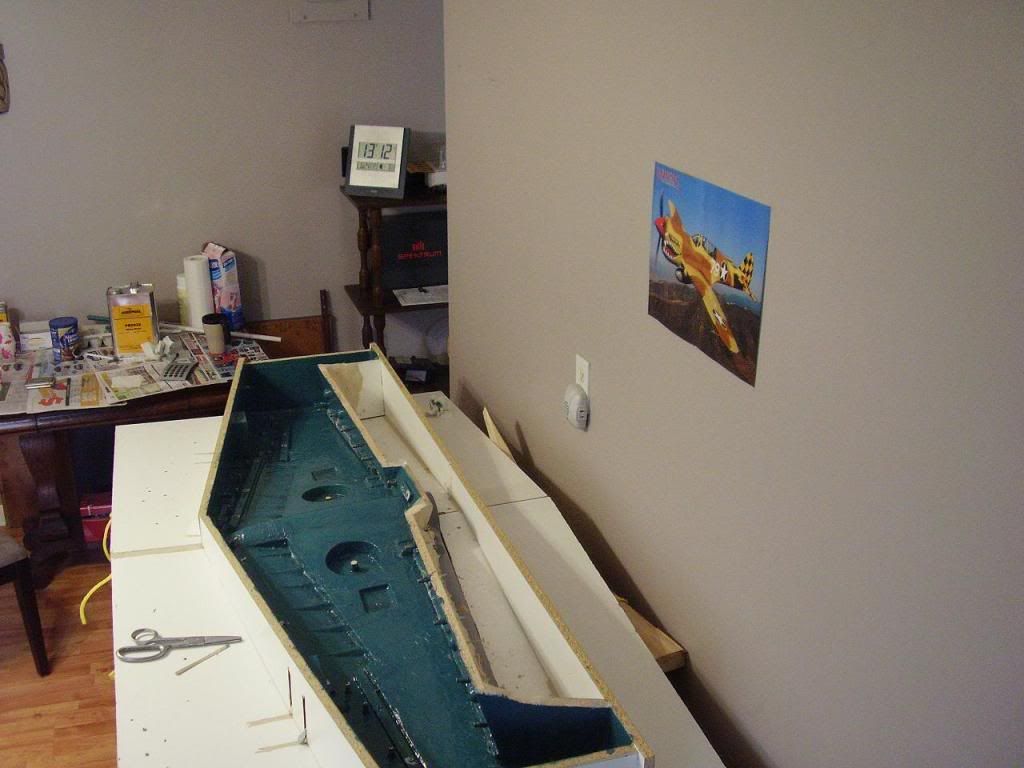 |
|
|
|
Post by b1heqh54 on Jun 24, 2011 12:52:56 GMT -5
This would be a typical first cloth layer. This is continuous strand surface veil or mat. It will stop the heavier weaves yet to come from showing through your surface coat over time. No need to apply it to the flanges: just the part. You may be tempted to use a chopped strand mat, but the binder in it will react negatively with epoxy resins. I will now wet this out with laminating resin. Aeropoxy 2032 with a 30 minute hardener. 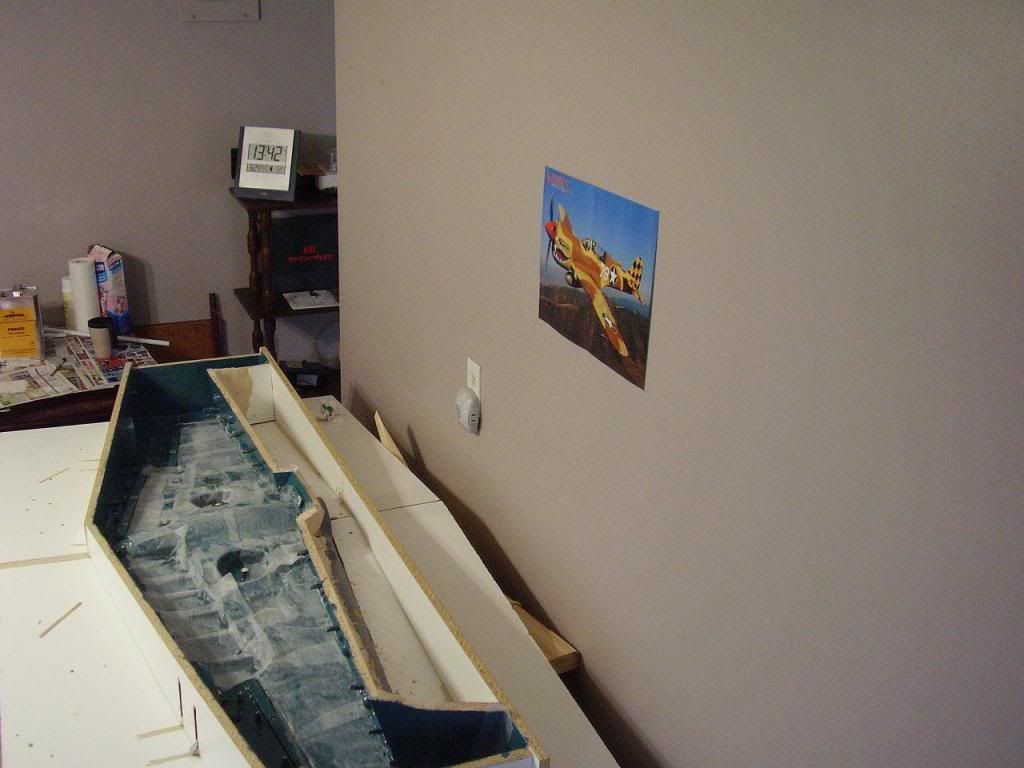 |
|
|
|
Post by b1heqh54 on Jun 24, 2011 18:41:33 GMT -5
I double dog dare someone to try this on their own! lol 1st layer of 9 oz/yd^2 almost 15 hours into things - I haven't stopped for a coffee yet.... 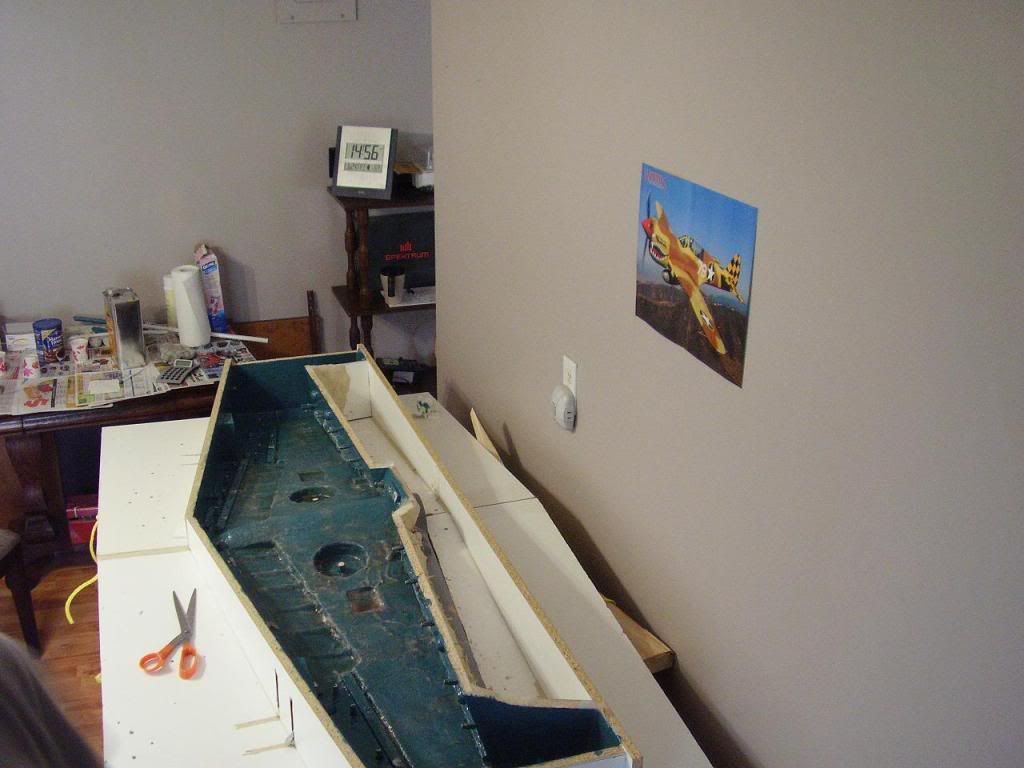 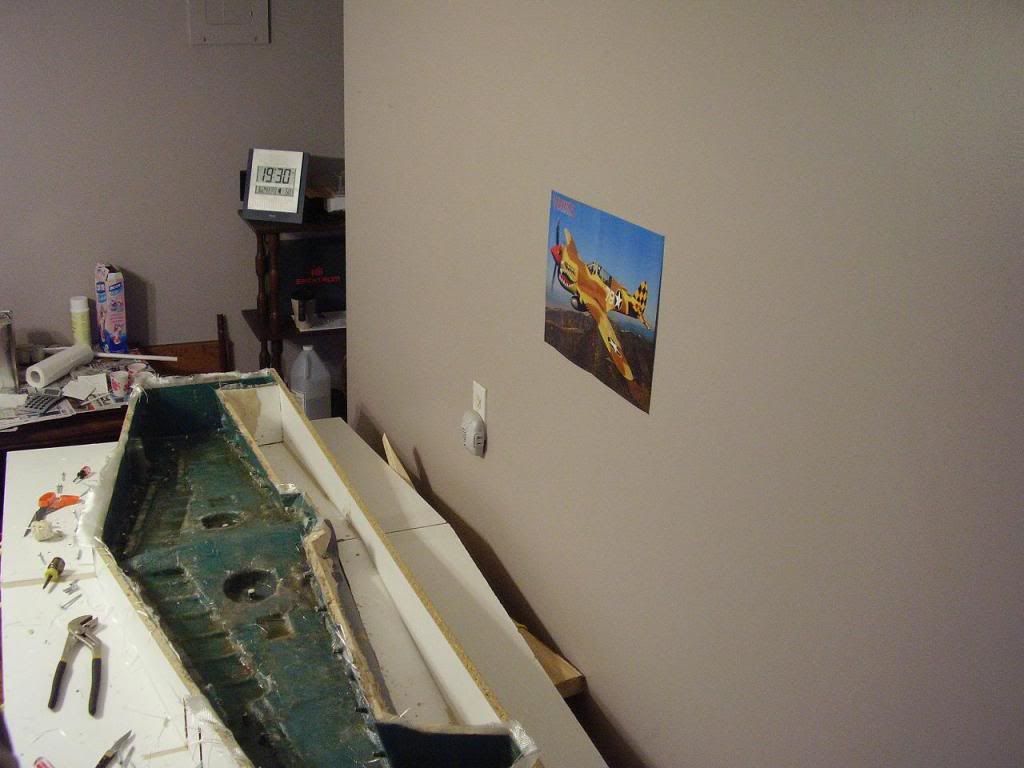 |
|
|
|
Post by b1heqh54 on Jun 24, 2011 21:12:50 GMT -5
So now it's just 7 more layers....still haven't managed to eat...as soon as I finish at one end, it's time to start at the other again... 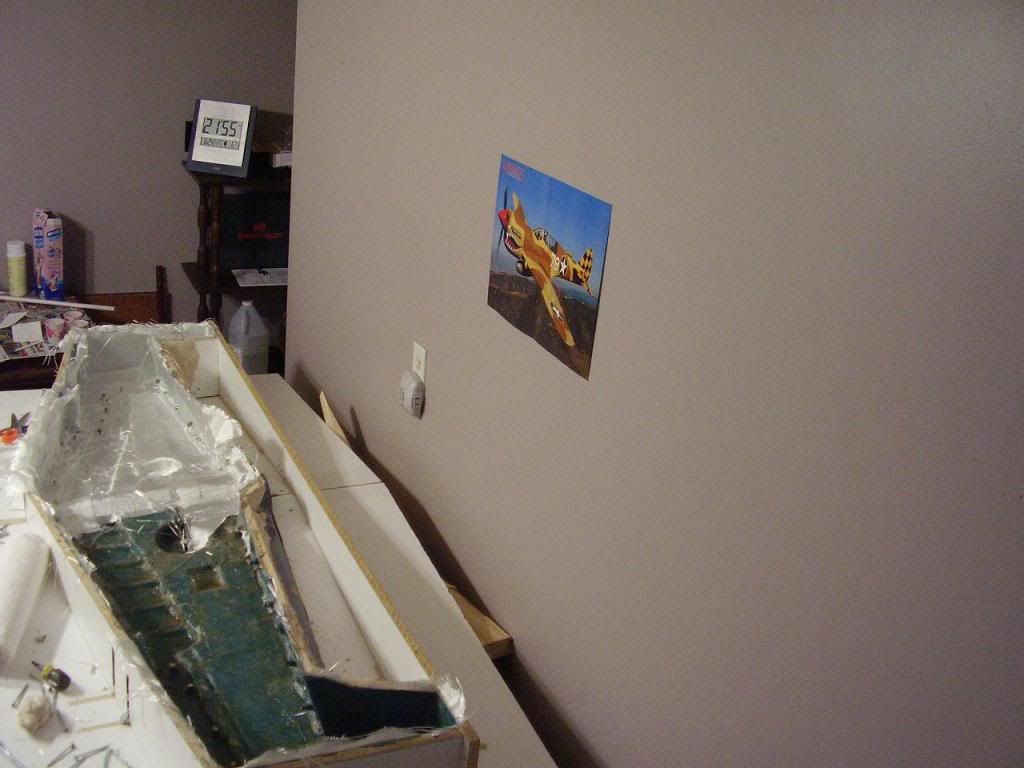 |
|
|
|
Post by b1heqh54 on Jun 26, 2011 15:41:56 GMT -5
|
|
|
|
Post by b1heqh54 on Jul 4, 2011 12:17:23 GMT -5
Alright, I've had a nice little rest so I thought I should document some things here while I've got a moment. Since making the fuse mould in 16pcs that each contained 13 layer laminations, at about 3 hours each, I decided that I needed to explore methods for not only speeding things up, but also reducing material costs. As a home hobbiest, you know that the further you can stretch a buck, the better. And afterall, we're building model airplanes here.... The first thought, as silly as it sounds was to go to a bigger brush. Well, that means mixing larger batches, which means a new scale. It also results in using about twice as much resin, but that's another story. After some thought about rigidity of the tool, I came to the conclusion that what was needed, was much the same thing that's needed in a wing; a spar to take the bending moment produced along the length of the wing, and something to resist twist. In the end, by using an integral fibreglass outer shear flange around the tool perimeter, and also incorporating the aluminum extrusions at acute angles in the tool face, I was able to cut the 13 layers down to 6 in the tool face and only 4 around the vertical perimeter shear flange. More substantially, in terms of cost, I went from 2 gallons of laminating resin down to under one. In ballpark figures that's about a 60% savings in the material cost of this tool. The labour savings, although I will not quantify it here because it would require me to assign some certain degree of value to my skill level, was priceless to a guy who couldn't feel his legs after laying down each layer. What does General Bugsy think of our new toy? 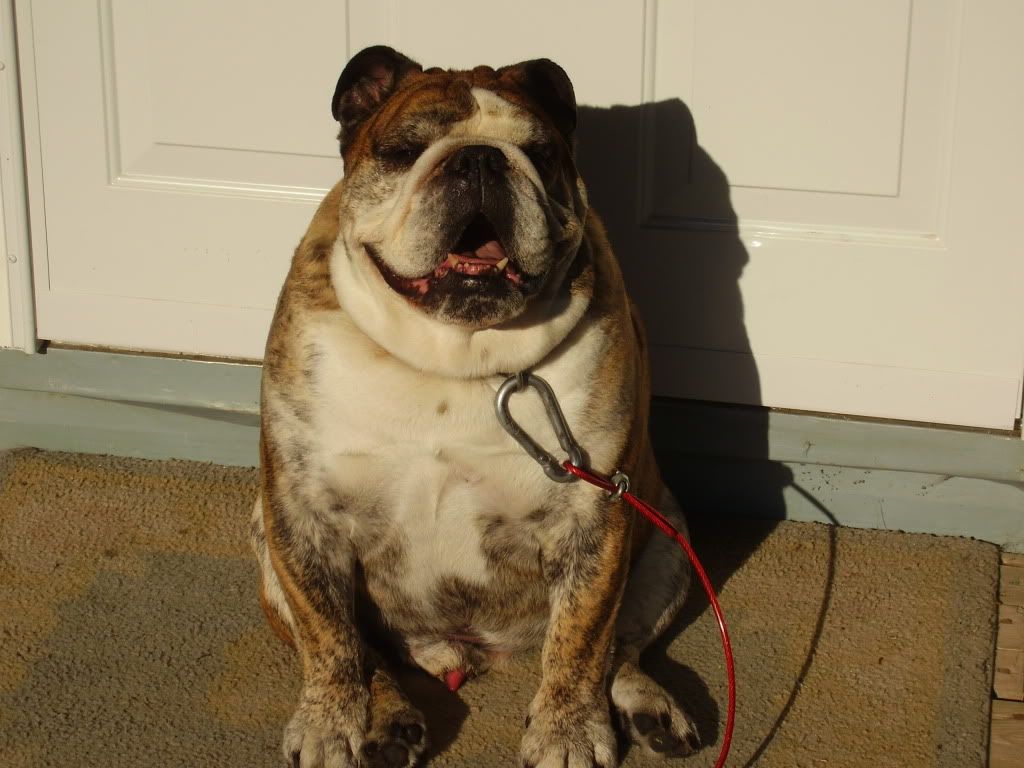 |
|
|
|
Post by b1heqh54 on Jul 7, 2011 19:22:44 GMT -5
|
|
|
|
Post by b1heqh54 on Aug 2, 2011 16:30:14 GMT -5
Well, the trial epoxy from my newest trial source has arrived. Online ordering and shipping from within Canada was just too much to resist. The price reduction helped out too. Now let's see what this stuff does. It took a month to get here (maybe longer, I don't care to try and recall - I needed a break anyway), but now it's time to get back to work! I may use this gallon with the slow hardener to make a few fuselages to sell before I get to the next upper section of the wing mould. This is a good way to cover the costs of the project. If I'd known then, what I know now, I'd have made the canopy and cowl moulds first, sold a few, and then I'd have needed less money to put in up front on the Two Bulldog P-40  ...well, here's what it looks like...     ...and here's where I got it www.miapoxy.com/p-26-miapoxy-100-epoxy-laminating-system-clear.aspx |
|
|
|
Post by b1heqh54 on Aug 17, 2011 14:12:45 GMT -5
Over the course of the next several days, I hope to layup another P40 fuselage in the mould. This revision will incorporate a 1/4 inch ply firewall, and also a flange on the tail section to ease assembly for whomever should get their grubby little hands on it. lol I'd like to end up with a sheet metal template for producing future firewalls as well. I got these two sheets of ply for under $5 each at a local woodworking supply outlet. Oh yes, one sheet is 1/4" and the other is 1/8": both birch.    |
|
|
|
Post by b1heqh54 on Aug 18, 2011 10:23:26 GMT -5
Oh boy, my old friend is back...you know, this is one of those pictures that is hard for me to believe - yep I'm that guy!! lol  |
|
|
|
Post by b1heqh54 on Feb 13, 2012 0:33:41 GMT -5
...now let's see...where was I ?? Oh yes, let's build a fuselage !! It often seems that life has a way of pulling us away from things. This is exceptionally true with a project of sufficient scope to impress. lol The trick, is to make your way back home.... I've been to the local school supply store in my ongoing efforts to stock my shelves with goodies that I can use to itch my constructive itch from time to time. I came away with I think what you will agree is the cheapest method for pigmenting your epoxies. Now, as regards effectiveness, this test will serve to establish a rather subjective pass, or fail grade to the candidate in question. In support of my somewhat educated guess, I will attempt to attach supporting documentation of related adhesion test results for various common pigmenting approaches; one of which I was rather impressed to discover was tempera powder. If I'm unable to attach the aforementioned article, I will suggest that a google search of the terms "West Systems, tempera, adhesion, results" will also provide a quick link. For this one, I intend to incorporate a 1/4" 5 ply firewall and I also have what I think you will find to be an interesting idea for applying camouflage in the mould with my new tempera powders.  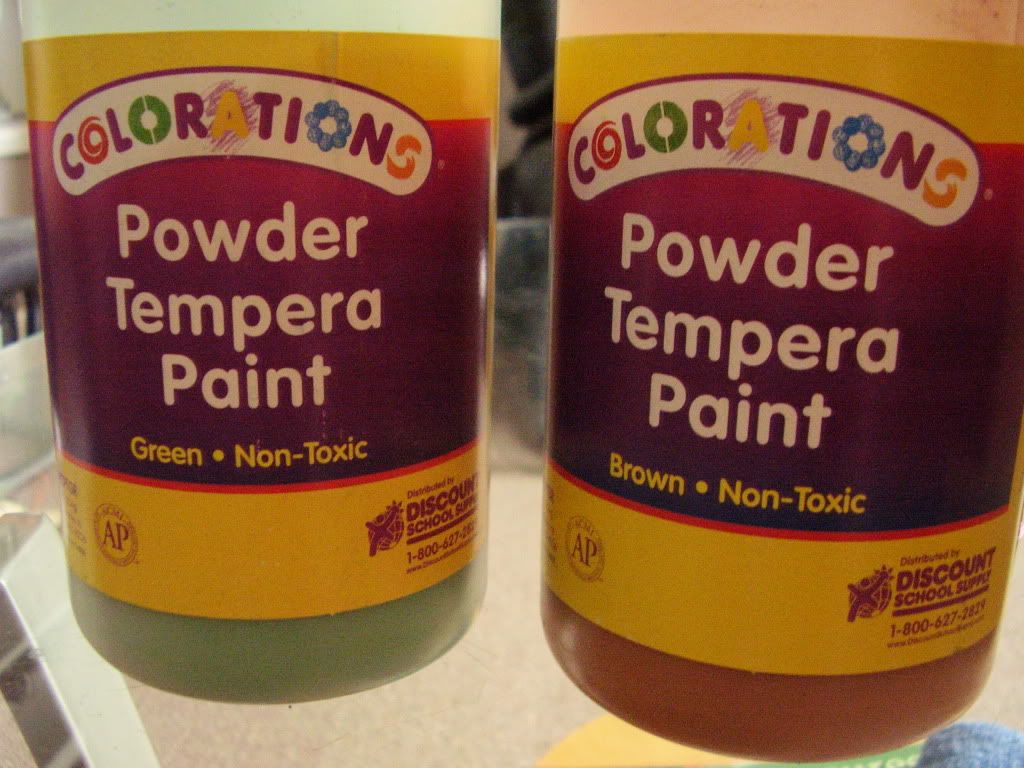 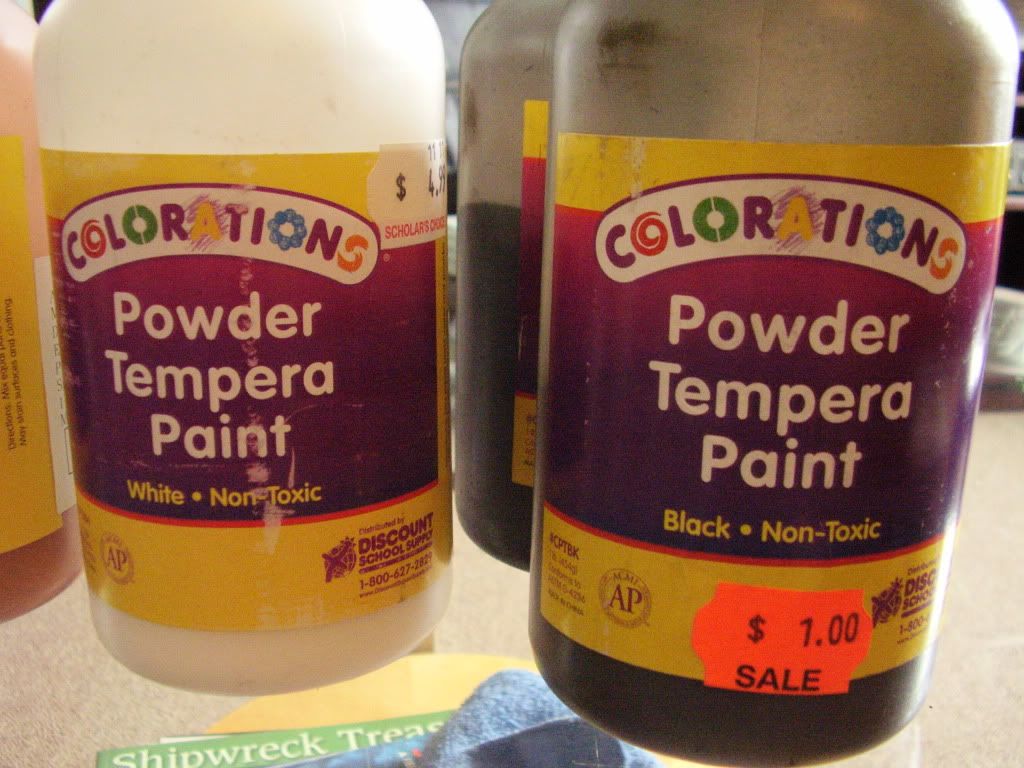 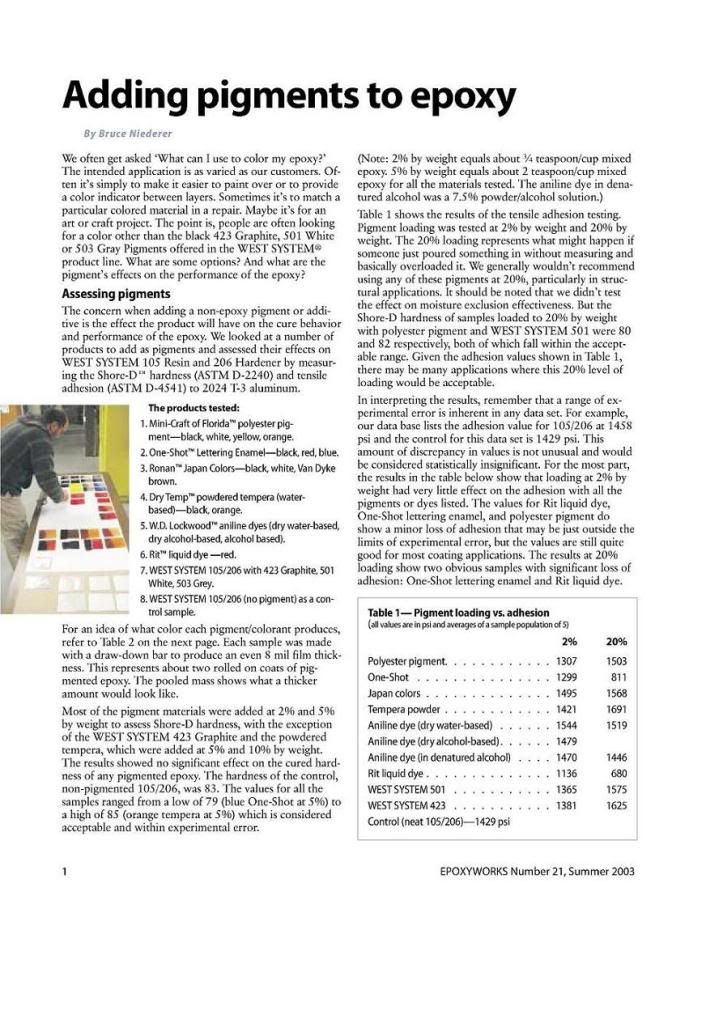 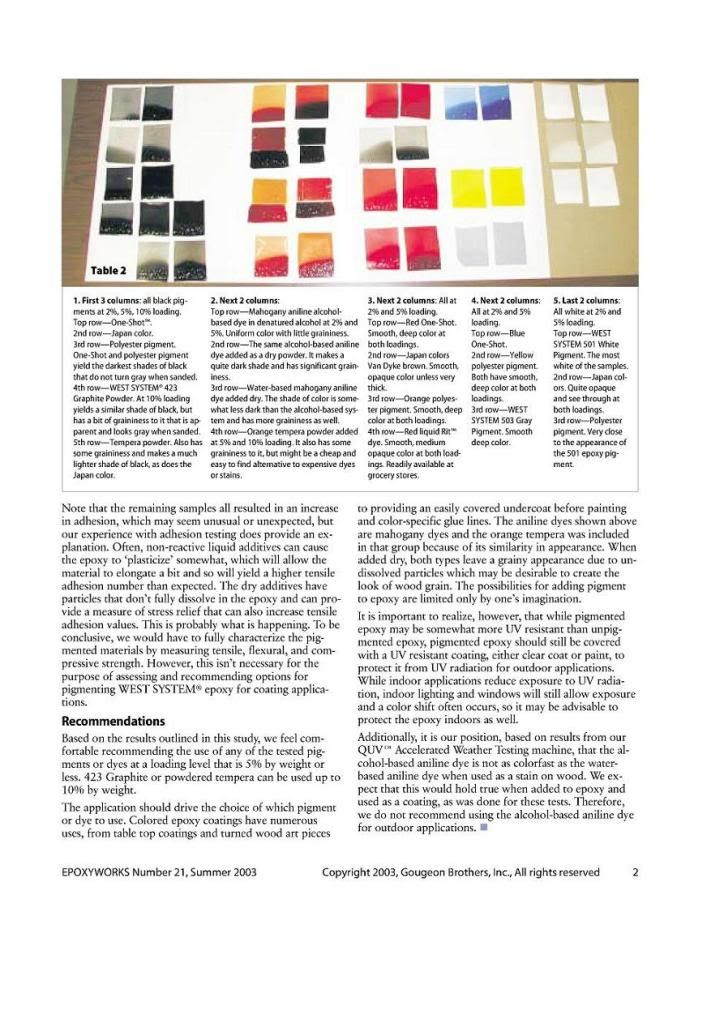 |
|
|
|
Post by b1heqh54 on Feb 13, 2012 13:56:35 GMT -5
|
|
|
|
Post by b1heqh54 on Feb 13, 2012 16:58:55 GMT -5
|
|
|
|
Post by b1heqh54 on Feb 14, 2012 19:58:44 GMT -5
|
|