|
|
Post by b1heqh54 on Feb 15, 2012 20:04:06 GMT -5
Alright - here's the straight dope - sometimes you win, sometimes you lose, but you always learn... lol The epoxy was great, although I'm glad I got the slow hardener! Almost the consistency of water initially, it wetted out superbly, but when it kicked, boy did it kick! (cost me a new brush arghhh) I also thought that my patterns were pretty nifty, but I should've paid closer attention and registered them in one place and not two. There's mismatch on this one that there won't be on the next, but it should blend in with an airbrush in about 2 minutes.   |
|
|
|
Post by b1heqh54 on Feb 15, 2012 21:17:22 GMT -5
|
|
|
|
Post by b1heqh54 on Feb 15, 2012 23:50:41 GMT -5
Mixing tempera powder in larger quantities in advance allows easy mixing into resin prior to adding hardener. The larger scale is great for mixing epoxy and hardener with 1 gram precision. The smaller scale I used for mixing powders because of it's 0.1 gram precision. 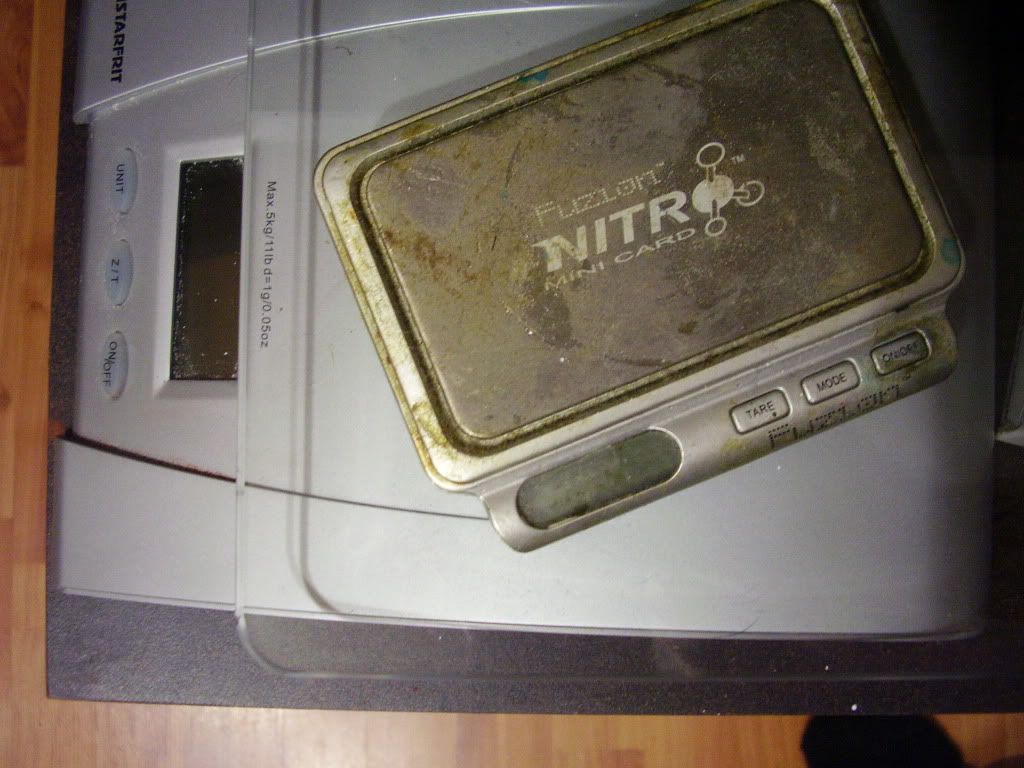 The dark brown is 33% white into brown. The light brown is 5% brown into white. 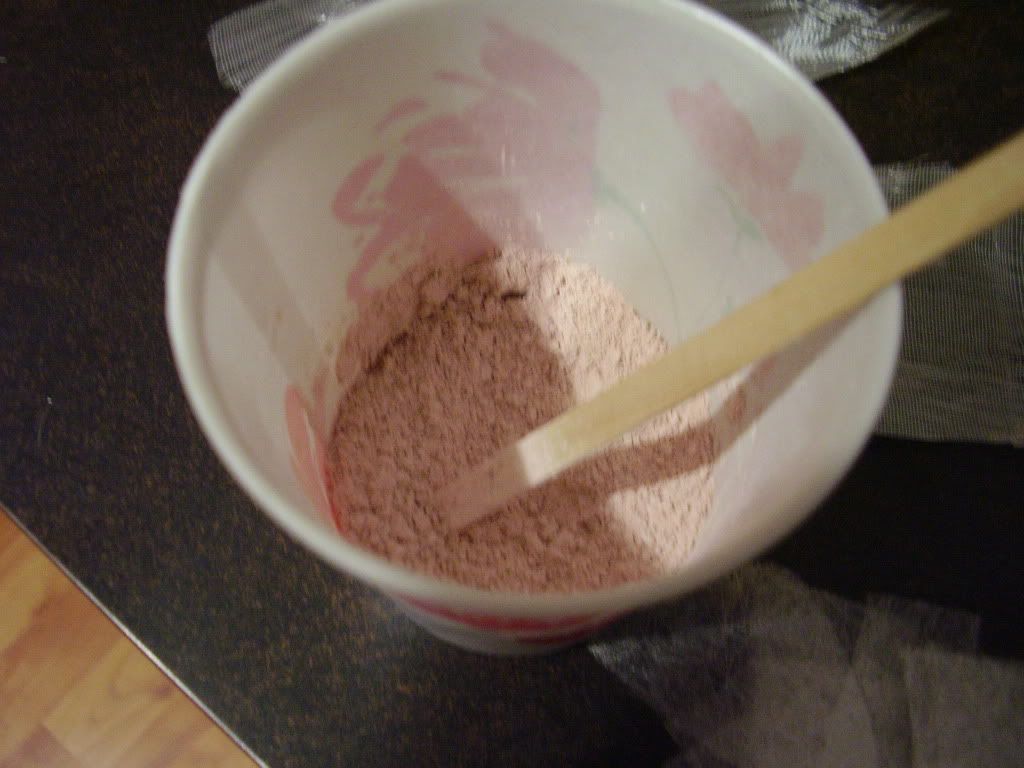 Perhaps this misfit will be best camouflaged for a nudist colony! It's kinda funny in person.  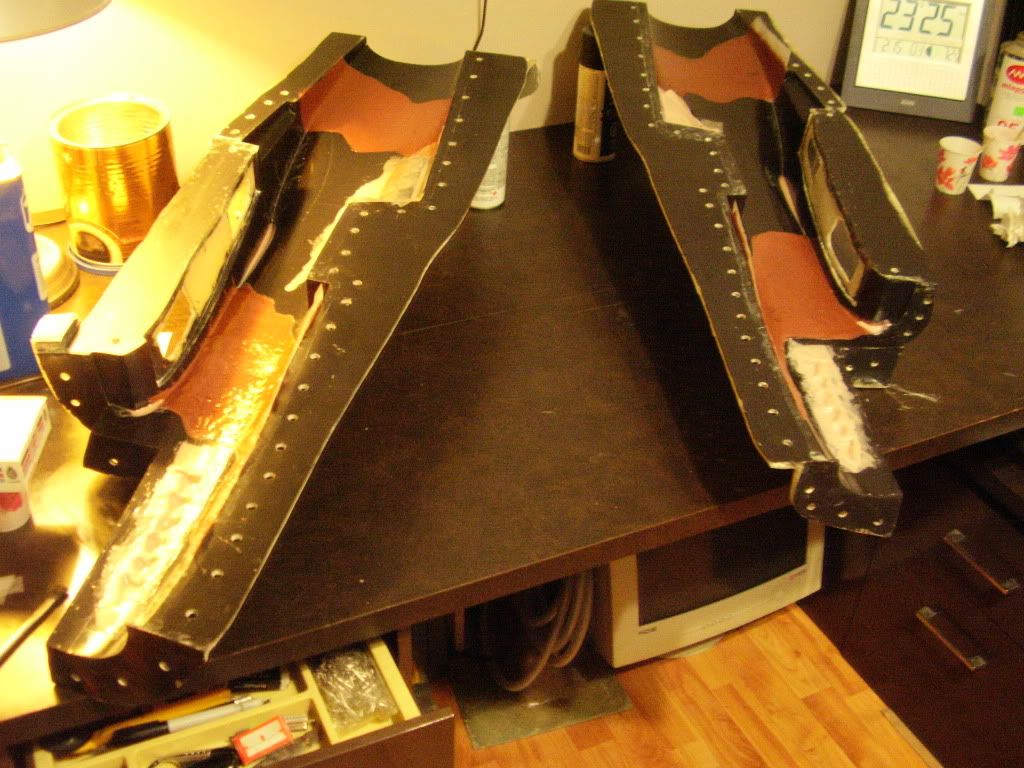 I've used 3/4 Ounce cloth in the sharp corners, and the surface veil again, in the tight spots here. 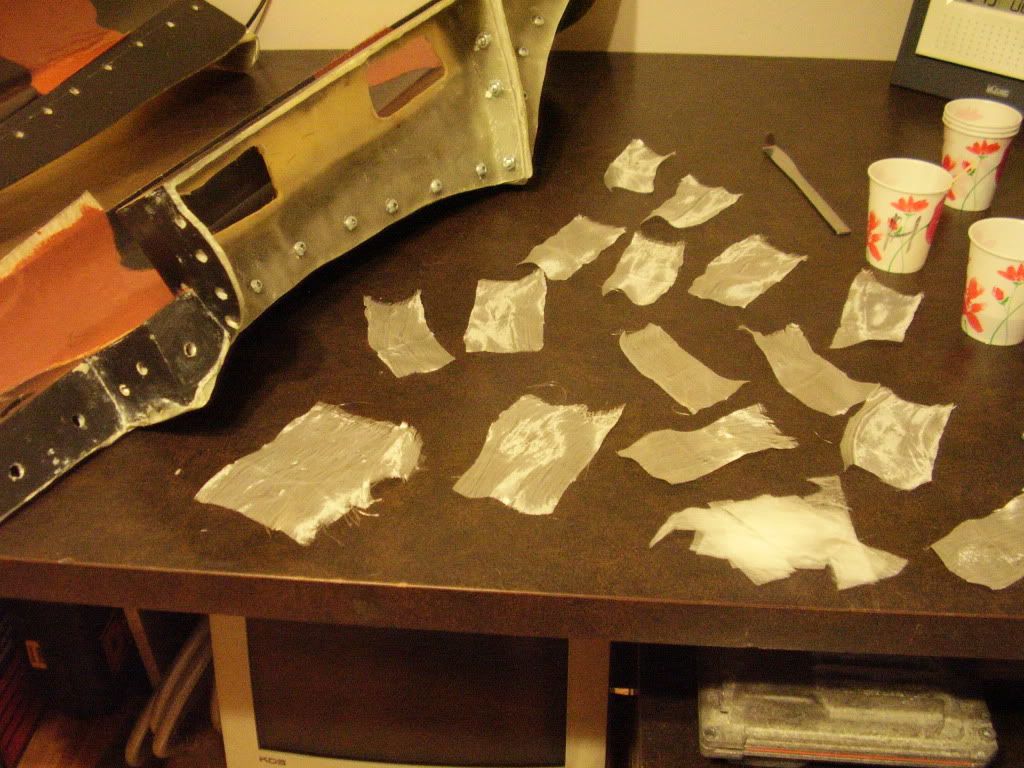 |
|
|
|
Post by b1heqh54 on Feb 16, 2012 17:45:43 GMT -5
|
|
|
|
Post by b1heqh54 on Feb 17, 2012 1:02:32 GMT -5
18 hrs so far...but here's two pieces in the bank 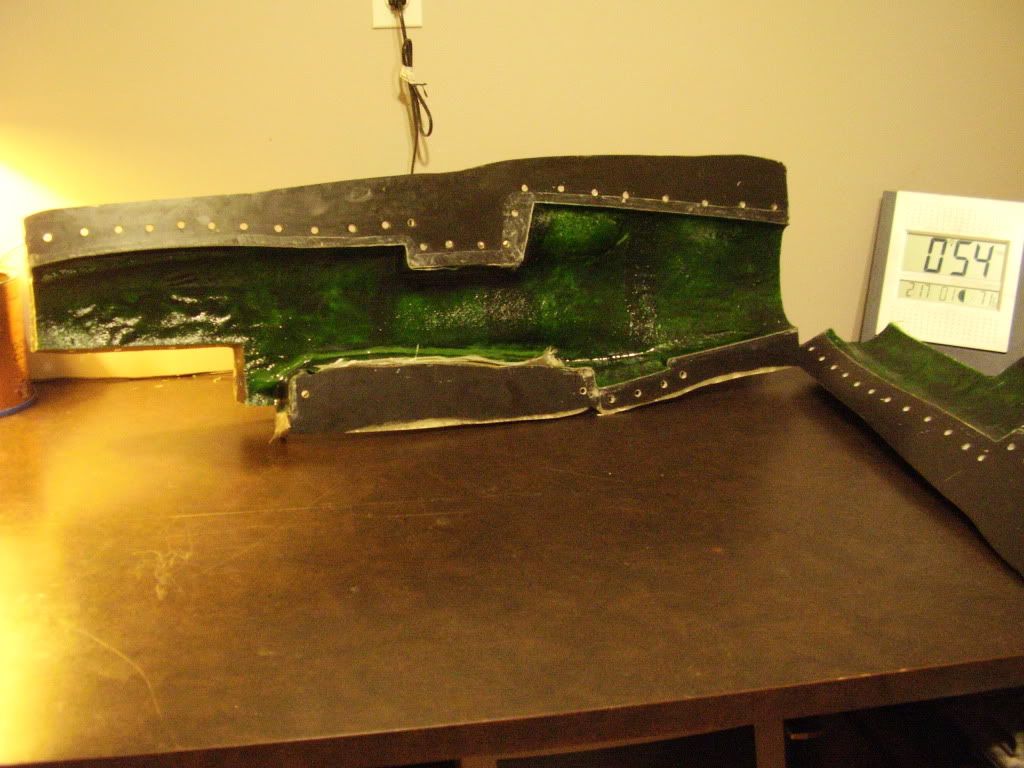 |
|
|
|
Post by b1heqh54 on Feb 17, 2012 11:30:29 GMT -5
For my next trick, and with a little bit of luck, I will demonstrate a bit of the assembly plan that I designed into this mould more than 5 years ago now....patience my friends, patience... 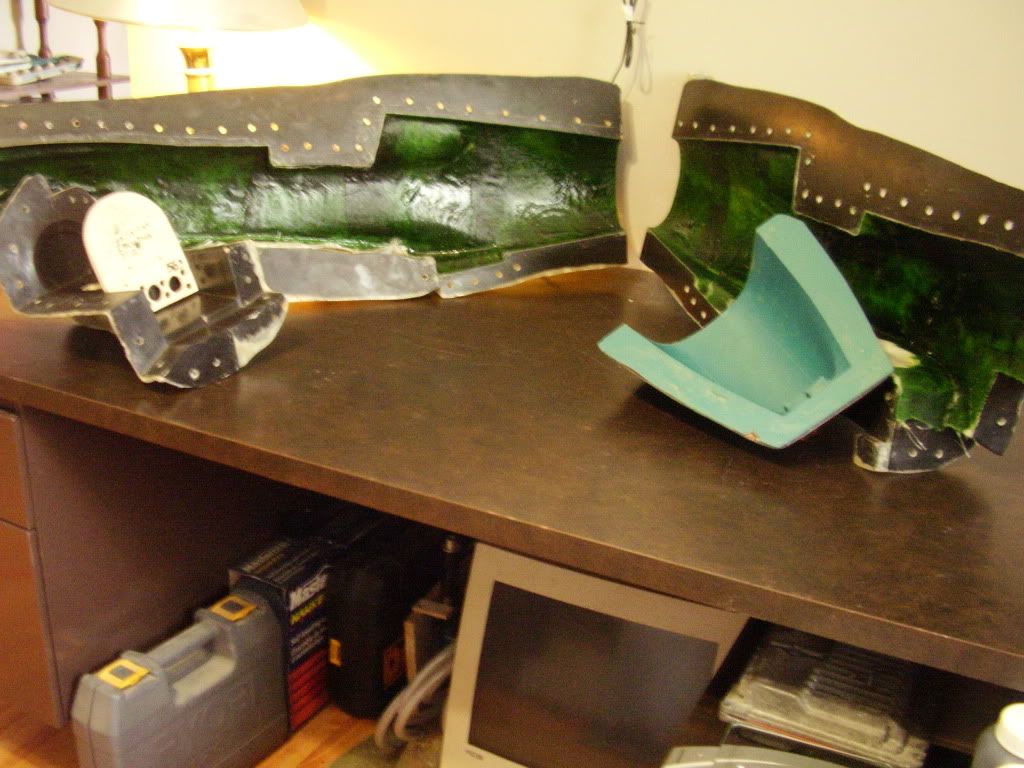 |
|
|
|
Post by b1heqh54 on Feb 18, 2012 9:07:31 GMT -5
|
|
|
|
Post by b1heqh54 on Feb 21, 2012 23:22:21 GMT -5
Changed the lamination a little - 3/4 Oz all over, 2 Oz all over, 6 Oz Chin Plate Also layed in some scrap 1/8" ply to attach cowl mounting blocks to later. 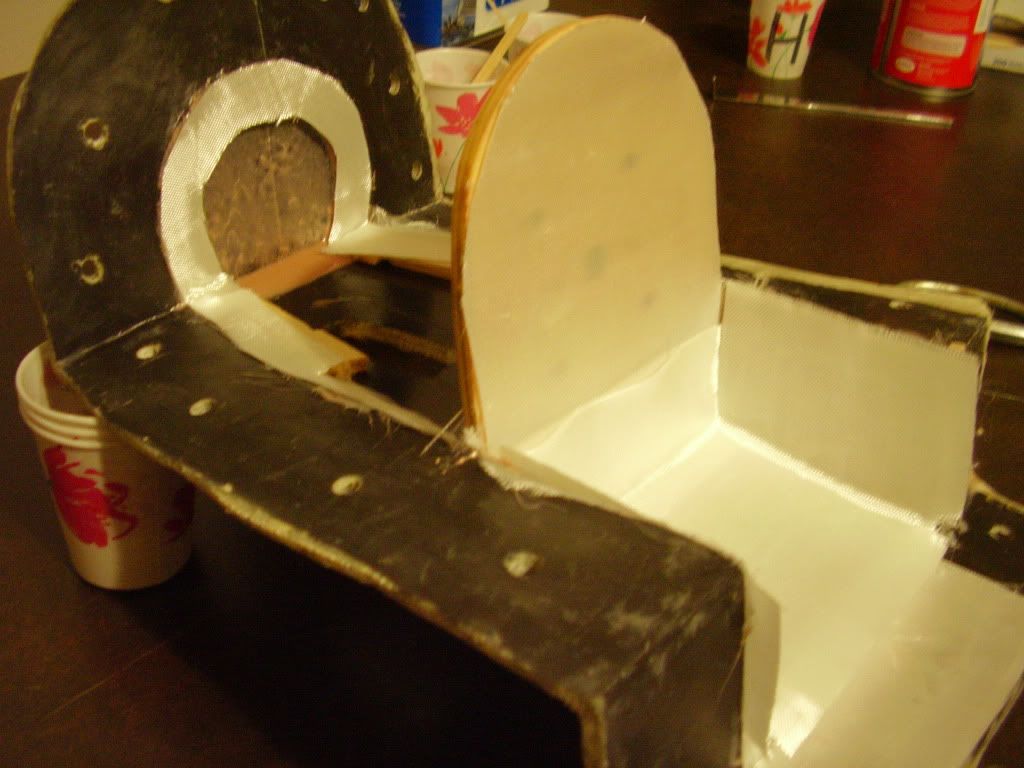 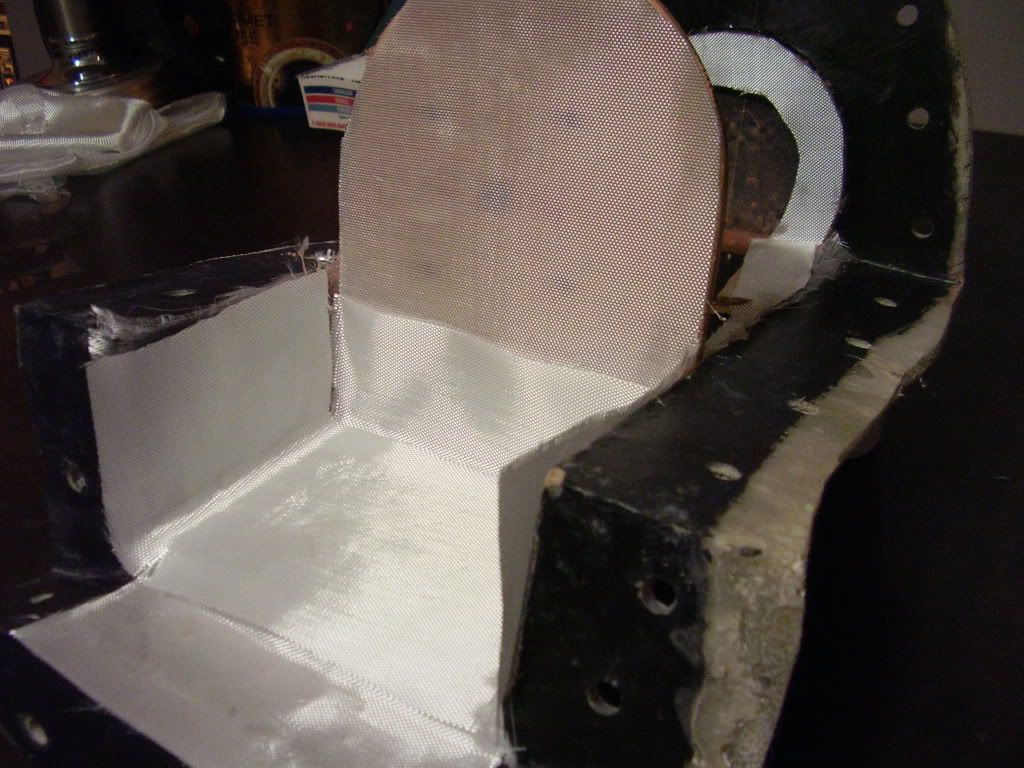 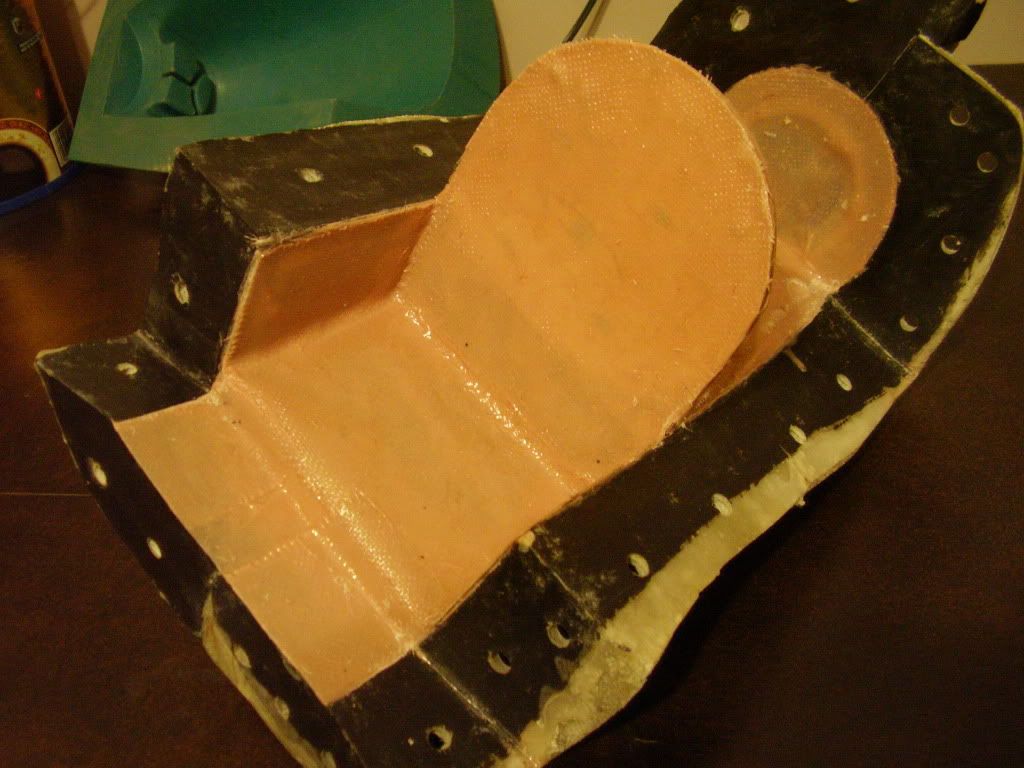 ...next to join main halves and then assemble with firewall subassembly |
|
|
|
Post by b1heqh54 on Feb 22, 2012 16:52:55 GMT -5
|
|
|
|
Post by b1heqh54 on Feb 23, 2012 16:49:14 GMT -5
|
|
|
|
Post by b1heqh54 on Feb 24, 2012 1:31:10 GMT -5
I can't believe I forgot to take a picture, but you'll have to take my word for it that there's a 1/8th ply bulkhead in there too. It's sandwiched between 3/4 Oz and several layers of 6 Oz cloth. I impregnated the epoxy with black tempra with the idea being easy contrast witht any contaminates that might get picked up by the wing locating face...and I hadn't used black yet either  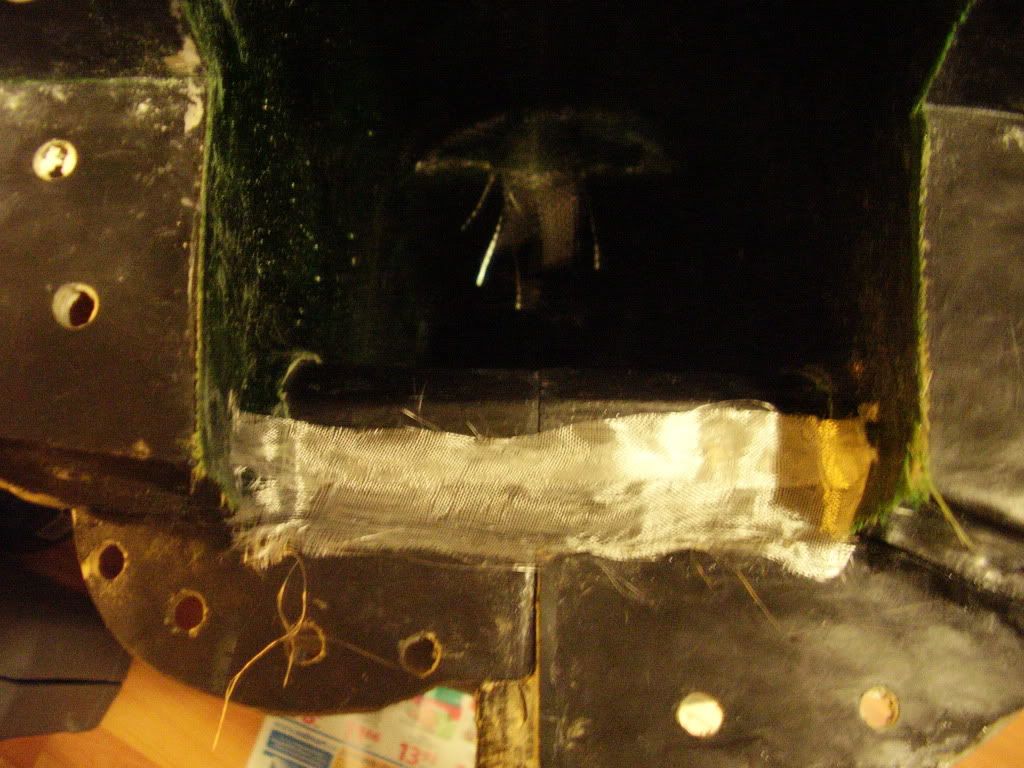 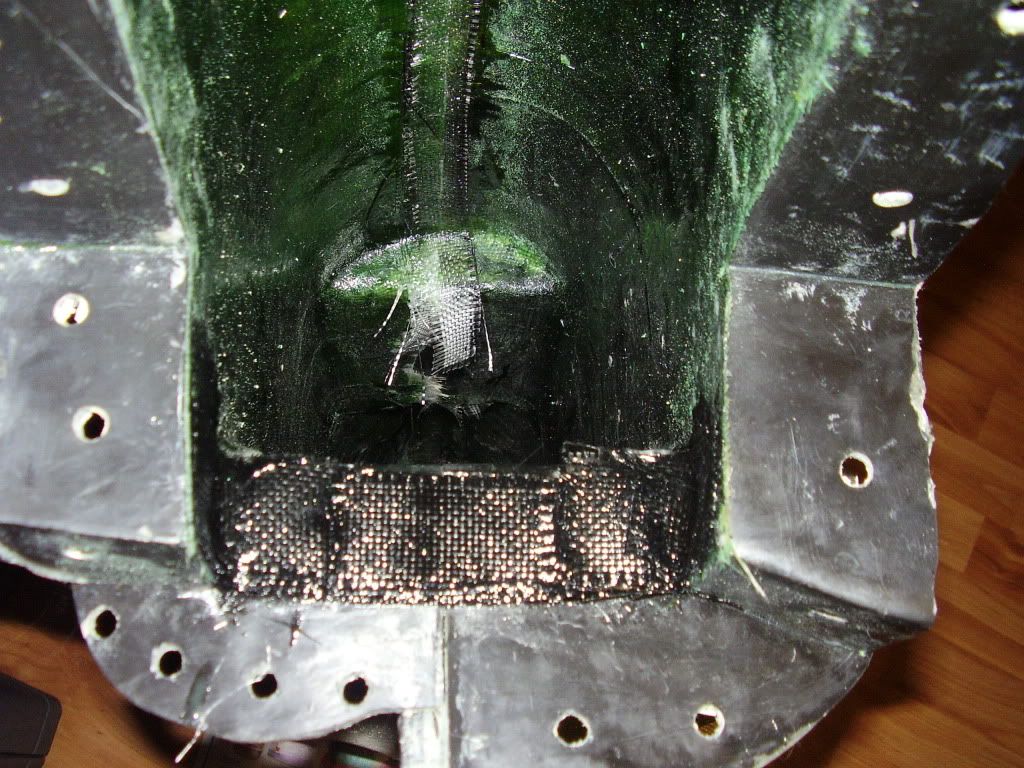 |
|
|
|
Post by b1heqh54 on Feb 24, 2012 22:42:38 GMT -5
|
|
|
|
Post by b1heqh54 on Feb 25, 2012 15:20:38 GMT -5
|
|
|
|
Post by b1heqh54 on Feb 26, 2012 3:04:36 GMT -5
3 layers 9 Oz Cloth - 1" wide strips 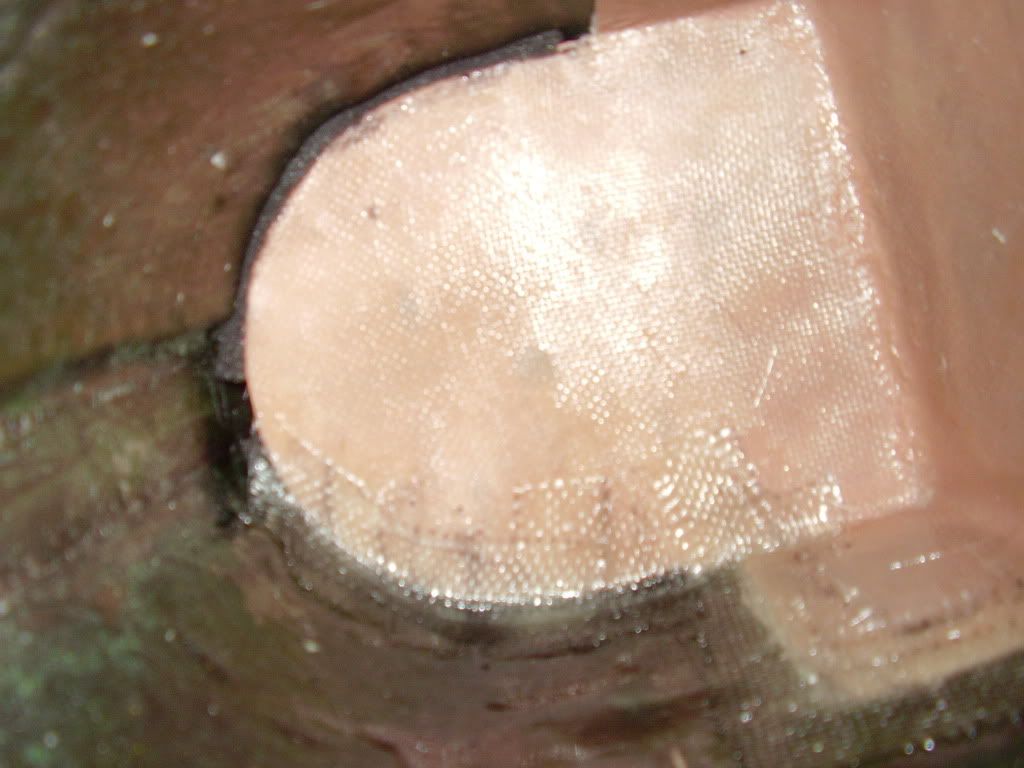 This will eventually become the inside of the fuel tank. 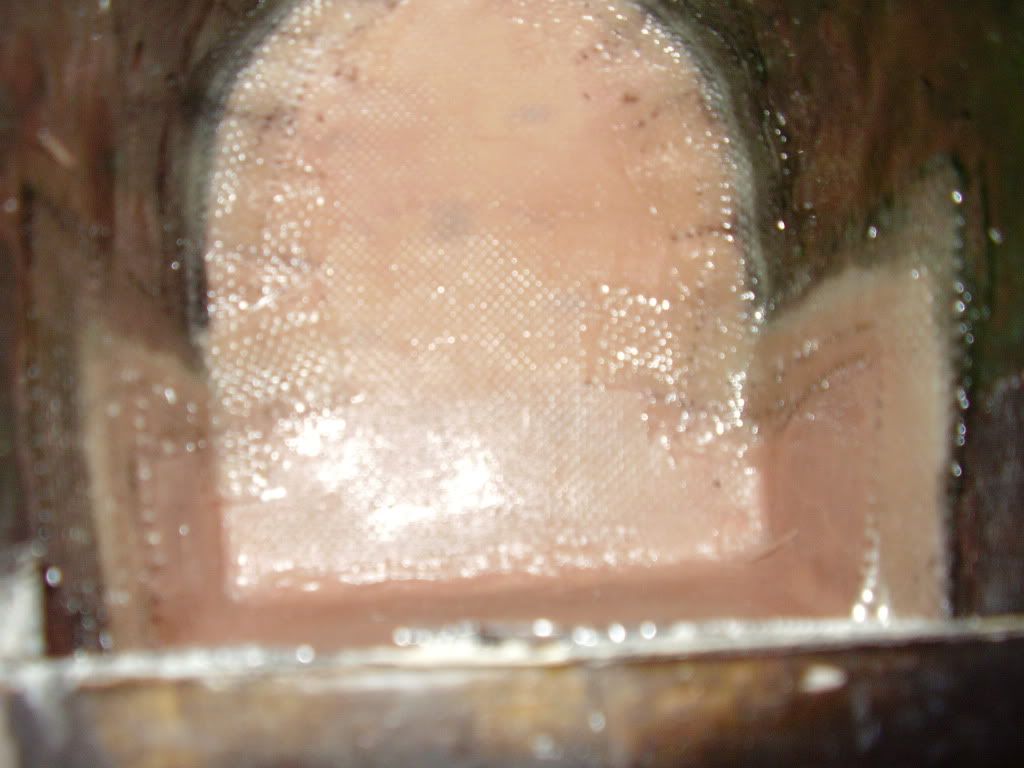 |
|
|
|
Post by b1heqh54 on Feb 27, 2012 22:39:53 GMT -5
Oh boy, so much to tell.... This new cheap epoxy is great. It produces a stiffer, stronger part. Now don't let the ugly test fuselage scare you off, here's some things we learned... - surface veil for camouflage works great! - some black sharpie around the perimeter of dark brown camo patches adds a level of detail too - it is possible to match camo across parting lines - tempra powder works great and is inexpensive (10% by resin weight) - 1/4" ply is too heavy for firewall - 1/8" ply dowel bulkhead works great - assembly method for inserting chin plate / firewall subassembly works great! (I've been waiting to see if this would work for a very long time now) - pink P-40's are for girls  next time green/blown blend will be substituted for the lighter brown I've also started on the firewall for the next one. It will now be 1/8" Ply laminated with aluminum skin. This aluminum looks to be around 0.020" maybe 0.5mm - it used to be a window awning... I've also calculated that I can squeeze in around 16 Oz of fuel in an integral tank behind the firewall and centered around the plug in the pictures. All in all, I'm already started on the next one...  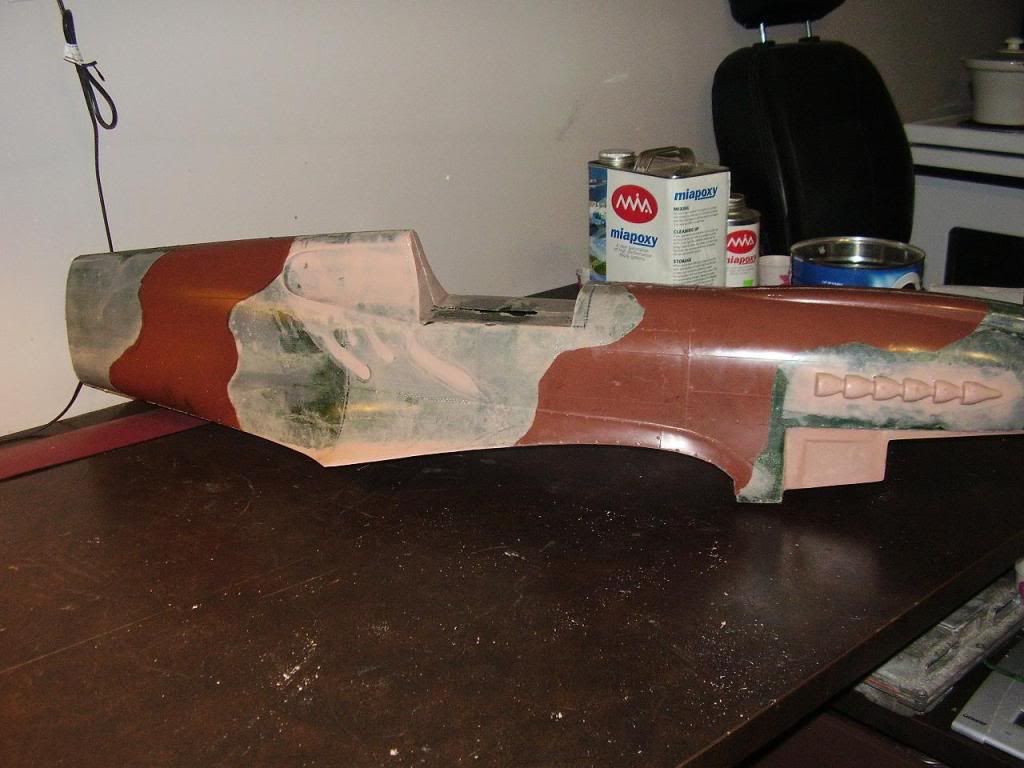 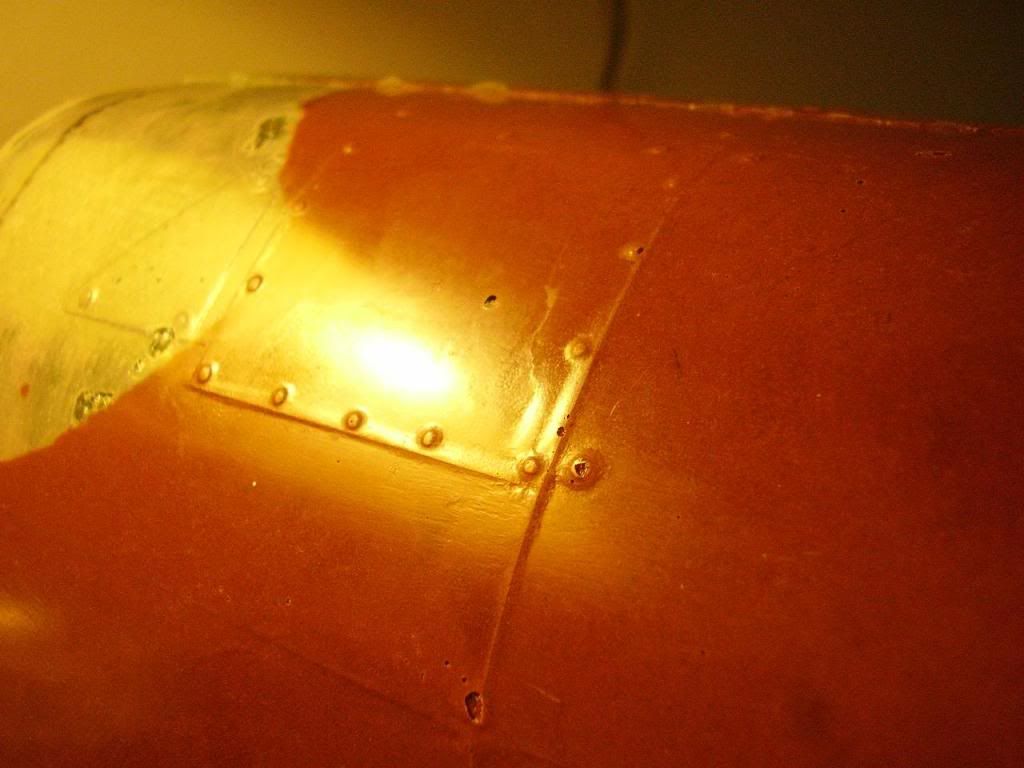 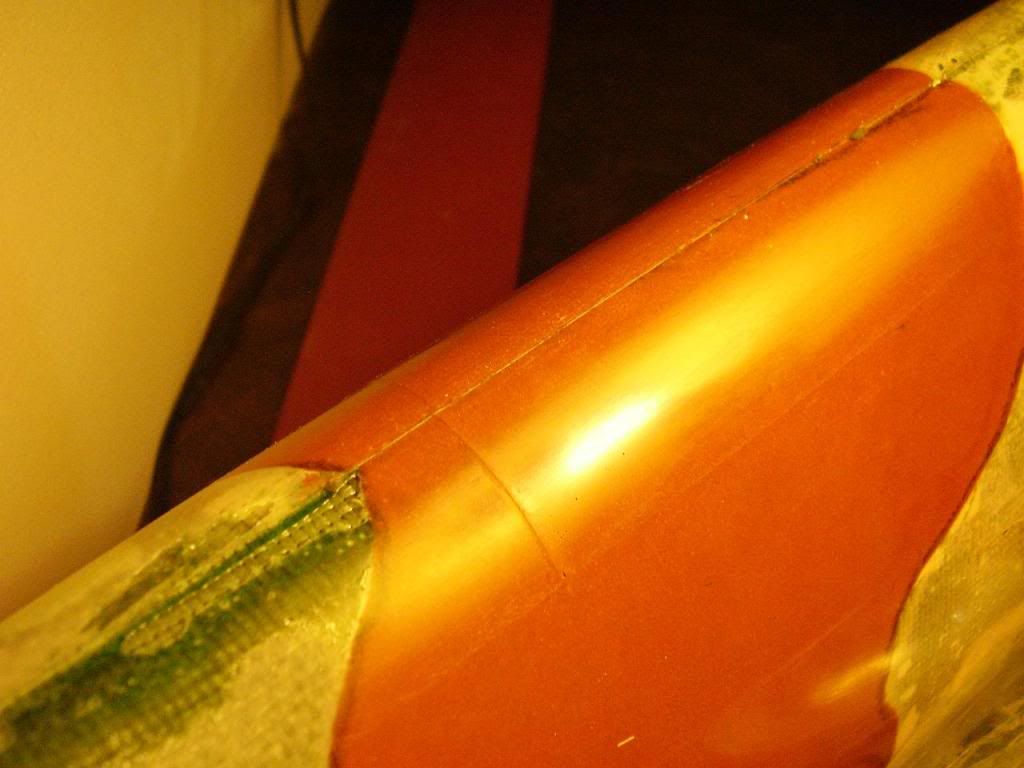 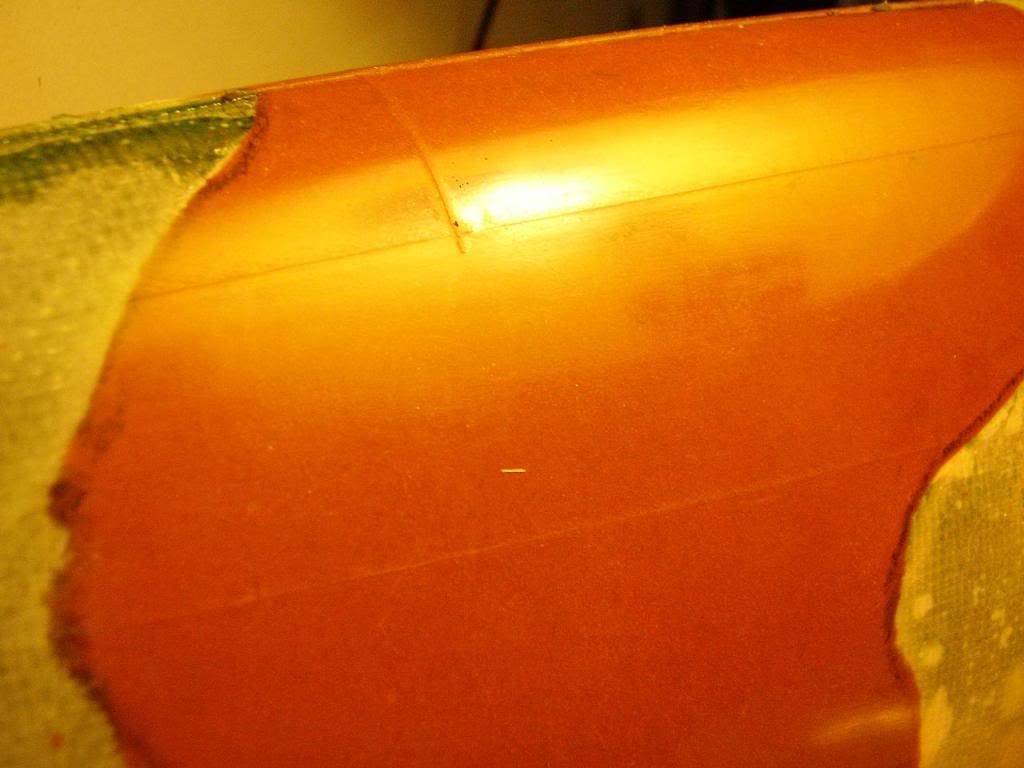 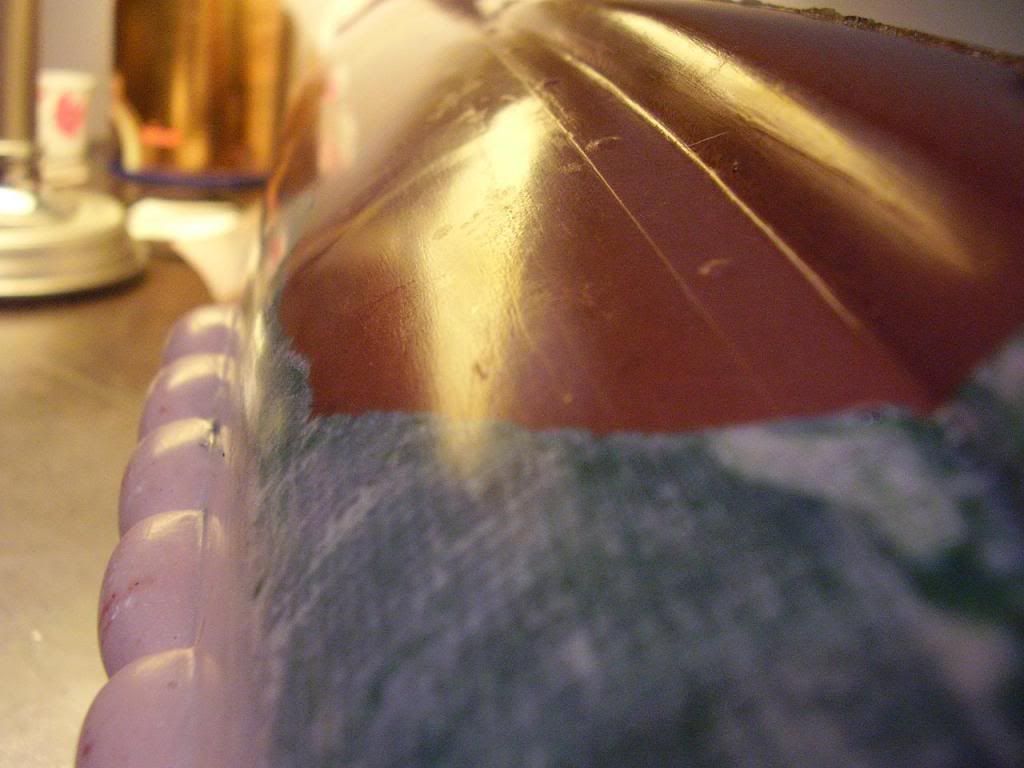 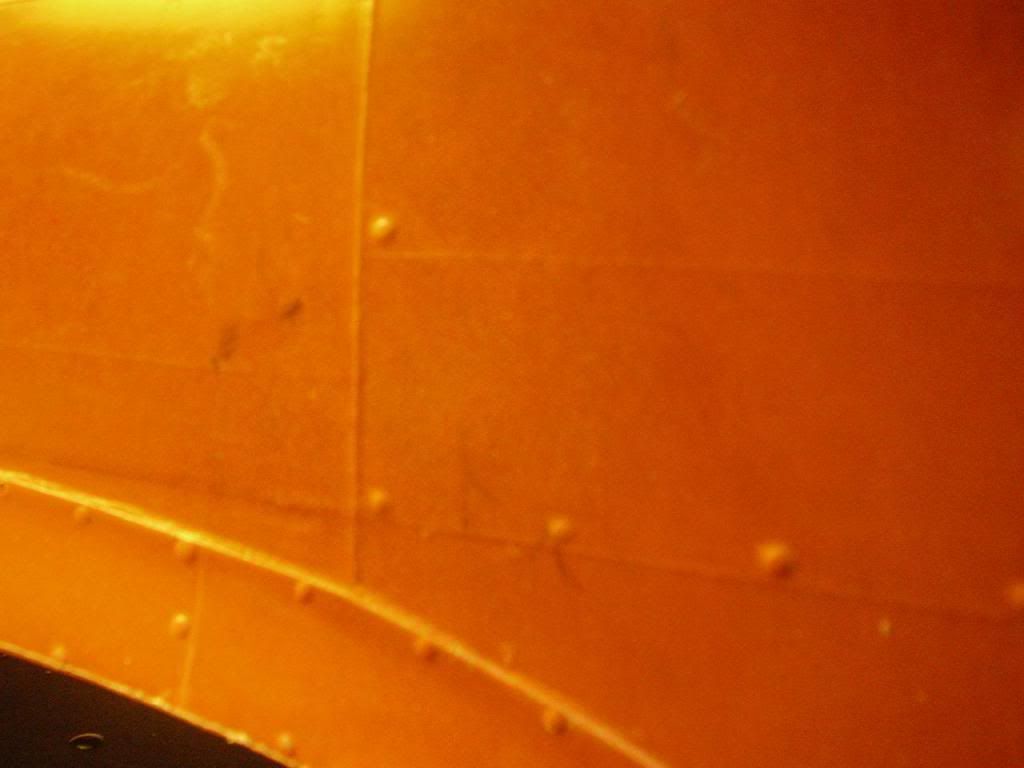 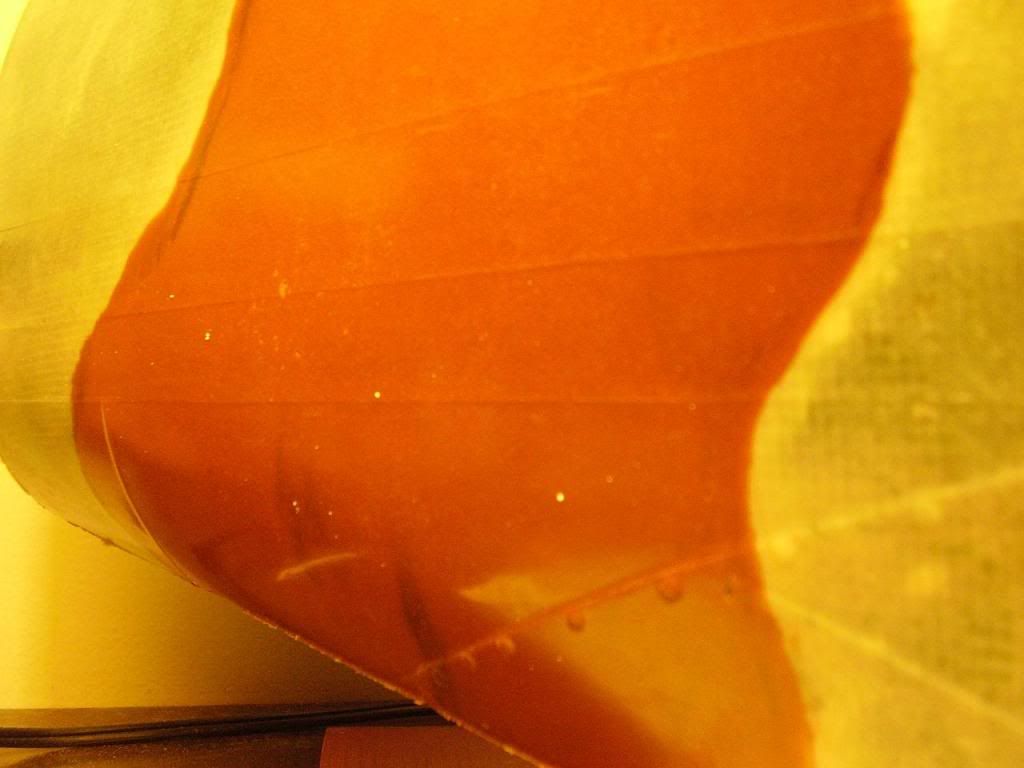 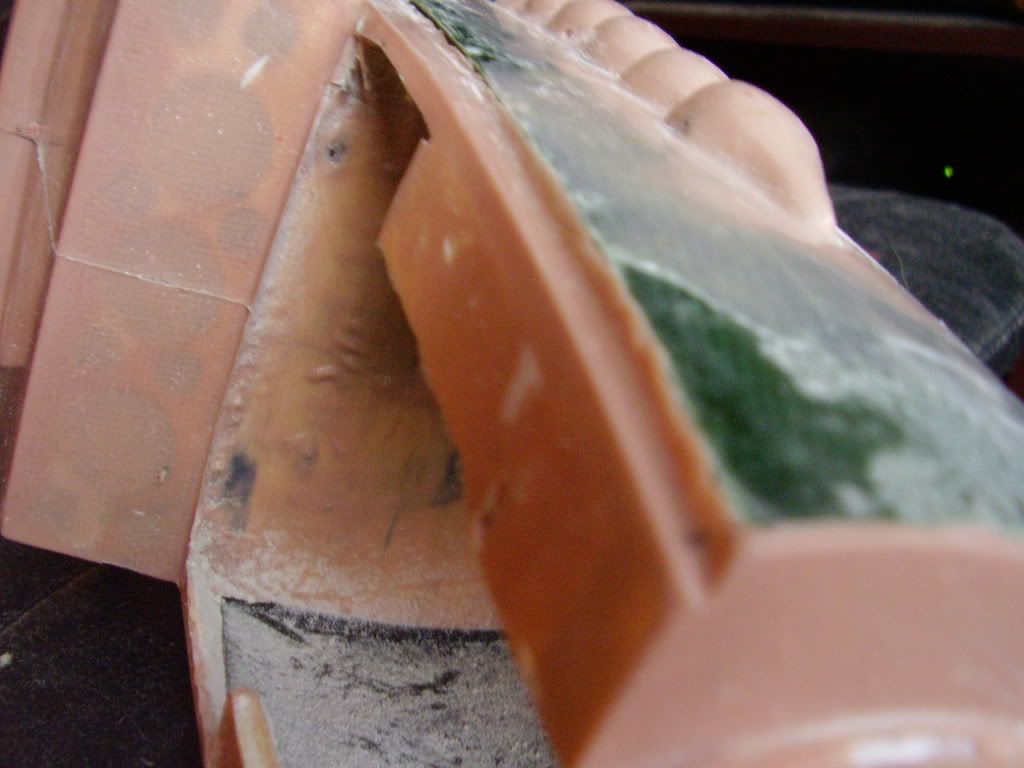 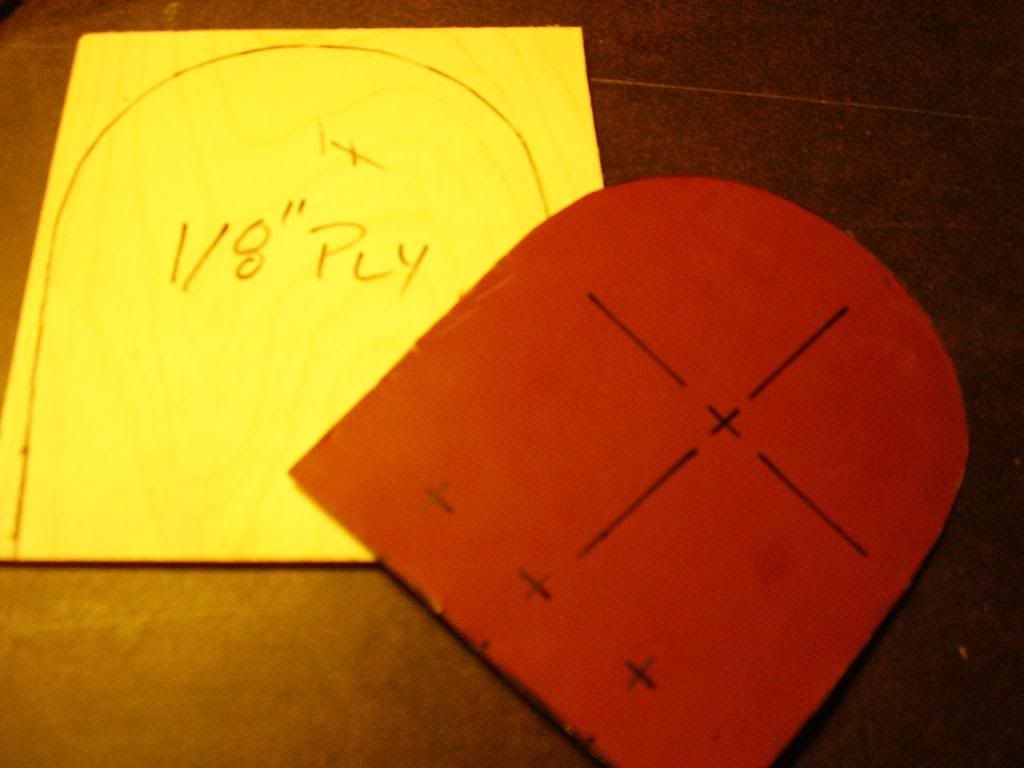 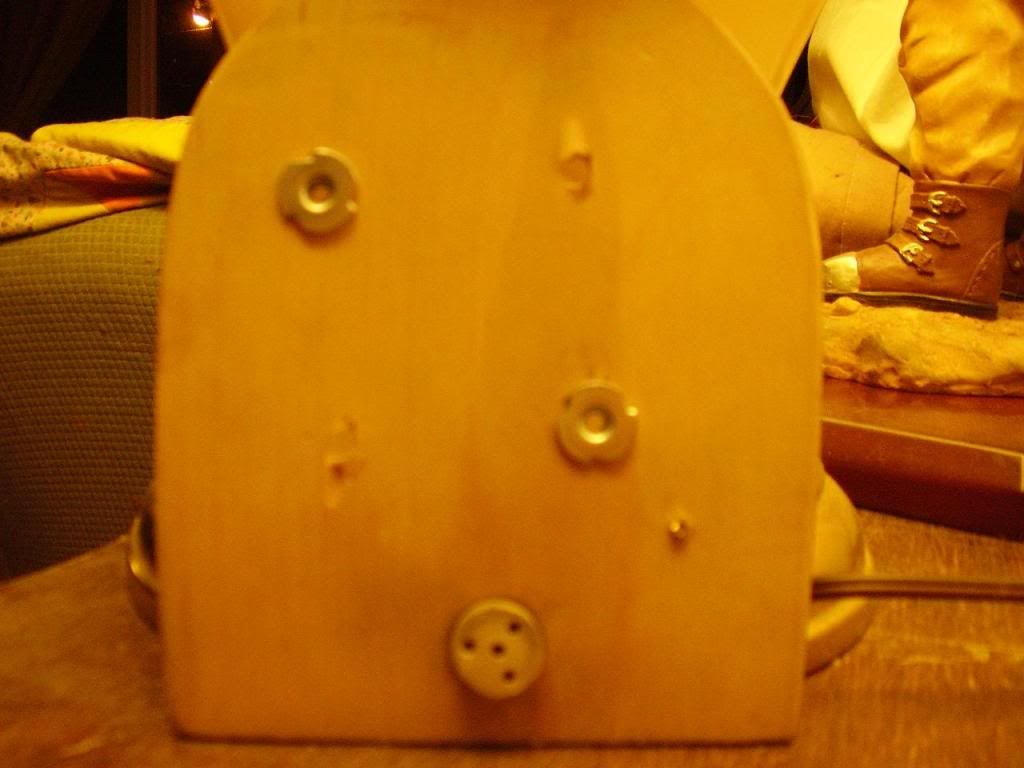 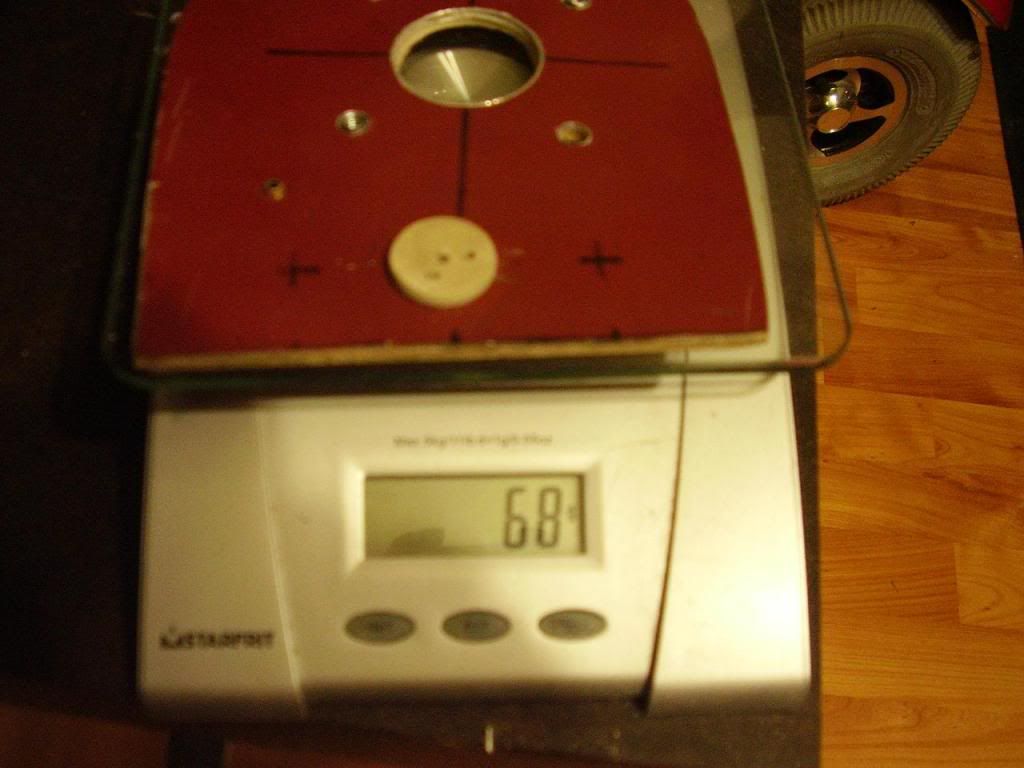 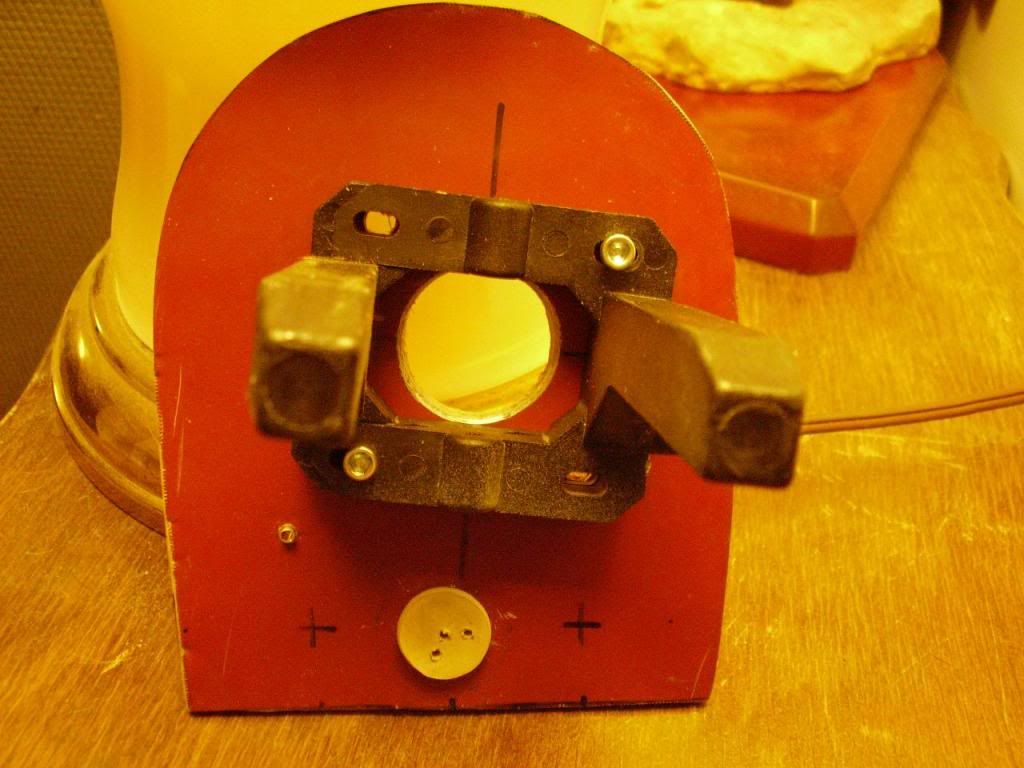 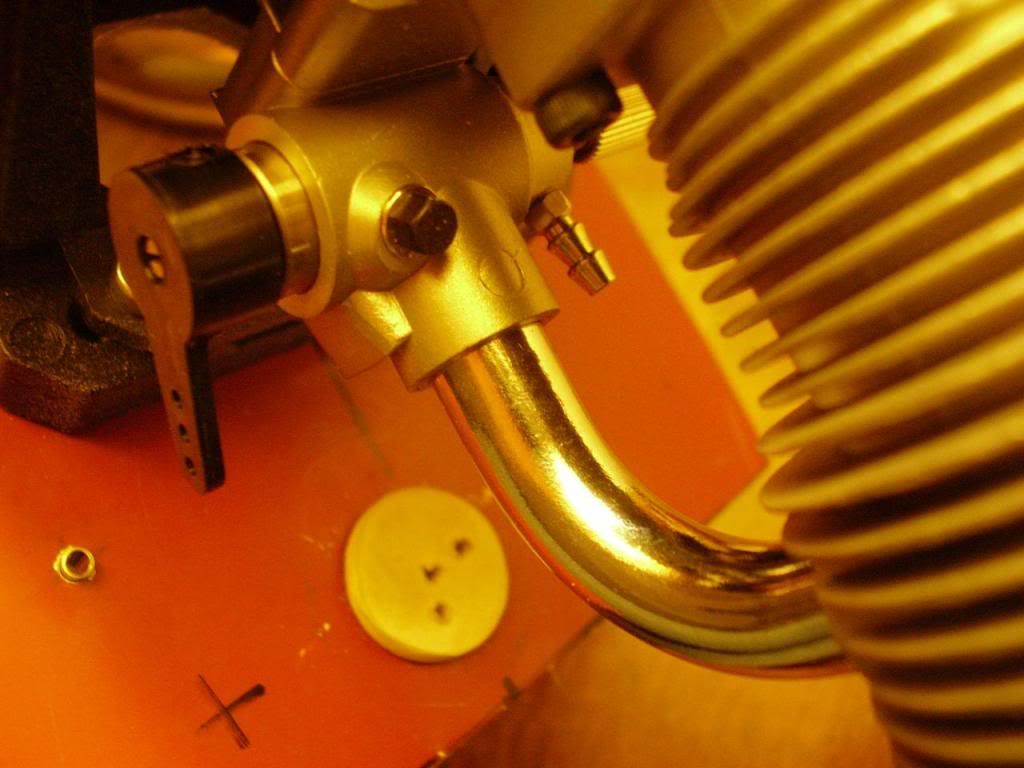 |
|