|
|
Post by b1heqh54 on May 19, 2011 13:28:24 GMT -5
Yes folks, it was absolutely free afterall! I'll post a link to the iso file once I get it ripped... ...and here's a supplies link that looks pretty good too www.miapoxy.com/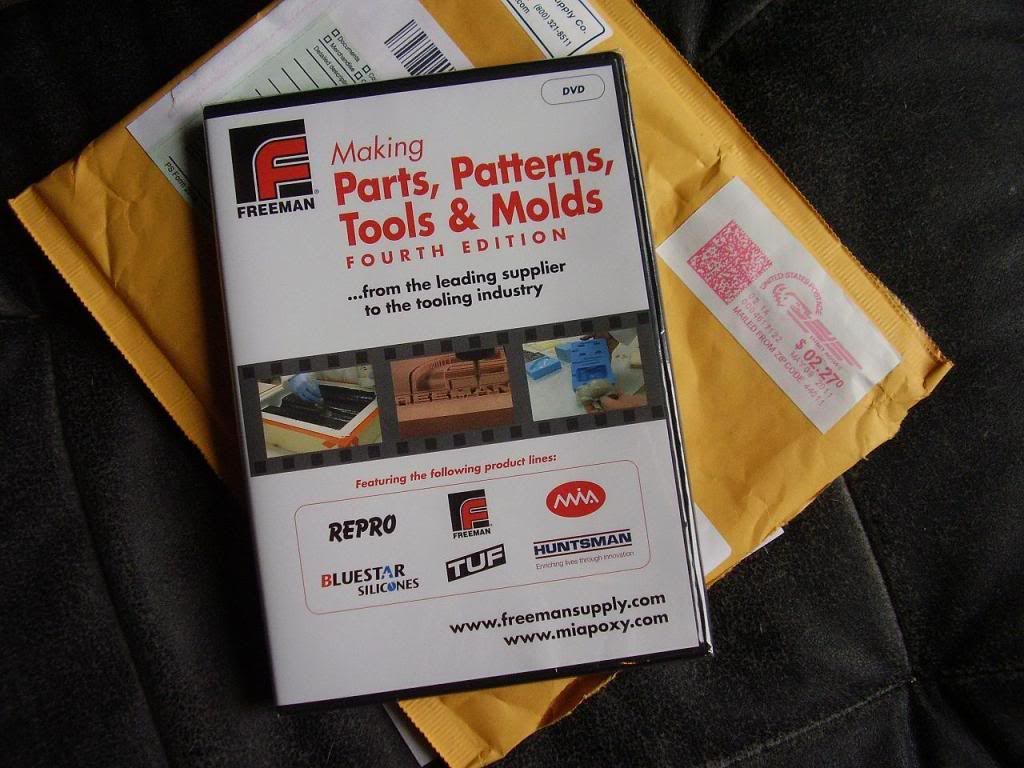 |
|
|
|
Post by b1heqh54 on May 19, 2011 16:23:30 GMT -5
|
|
|
|
Post by b1heqh54 on May 21, 2011 16:59:43 GMT -5
|
|
|
|
Post by b1heqh54 on May 22, 2011 9:47:56 GMT -5
These hardwood blocks were $0.50 ea at the woodshop supply store. Here's their website. They have lightweight ply too... www.workshopsupply.comNotice that I've set the hinge pins to level when the blocks are placed on the mould face where they will become part of the finished mould base. 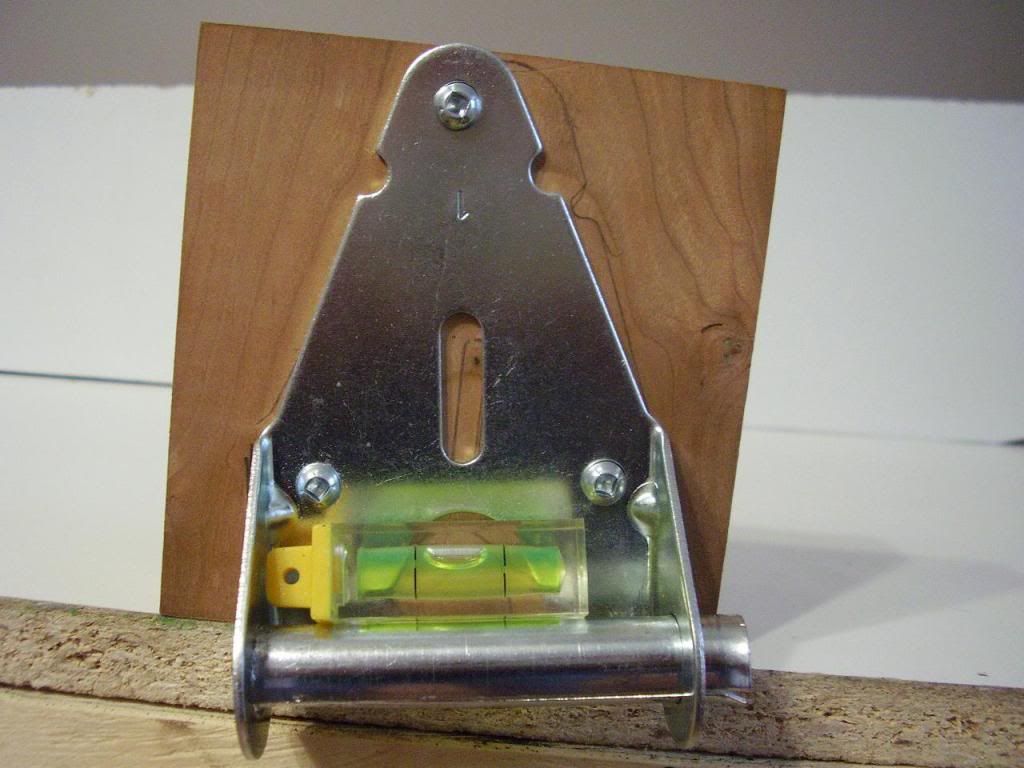 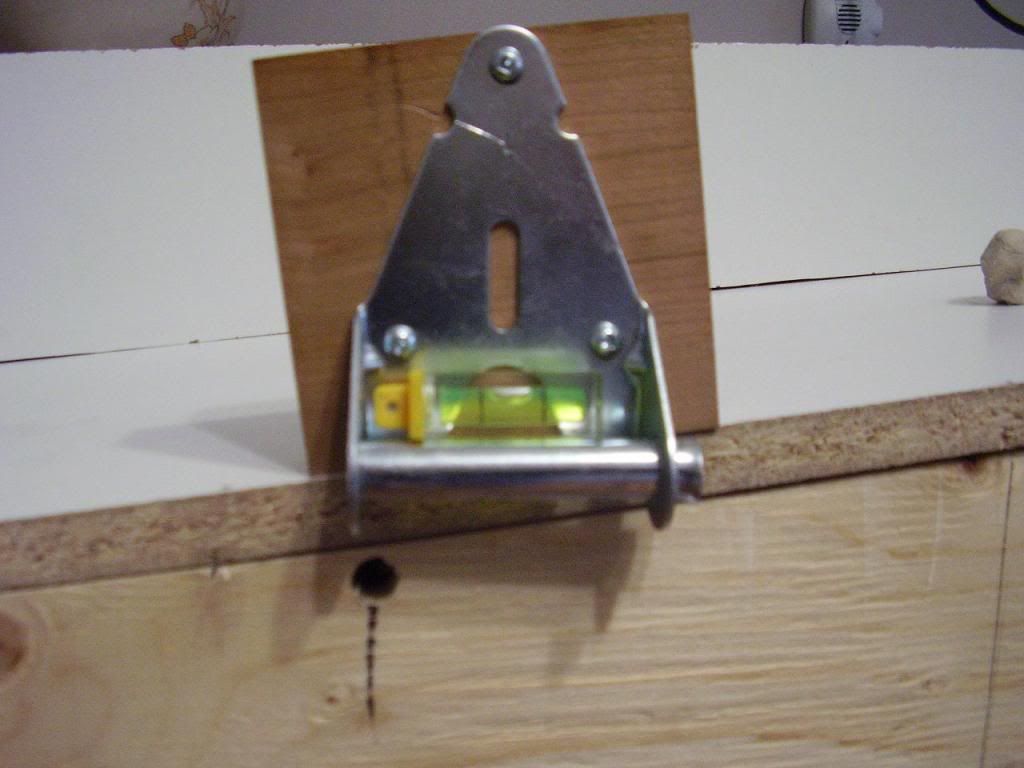 |
|
|
|
Post by b1heqh54 on May 22, 2011 17:25:56 GMT -5
|
|
|
|
Post by b1heqh54 on May 23, 2011 18:45:00 GMT -5
|
|
|
|
Post by b1heqh54 on May 26, 2011 15:30:57 GMT -5
Almost forgot to fill the wing mounting holes...added cavities in the mould at the aileron trailing edges too. The empty cavity just outboard of the inboard hinge (hmm...clear as mud eh?) will provide a place to feed the control rods from the bellcranks during assembly. Oh, and a quick pic from the couch of all the pieces that I have moulds for, all duct taped together - motivation.... 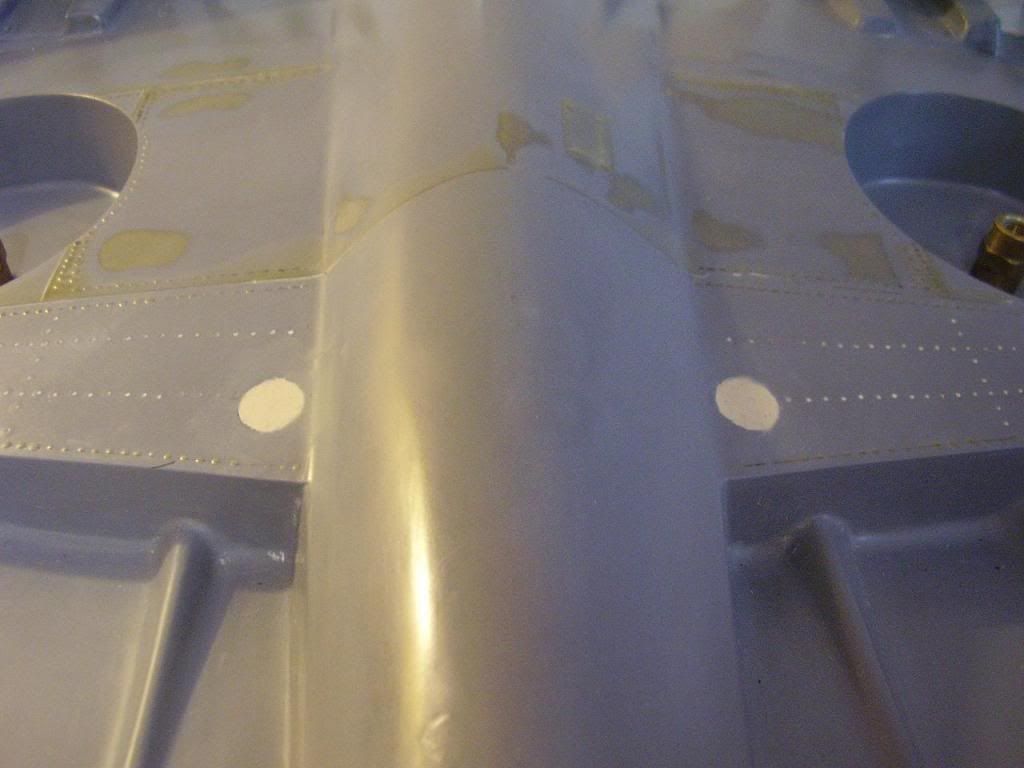 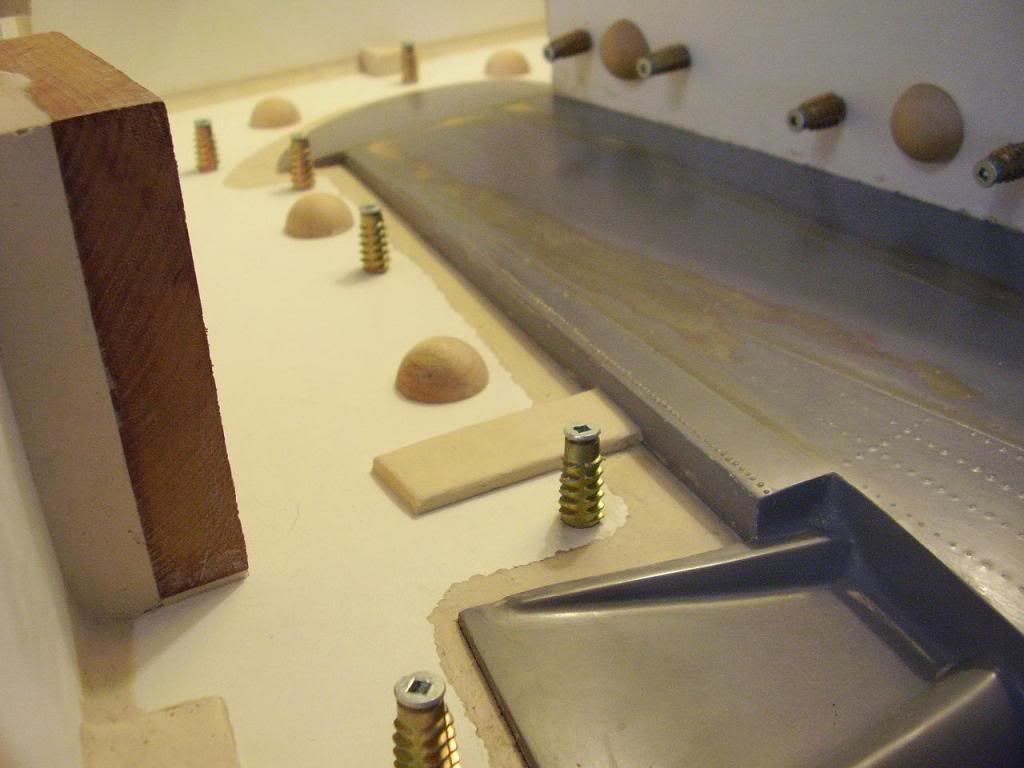 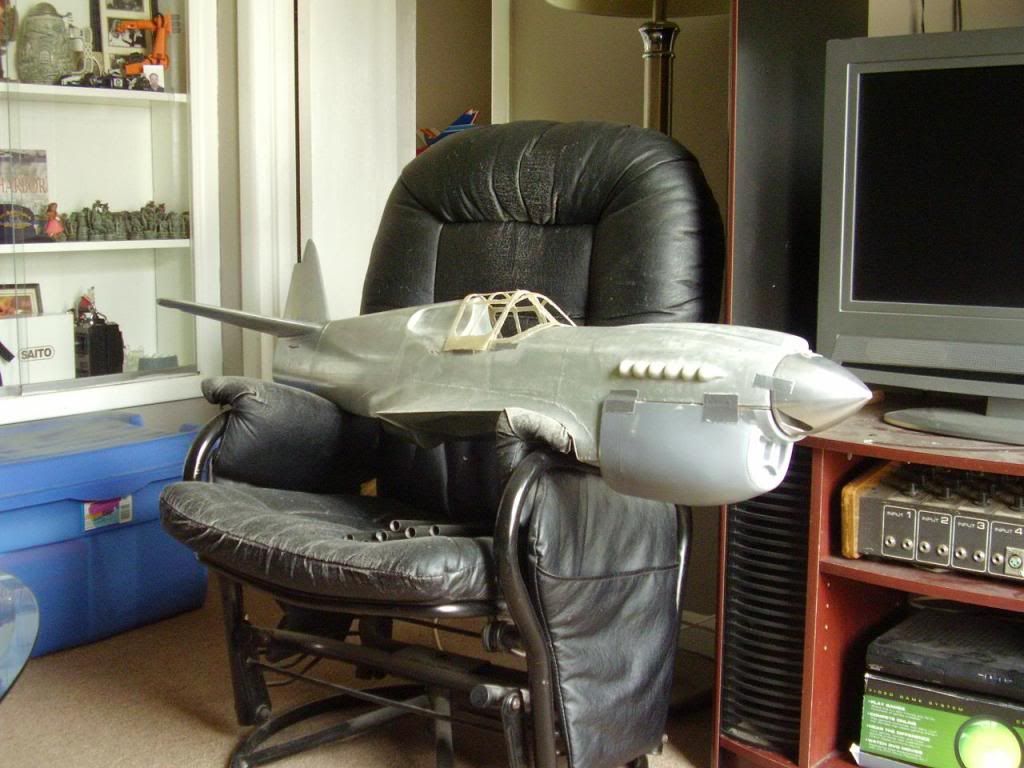 |
|
|
|
Post by b1heqh54 on Jun 14, 2011 2:48:04 GMT -5
Once I have progressed to some of the heavier cloth layers in the layup of this main lower mould section, I will lay this straw conduit down on a tacky surface and continue to lay cloth up on top of it. All of the joints have been sealed with clear tape to keep the resin out. I will mould a pipe union into the end faces so that I can screw taps onto each end of the mould. By running hot tap water through the mould face, I hope to have a means for controlling the time/temp curve for the cure and tool cycles. I should be able to reduce the cure time to some noticeable effect with only tap water to a maximum of about 140 deg. fahrenheit or about 60 Celcius. To my estimation, this would represent the home hobbiest's best chance of approaching any sort of idealized tool utilization rate while maintaining a moderate capital investment. 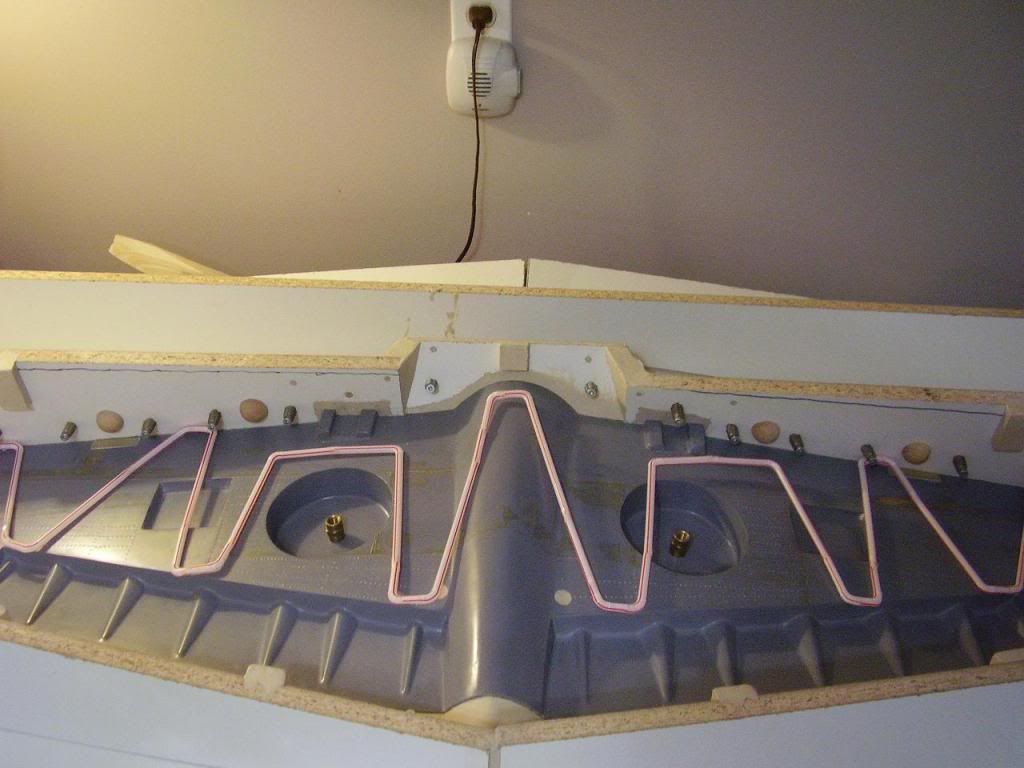 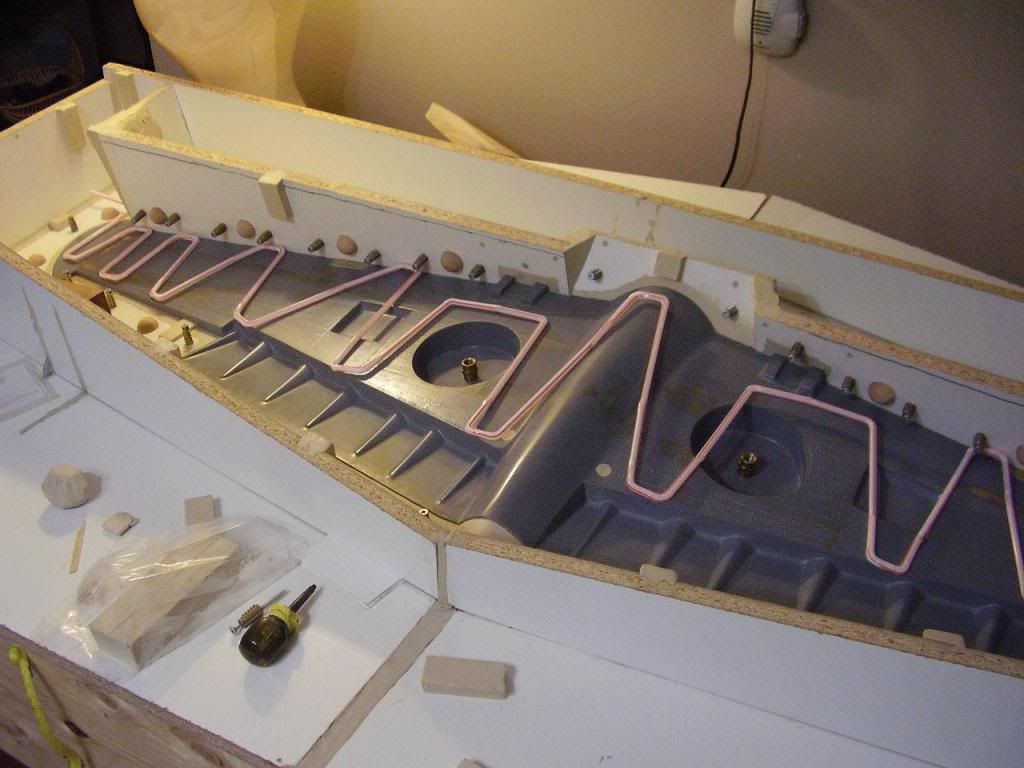 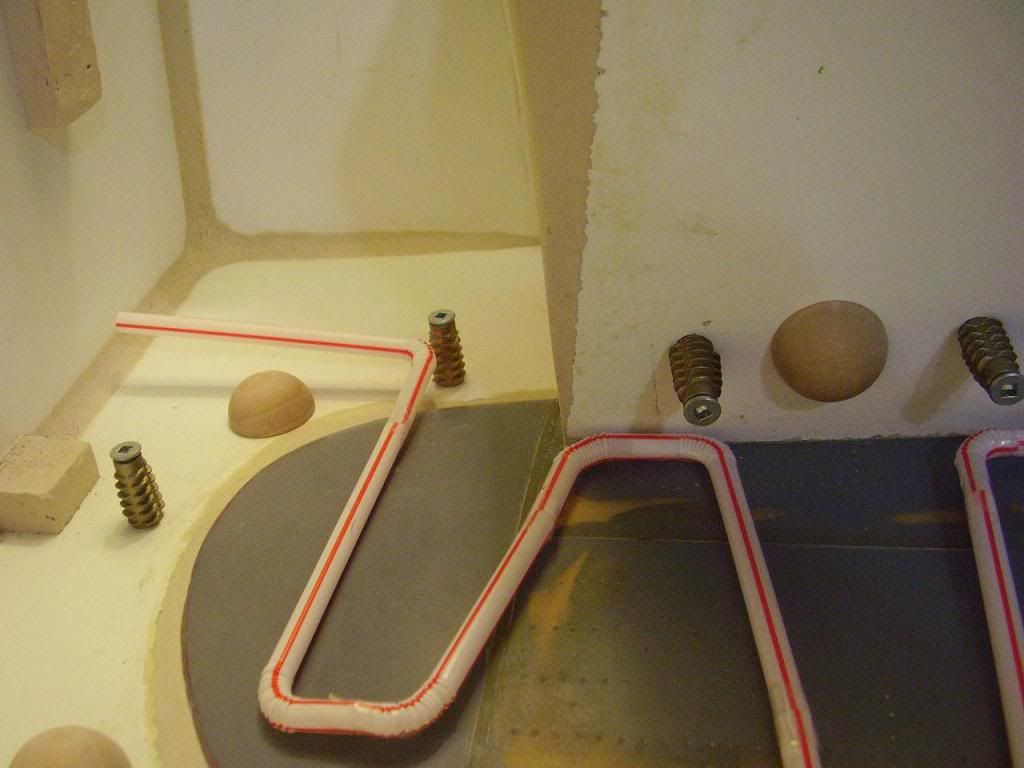 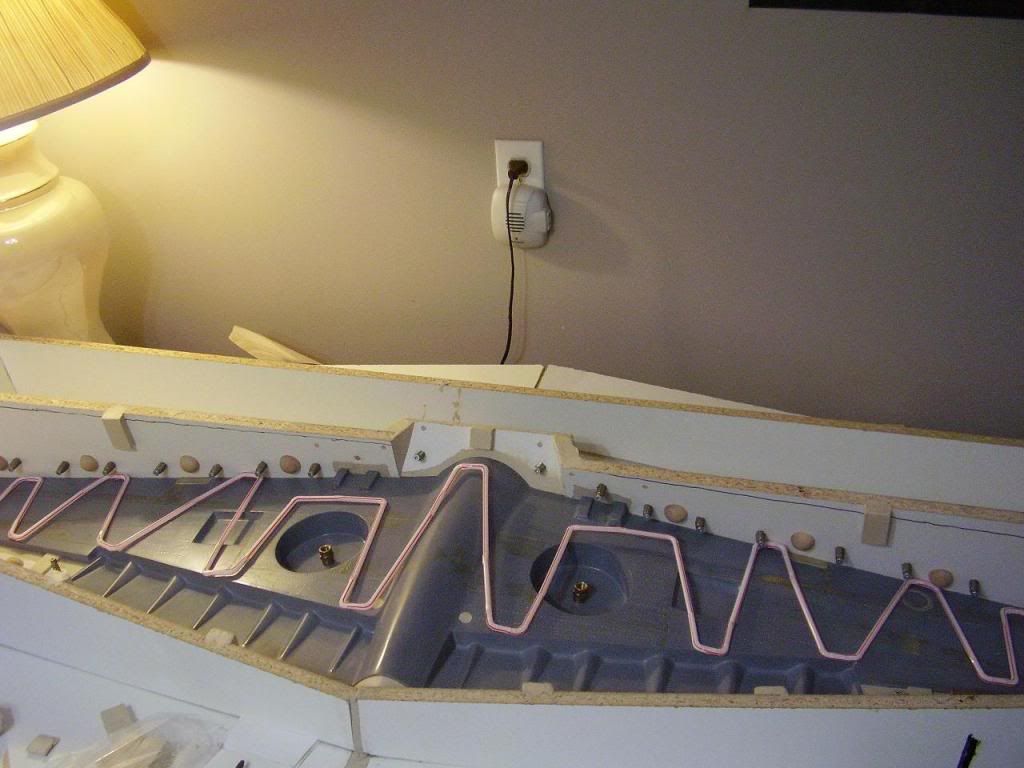 |
|
|
|
Post by b1heqh54 on Jun 14, 2011 23:06:51 GMT -5
The lowest cost solution seemed to be a hose repair kit. It cost me just under $5 for both the male and female brass fittings. I now have a couple of spare 1/2" gear clamps in the top drawer of my tool chest. I've positioned the hose hookups on the rear face of the mould section so that the potential exists to hook the upper and lower sections together in a series configuration during final assembly with two small lengths of hose. Normally I would wait an additional 24 hrs to demould the joined wing assembly. With heat to aid in reducing cure times and improving wing rigidity, I'm hoping to take a mould cycle from a tiresome 3 day operation to an easy 2 days per wing. 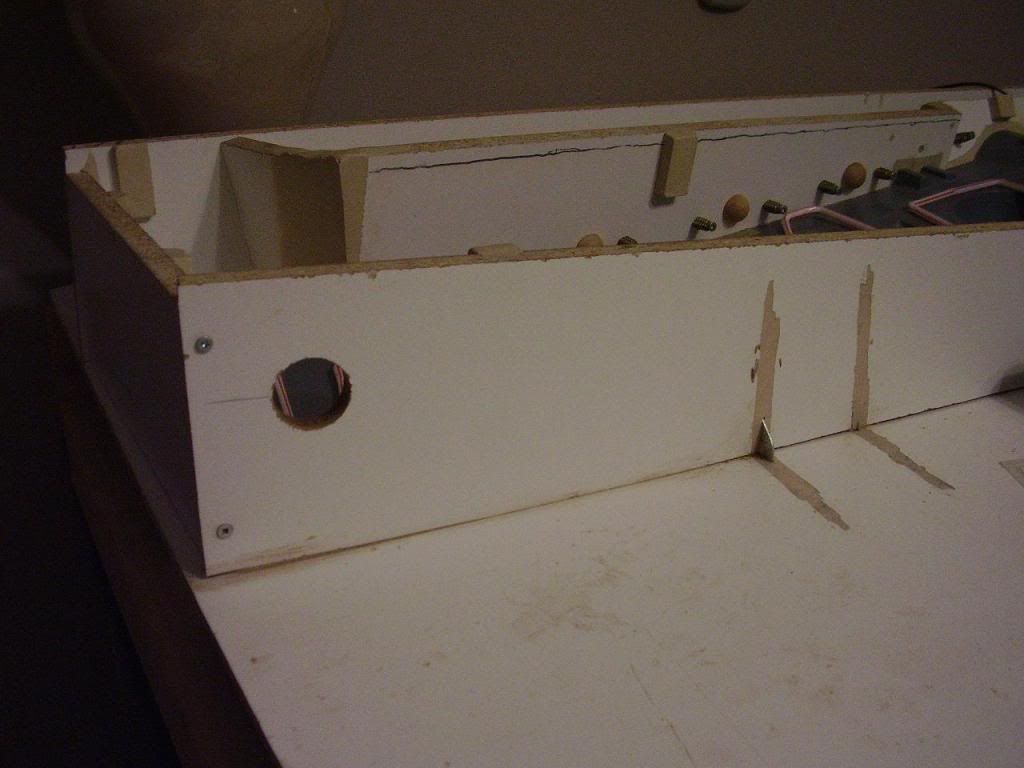 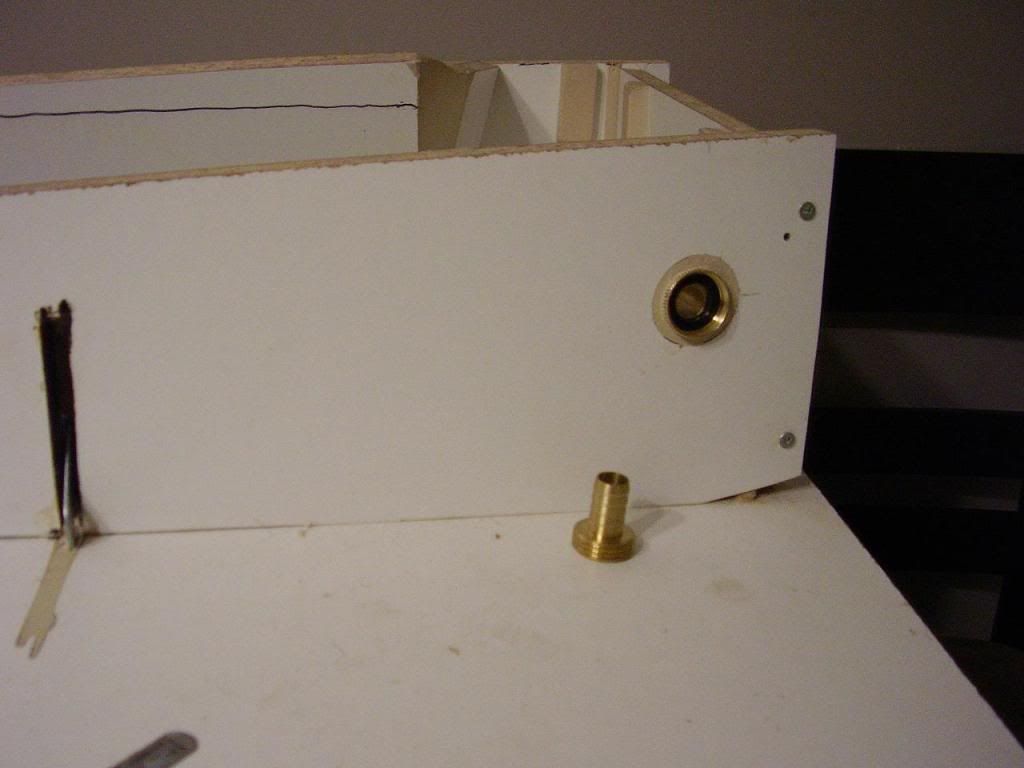 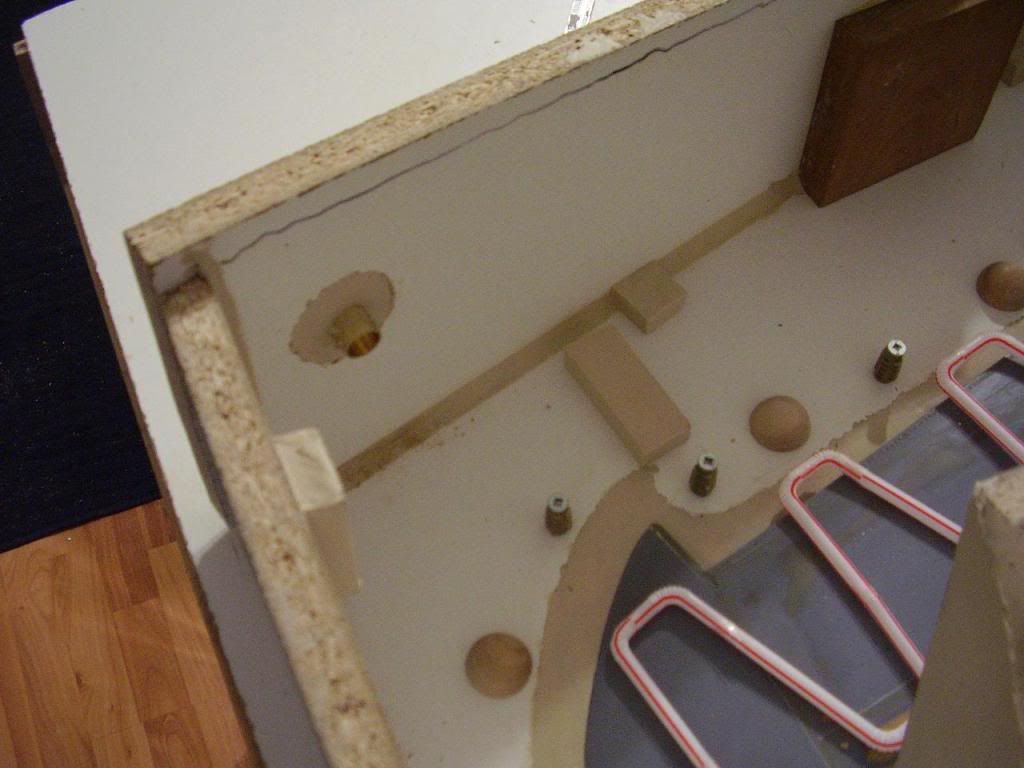 |
|
|
|
Post by b1heqh54 on Jun 15, 2011 11:37:09 GMT -5
One of the first places to wear on a multi-piece mould like this, is the edge along which you trim semi-green parts just prior to joining. As a result, it's a very slow and tedious process to try and freehand. This aluminum insert in the mould face will help to provide a nice durable trimming edge face. Notice the external grooving to aid in bonding with the tool surface coat. It will also form an overflow channel to give excess resin during joining a place to go. It might also provide a calibrated groove in which a custom trimming blade jig might ride... Here's a source link (for future reference, 36" weighed in at 205 g) store.workshopsupply.com/catalogue/blackjack-track-p-2954.html...and here's the idea...  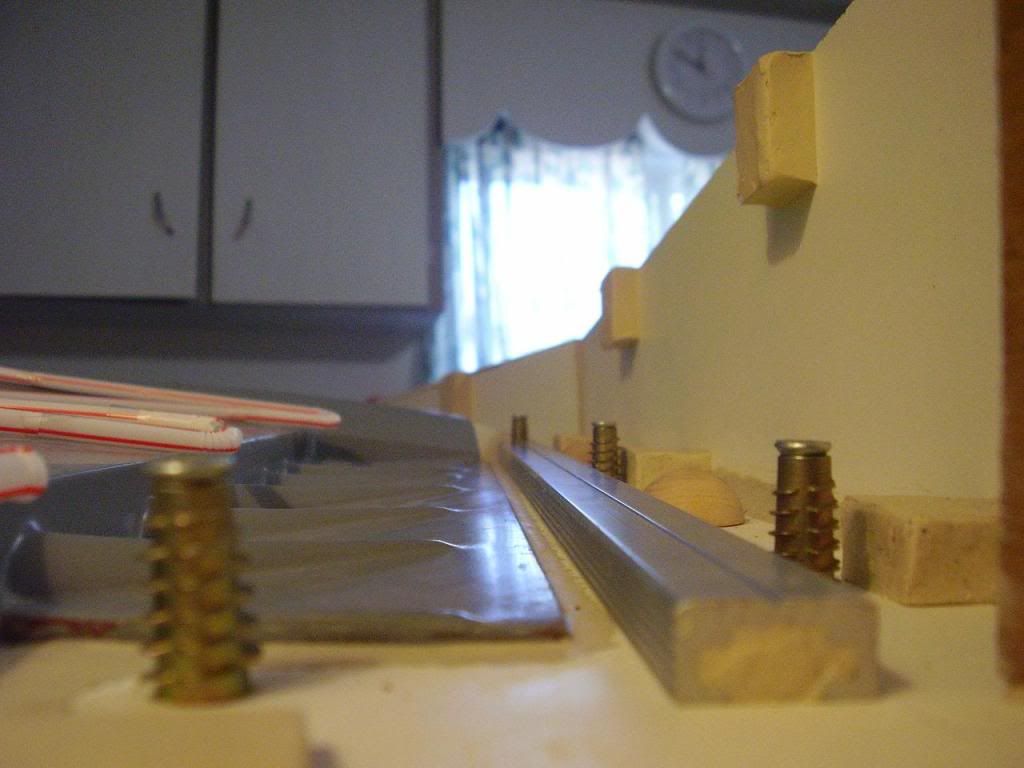 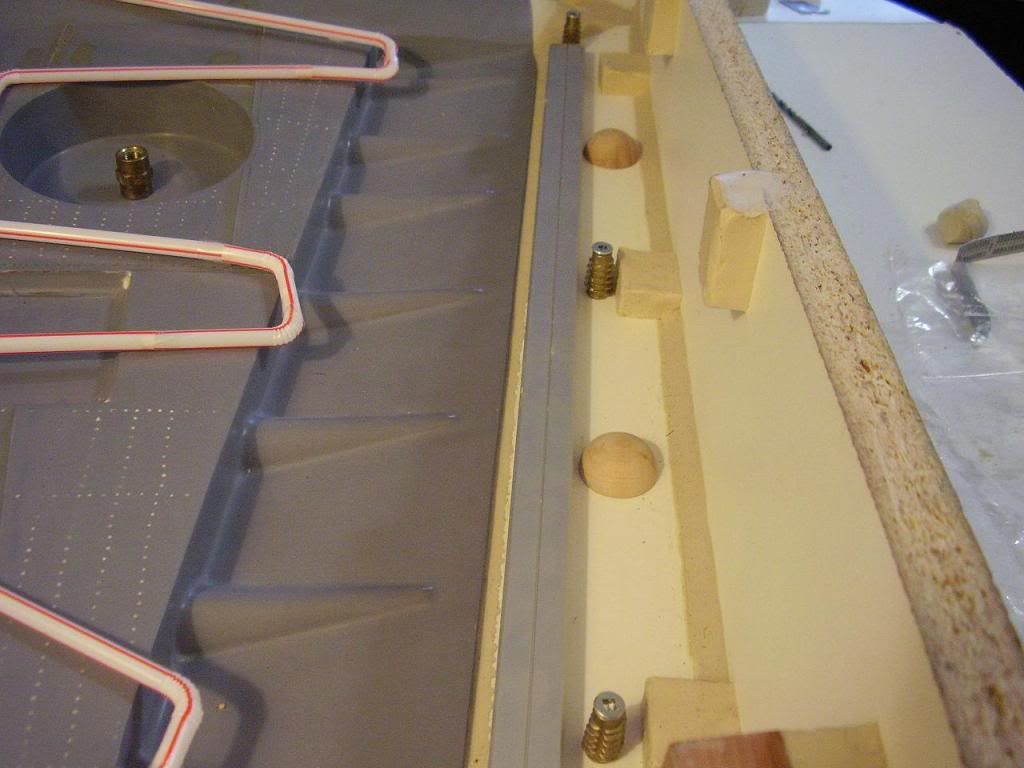 |
|
|
|
Post by b1heqh54 on Jun 18, 2011 16:44:59 GMT -5
|
|
|
|
Post by b1heqh54 on Jun 21, 2011 15:59:16 GMT -5
These bright white LED's will provide some light in the cavities where the control rods will extend past the trailing edge during final assembly. (...because I'll be sure to be an old grey man with bad eyes by the time this thing's done!!) How do you like my scale bullet holes in the wing skins in this first close up shot!? 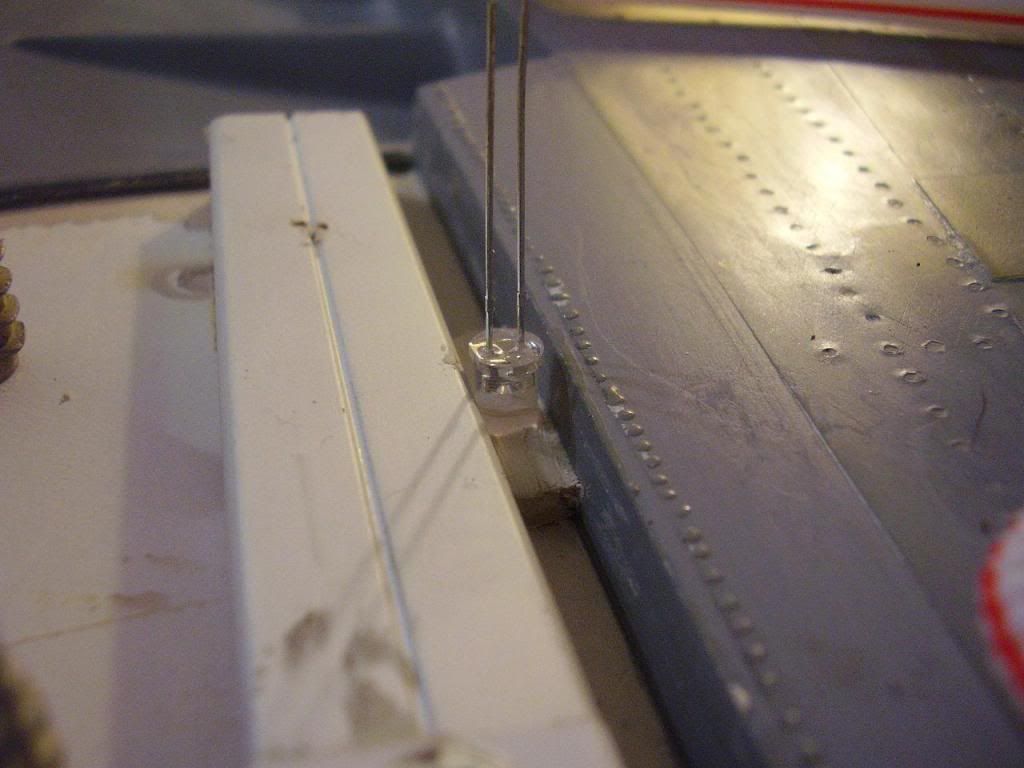 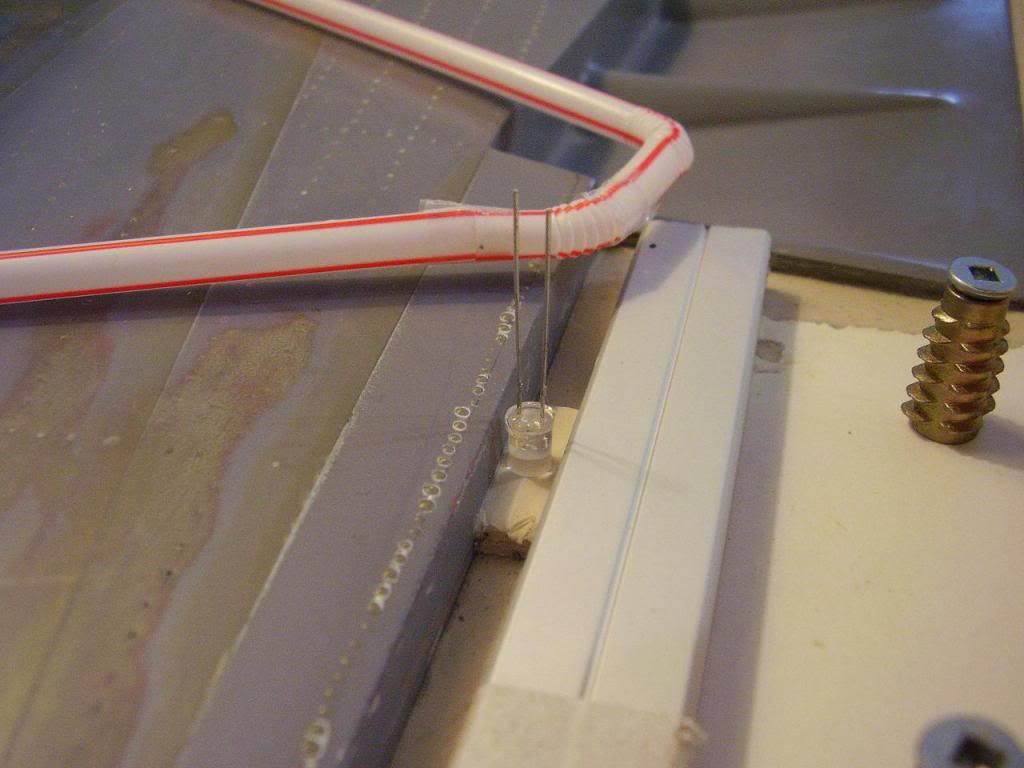 |
|
|
|
Post by b1heqh54 on Jun 22, 2011 20:13:57 GMT -5
Alright, it's been 8 weeks setting up the first section of the wing mould. But it's good news / good news: I'll be starting the layup this evening / the next sections will be much quicker. I've added some artwork that will be cast into the end faces of the mould (just for a little fun) and I've also updated the tool ID tag. Stay tuned, there'll be ongoing pics, and so without further adieu... 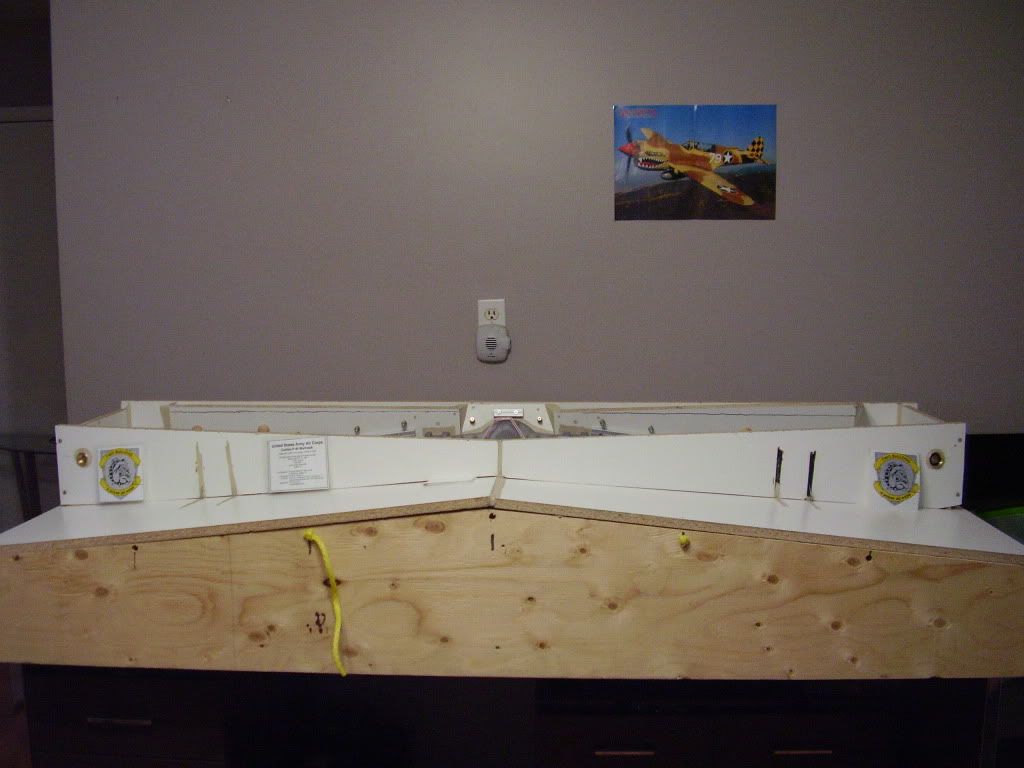 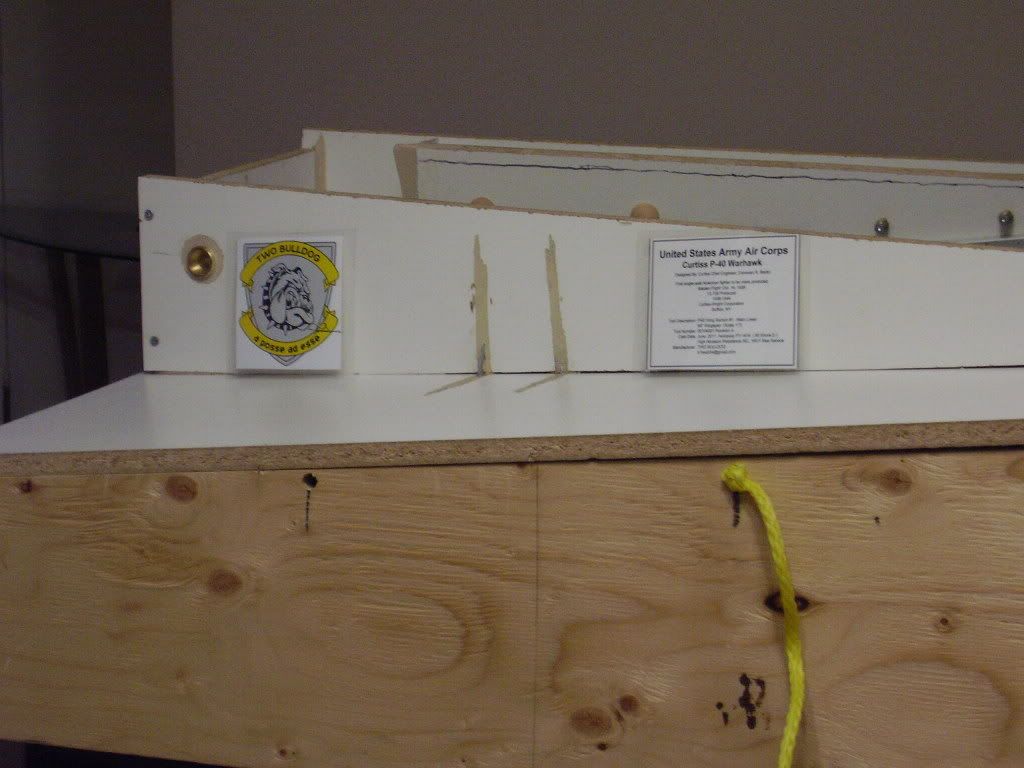 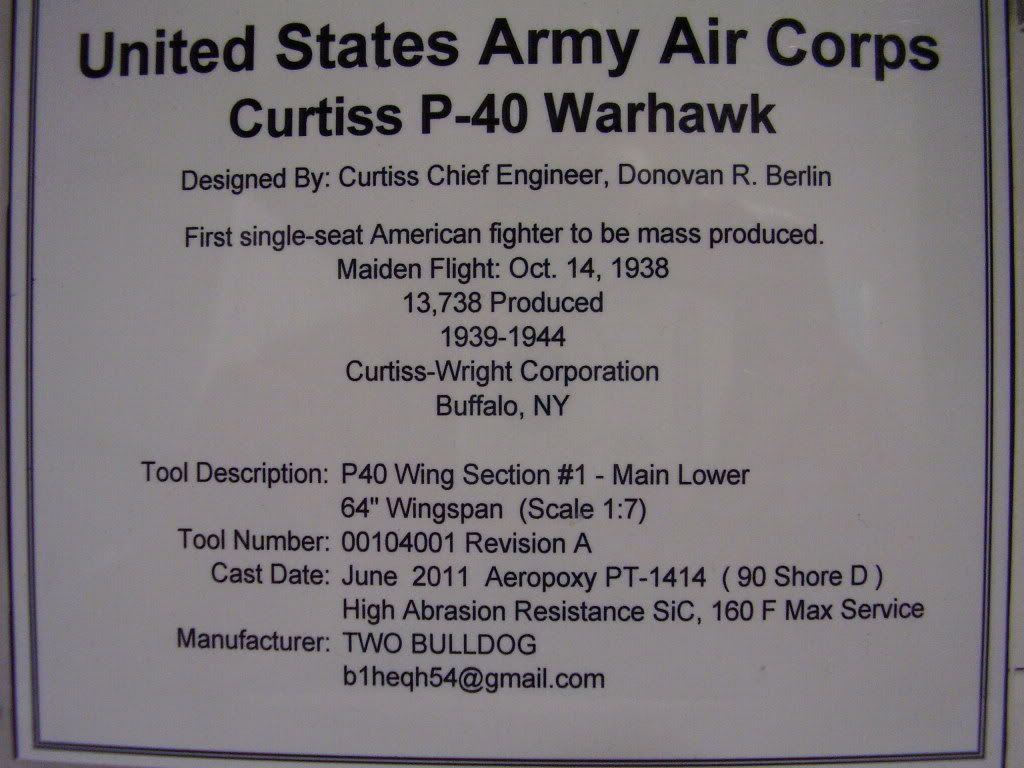  |
|
|
|
Post by b1heqh54 on Jun 24, 2011 5:58:15 GMT -5
|
|
|
|
Post by b1heqh54 on Jun 24, 2011 7:05:09 GMT -5
That's the first coat of tool coat applied, with particular attention to over hangs. Generally I mix up about 100 grams and put it into tight corners like where the part meets the parting board first while it still flows like no tomorrow. Once it starts to get a little thicker I move onto vertical walls, overhangs and the like. I'll let this set up for an hour or two, and then I'll give it a second coat of tooling epoxy. I'm shooting for about 1/16" thick and complete coverage. Haha - my tool ID tag fell off, but both bulldog tags stayed put - can't win for losing. I'll stick the tool ID tag on later I guess. 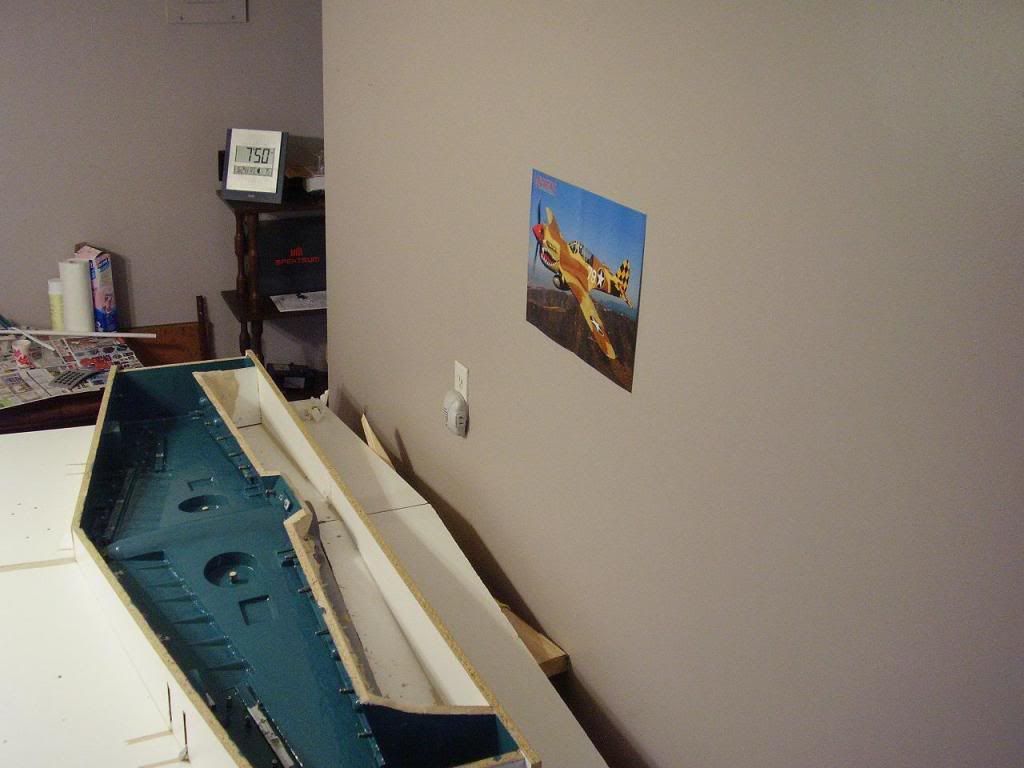 |
|