|
|
Post by b1heqh54 on Nov 23, 2010 15:57:48 GMT -5
Yes folks, it could be you. Today, I realized that hey, I'm a manufacturer! ...and you can be too....now get sanding 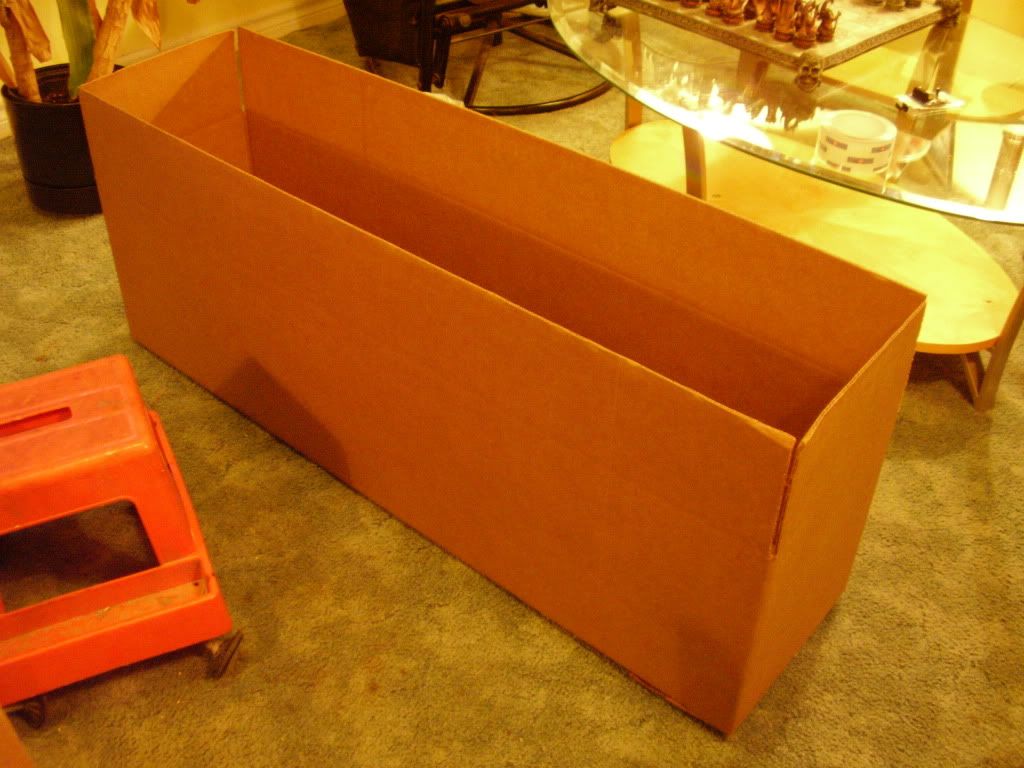 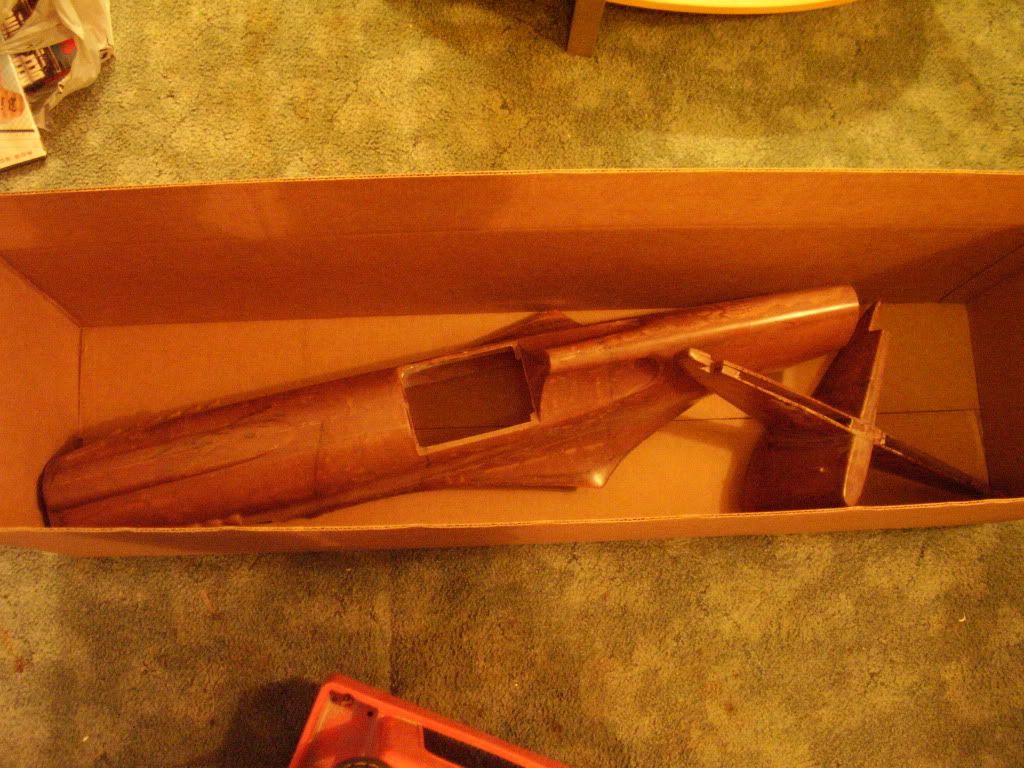 |
|
|
|
Post by b1heqh54 on Mar 18, 2011 2:31:21 GMT -5
|
|
|
|
Post by b1heqh54 on Mar 20, 2011 1:42:05 GMT -5
|
|
|
|
Post by b1heqh54 on Mar 20, 2011 17:17:39 GMT -5
|
|
|
|
Post by b1heqh54 on Mar 24, 2011 23:55:13 GMT -5
|
|
|
|
Post by b1heqh54 on Mar 26, 2011 1:39:23 GMT -5
A word to the wise. The original canopy could not be removed from the mould. I ended up plugging the vacuum port with clay and filling the mould with acetone in order to dissolve the original. I then drained it out the port into a suitable disposal container.  All in all though, I think it turned out well. I will trim it up later and then mould a frame around it for clamping the clear sheet. In the end, I'd like a functional canopy on the flaps channel for my effort. 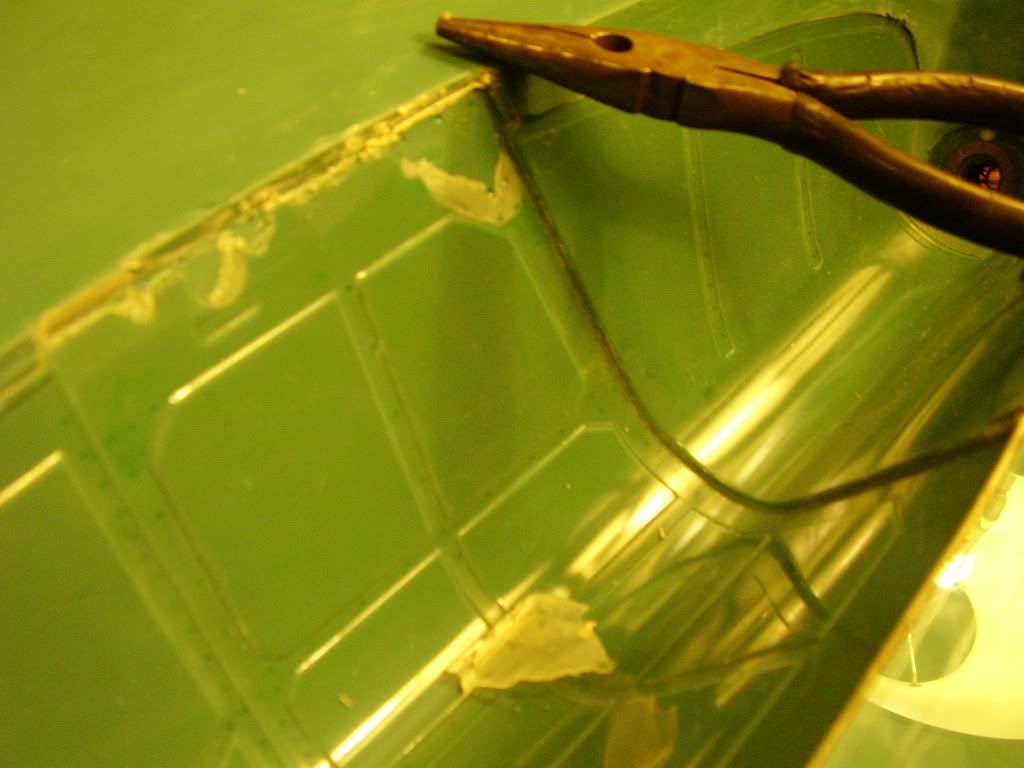 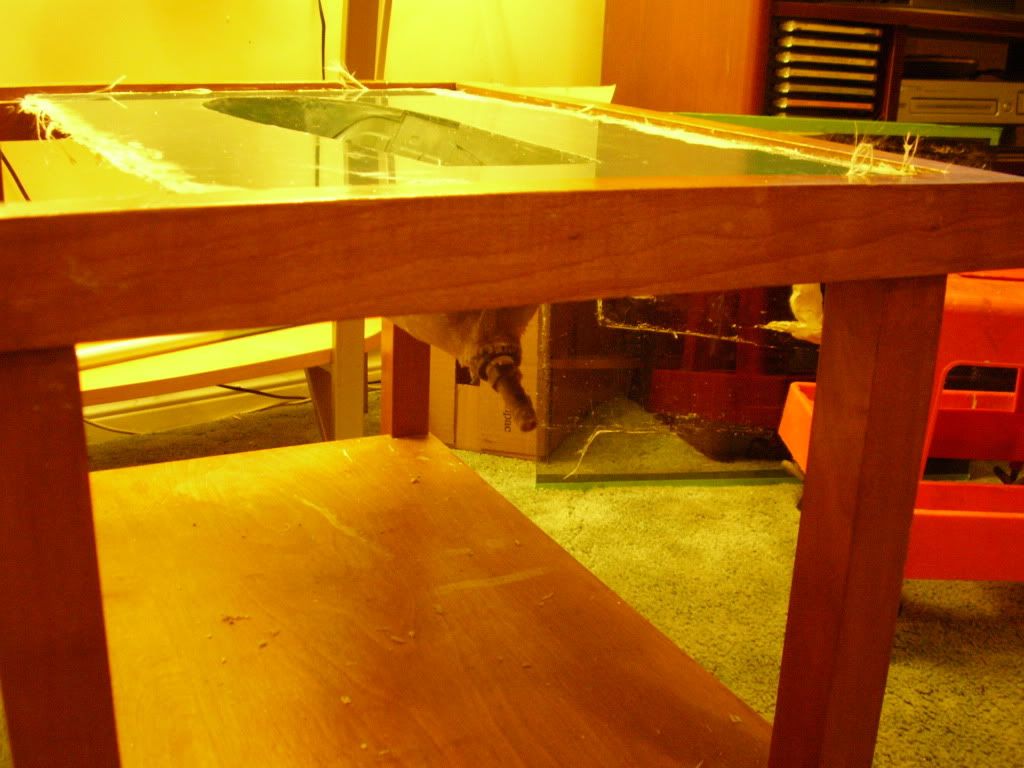 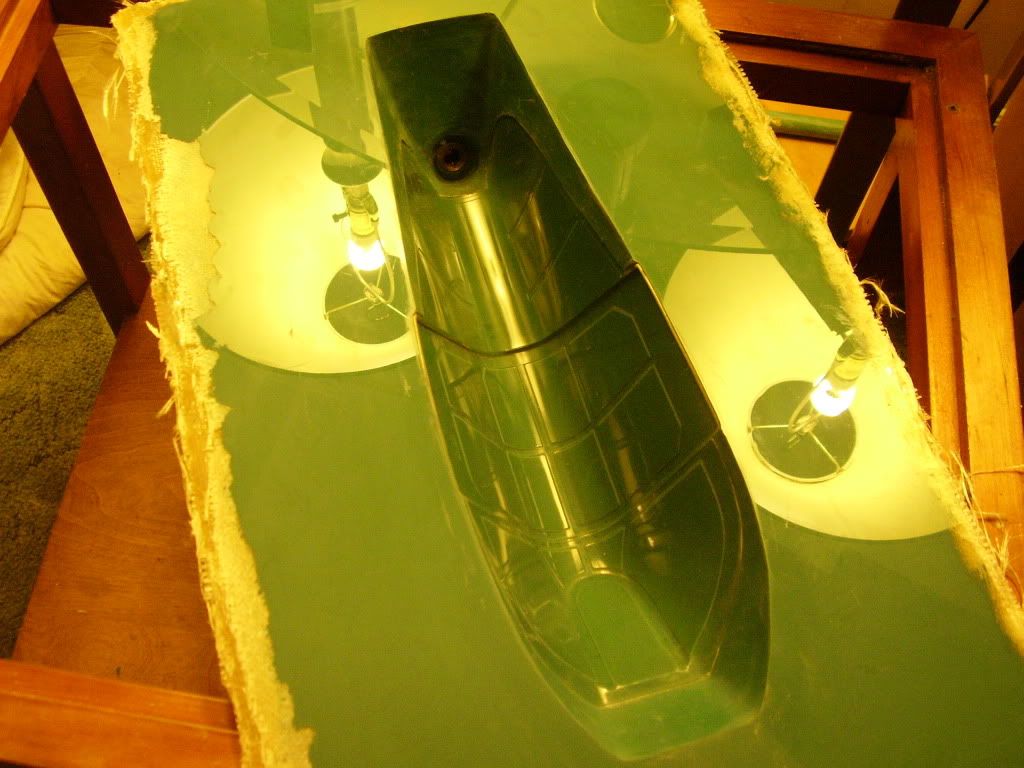 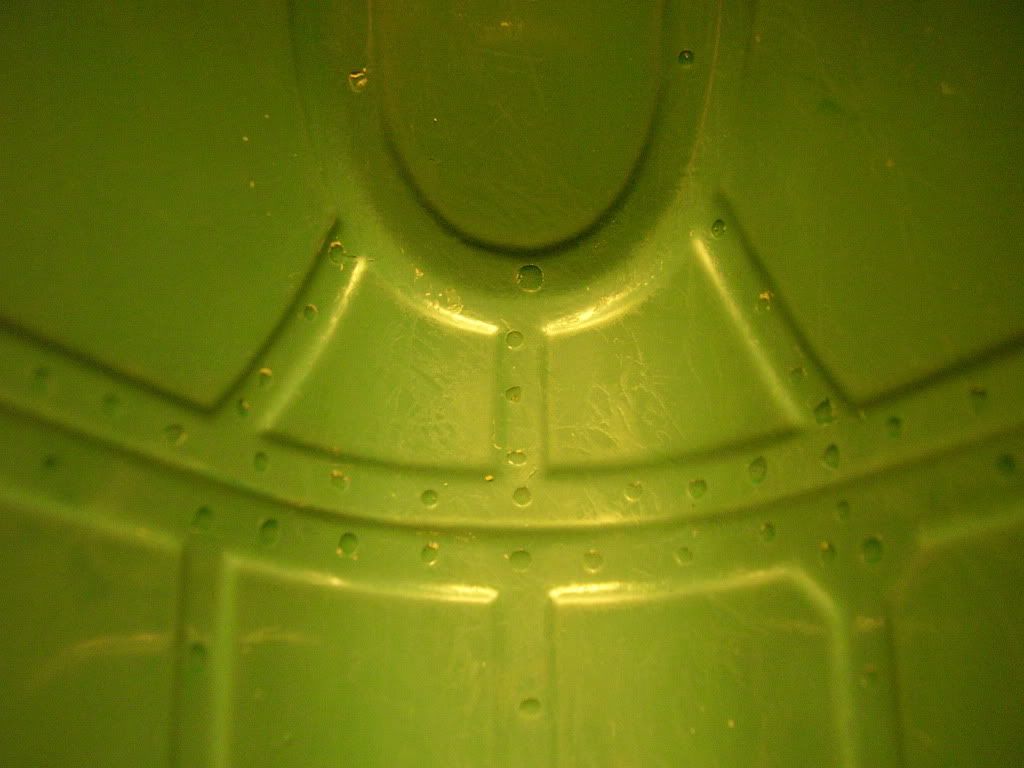 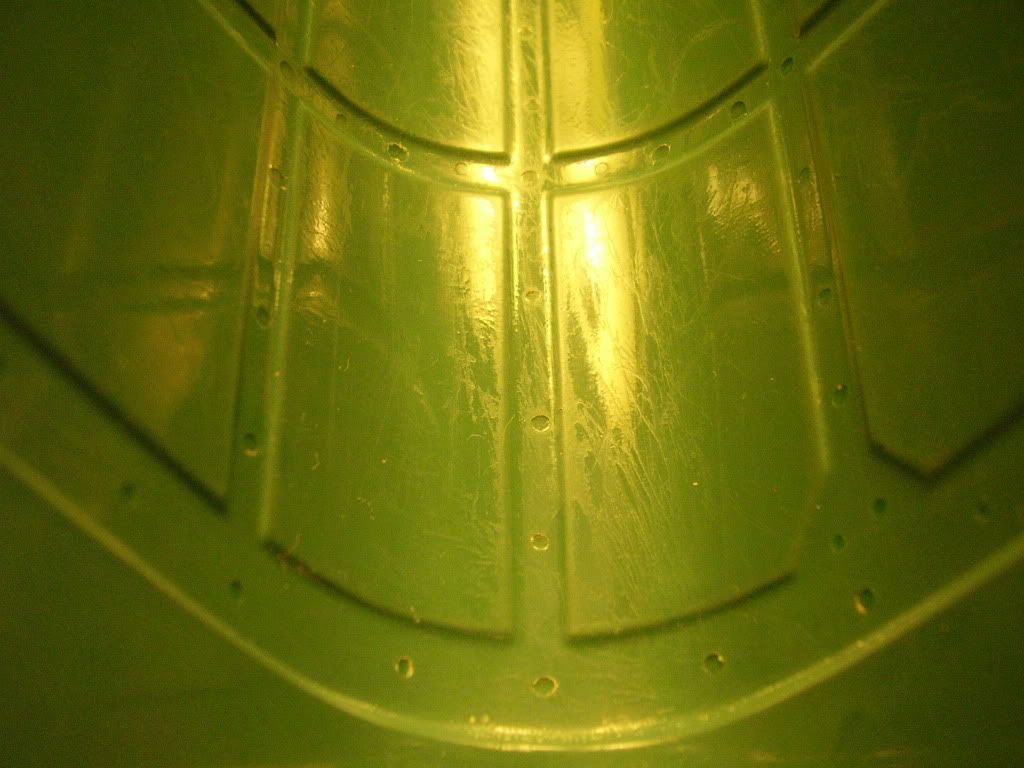 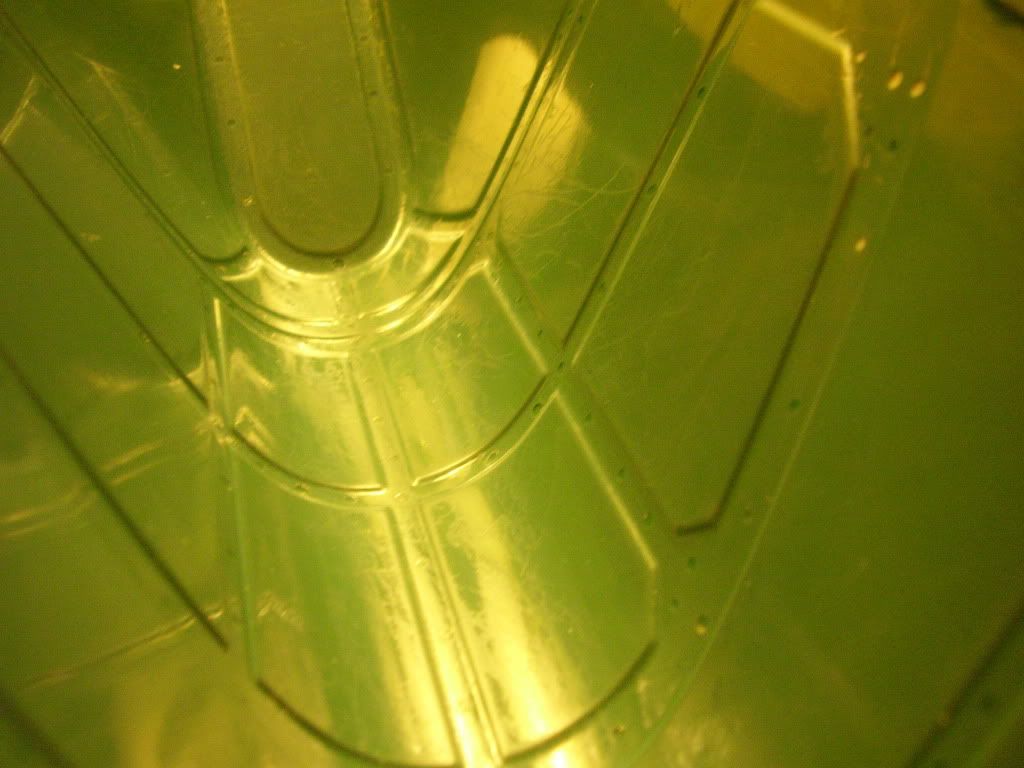 |
|
|
|
Post by b1heqh54 on Apr 13, 2011 17:28:15 GMT -5
Well, I've been relocated for just about 2 weeks now, so "the itch" is working its way to the surface again. I also have a new workbench that I "salvaged" from a junkpile. It's a great steel desk that had quite a few more bits and pieces that I didn't have room for, so I mixed and matched and came up with the stripped down configuration that you see here. It's sturdy, flat, level, and well re-inforced to make sure that it stays that way. I always frame on glass, so I won't be using it for that, but I was getting more than a little sore from working on my floor and coffee table. I hope to mount my roll of glass toward the wall so that I just pull on it and cut off what I need. So here goes my first attempt at a canopy frame. For better or worse I'm trying a spray wax release. (too many requests for parts to spend a day waxing with carnauba paste each time - my preferred method) My bulldog Bugsy says - "We've tried these sprays before and that's how we ended up at pure carnauba wax...." 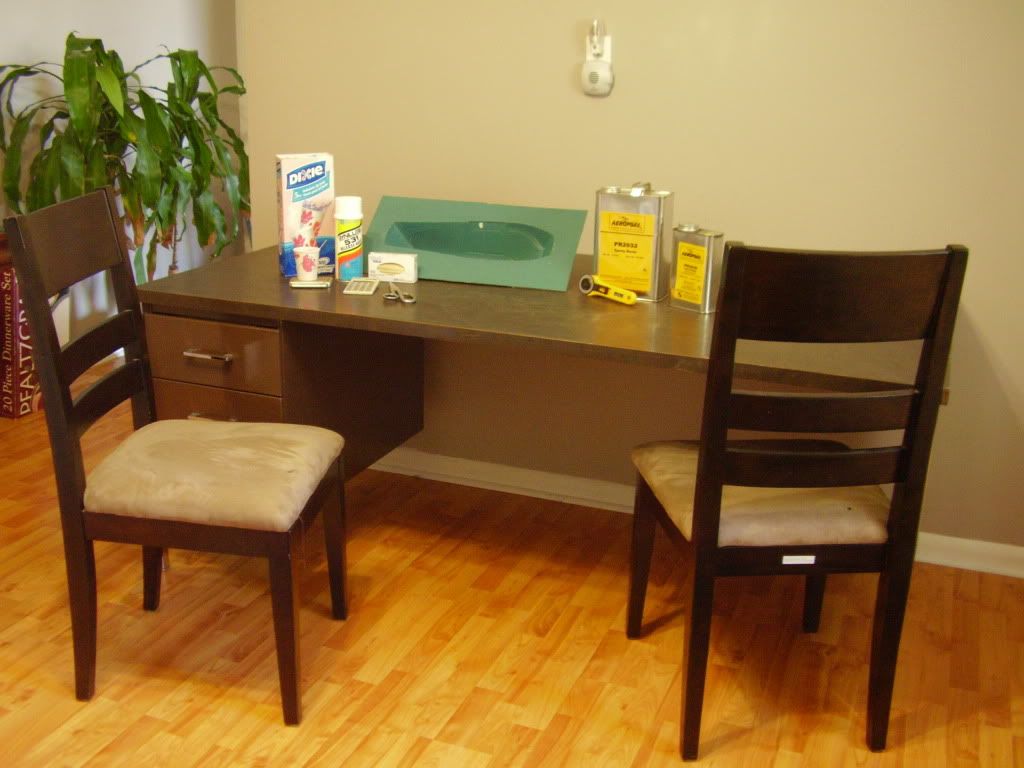 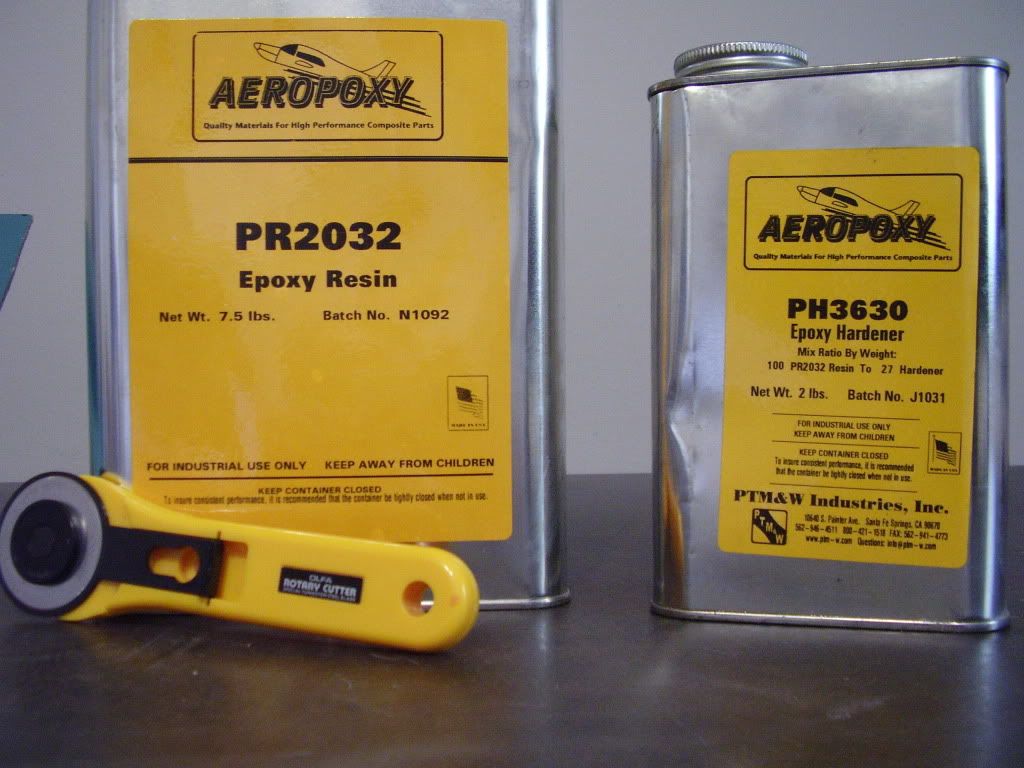   |
|
|
|
Post by b1heqh54 on Apr 13, 2011 17:34:34 GMT -5
It ain't pretty, but it's a one of a kind. (for now...) 1 layer - 9 oz/ft^2 bi-directional 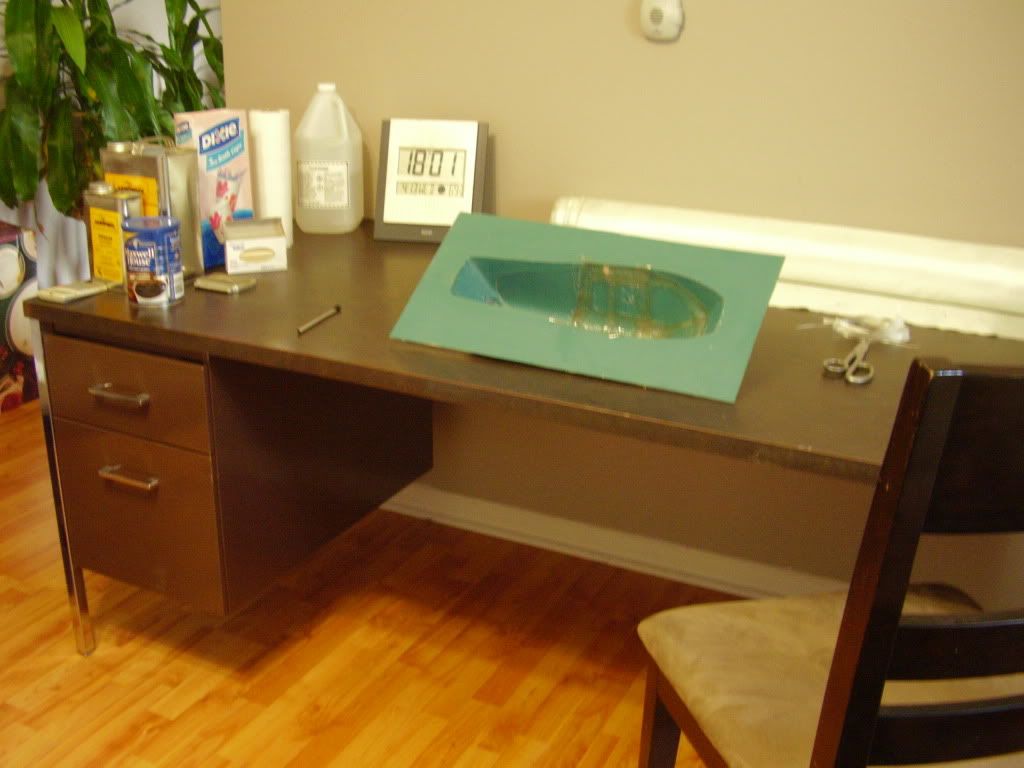 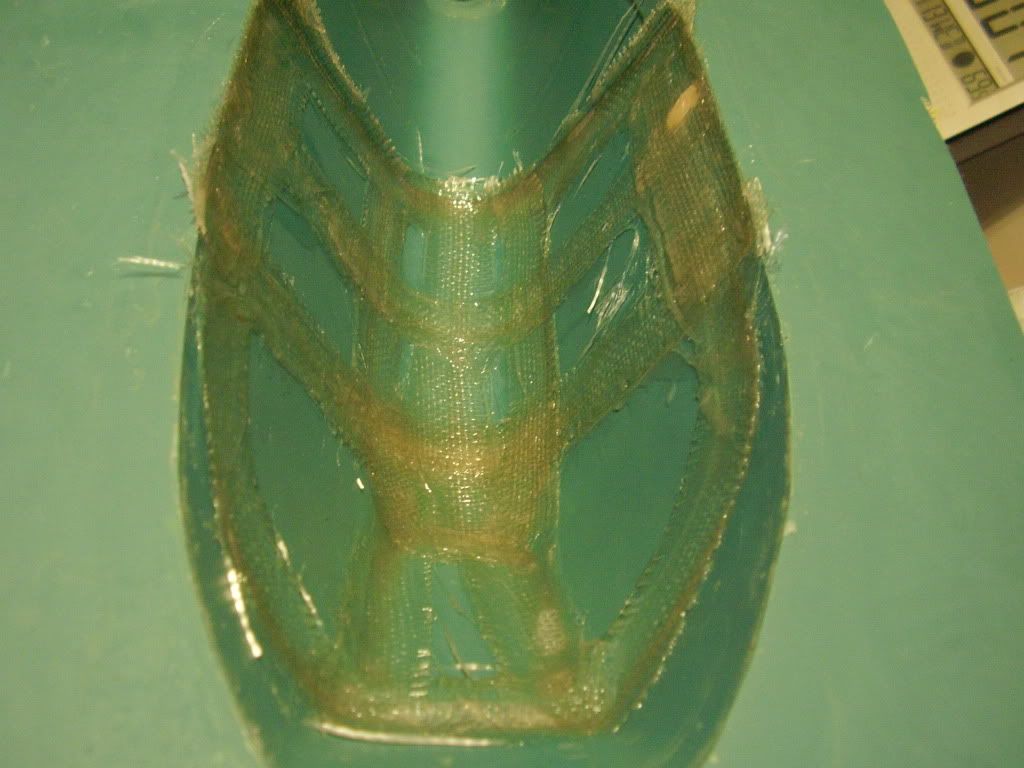 |
|
|
|
Post by b1heqh54 on Apr 14, 2011 4:42:35 GMT -5
Release was exceptional. Although this part is not really a challenge in that respect as it can simply be peeled off the mould. As with the first pull on most tools, I found a couple of places that will require special attention to prevent underfill. If I was a rich man, I would spend the money on some consumables and draw vacuum on the next one. I haven't put my hands on my dremel since the move, but once I find it, I'll trim this one up and spray some primer on it to see how much detail transferred. 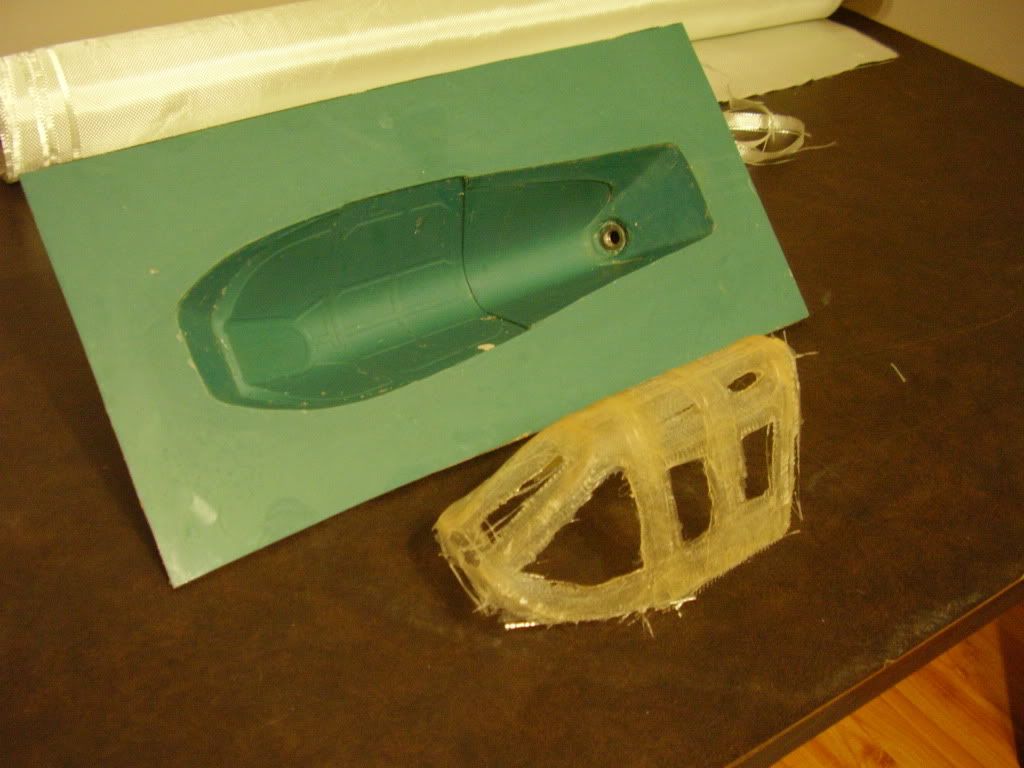 |
|
|
|
Post by b1heqh54 on Apr 14, 2011 21:08:17 GMT -5
Well, I won't be using this one, but I think I learned what I needed to in order to make one worthy of putting back into the mould and forming the clear canopy around. I think we all get the idea. 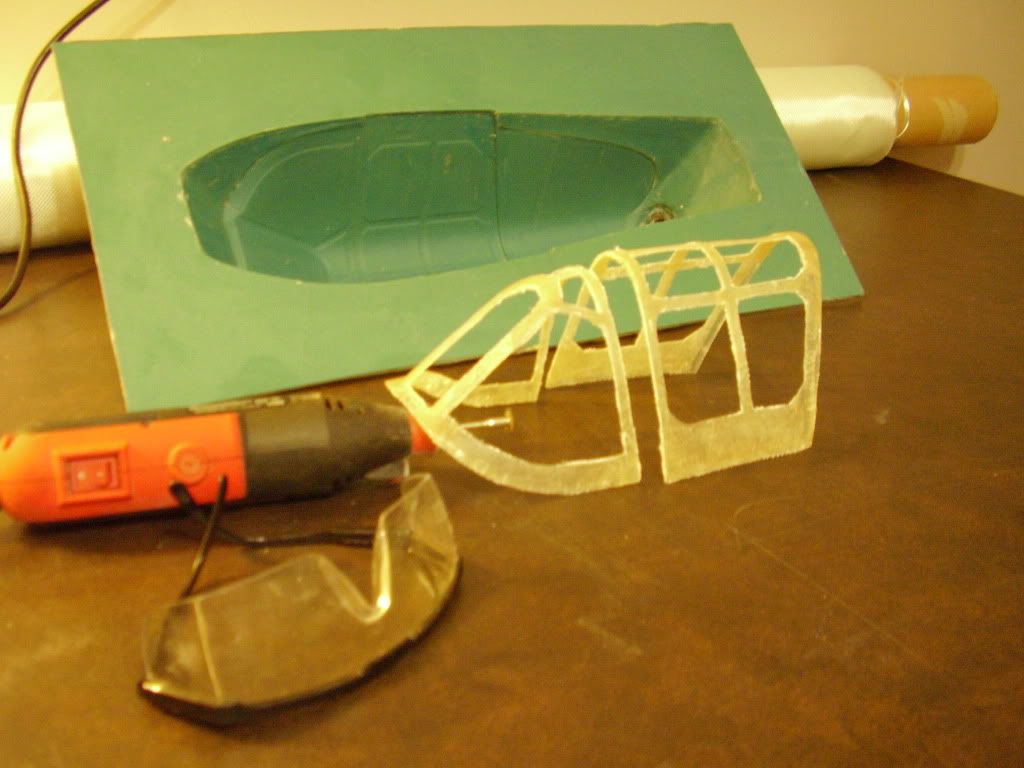 |
|
|
|
Post by b1heqh54 on Apr 15, 2011 19:55:01 GMT -5
Today I decided to put together a vacuum source for our little canopy mould. It has a quick-disconnect to the compressed air source and is hooked directly to the vacuum port of the canopy mould. This will allow me to pull and monitor vacuum on the mould with a little double sided tape around the perimeter of the flange (the smooth surface produced by the glass table top) and a piece of nylon sheet that I still need to salvage somewhere. (pool liner??) Epoxy won't adhere to the nylon as the frame layup cures but is air tight. The next layup schedule will be one layer of 2 oz/ft^2 cloth to fix the underfill spots where the heavier cloth didn't get into the corners and to eliminate the frayed edge when trimming with the cutoff wheel. Once the frame has been trimmed and put back into the mould I will do a similar operation but with the clear canopy sheet across the mould face. Of course it will be heated to a malleable condition before it is sealed across the mould. This will mould the clear canopy around the fibreglass frame. Flip the switch and vacuum is pulled on the mould until it reaches an adjustable limit. Should small vacuum leaks develop during the cure, vacuum is re-applied automatically to maintain constant pull. How many inches of mercury I can pull with this setup has yet to be determined and I'm not going to guess. Frankly I don't think it will take anywhere near 1 atmosphere (or 1 bar, or 28 inches of mercury, or 14.7 psi at sea level...etc) I'd guess that there's roughly 1/2 ft^2 of mould face at even 10 psi would be like applying around 700 lbs evenly distributed directly on the mould surface. I can't wait to hook up the compressor, open the valves, and throw the switch.... 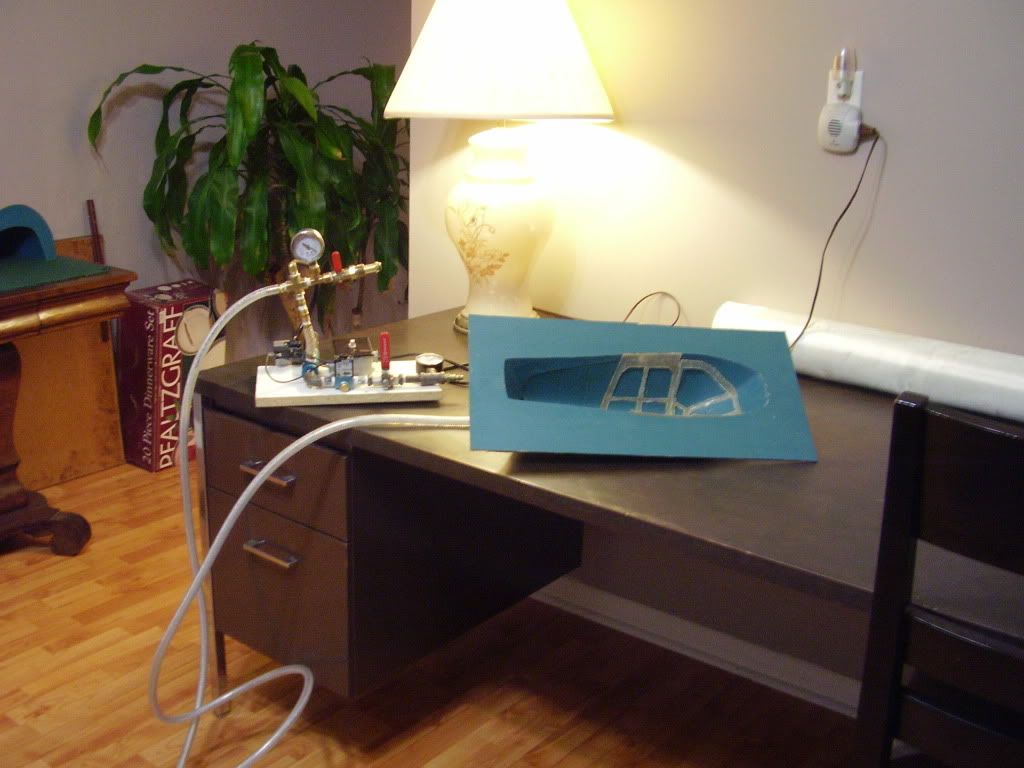 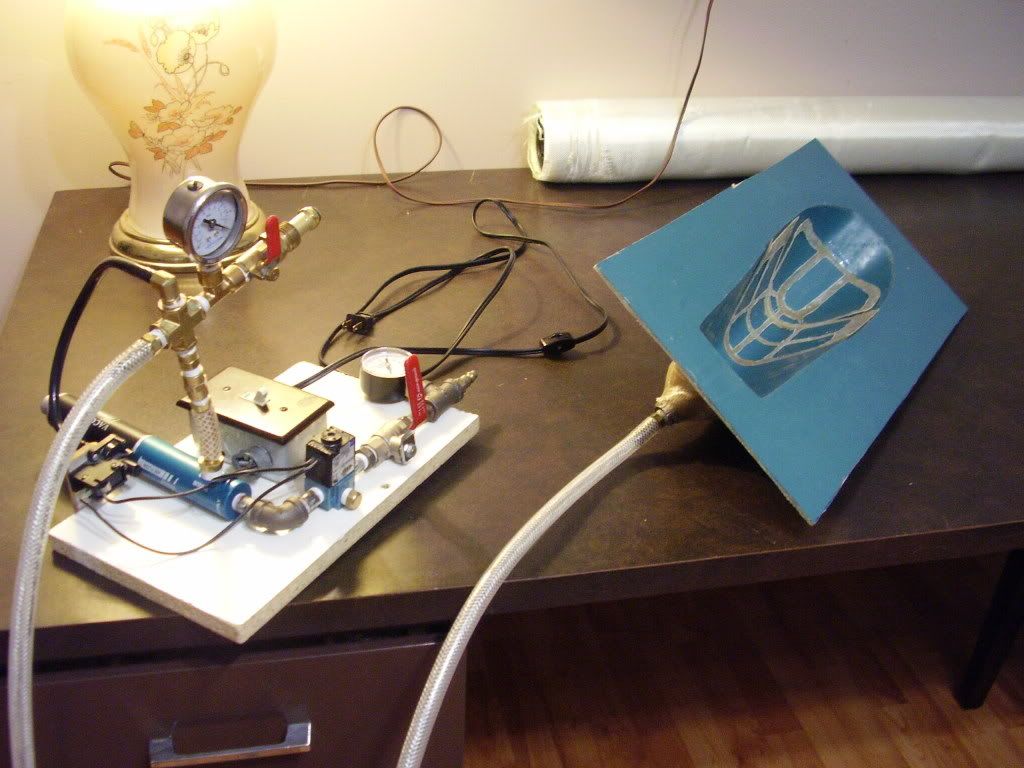 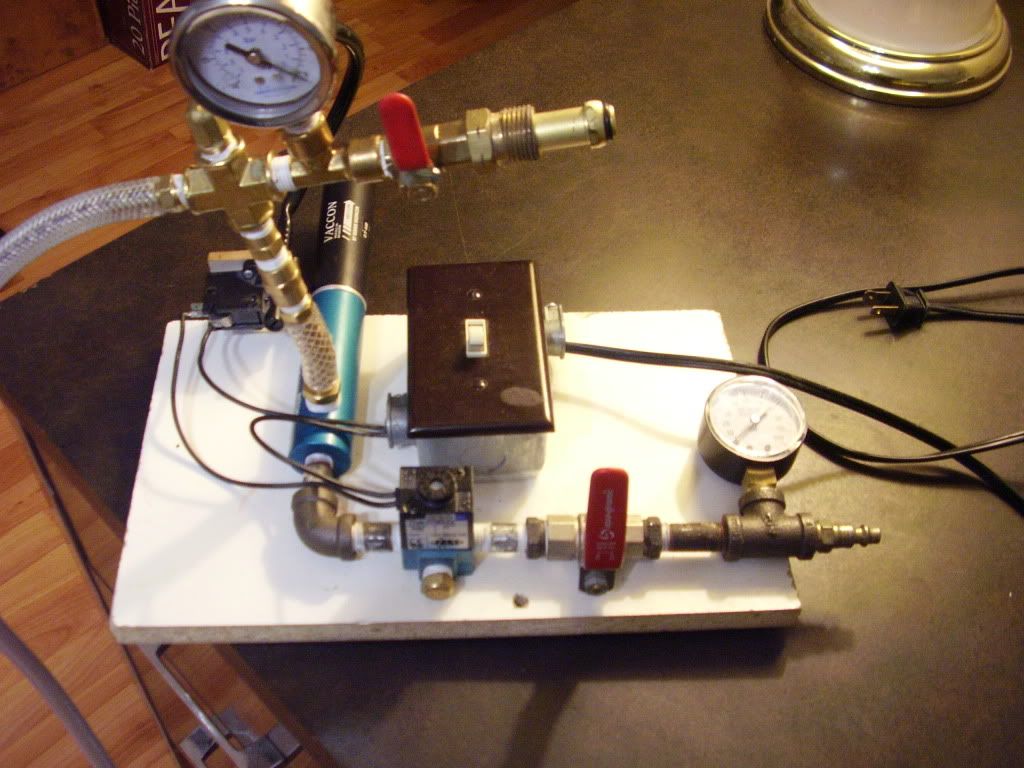 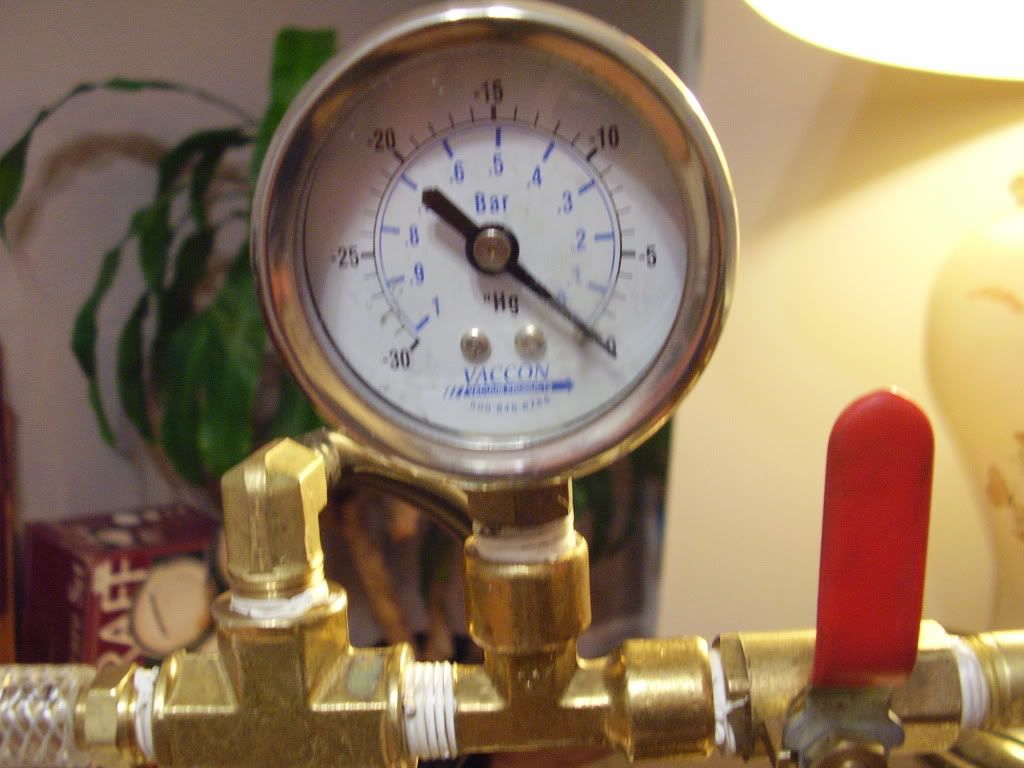 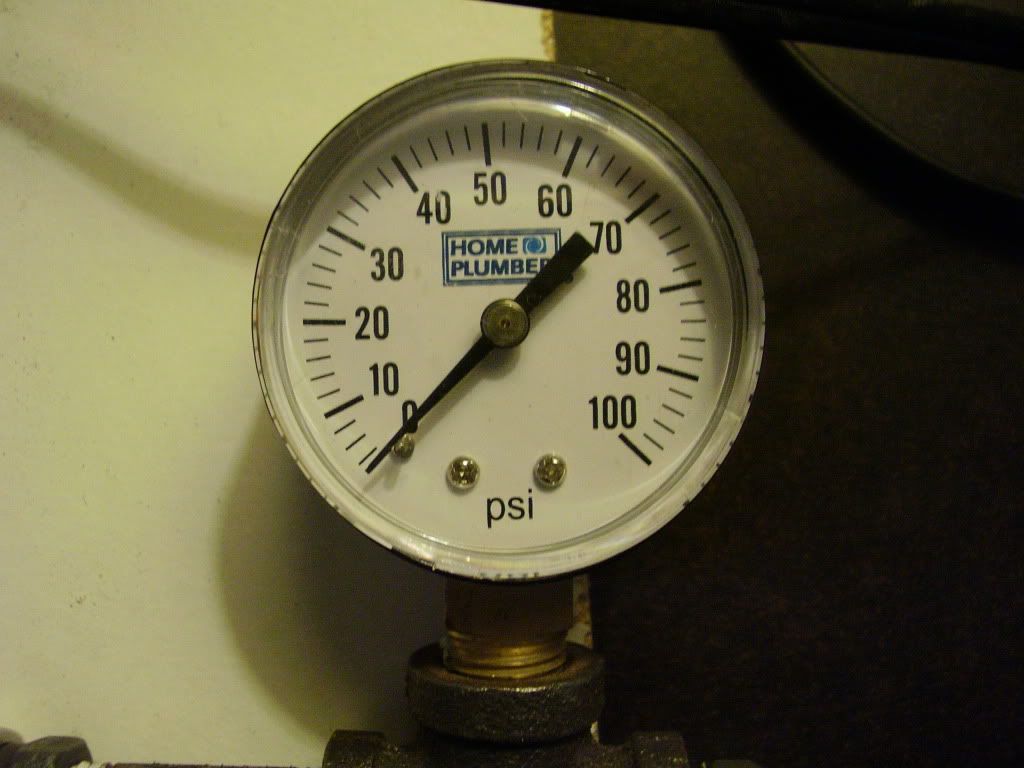 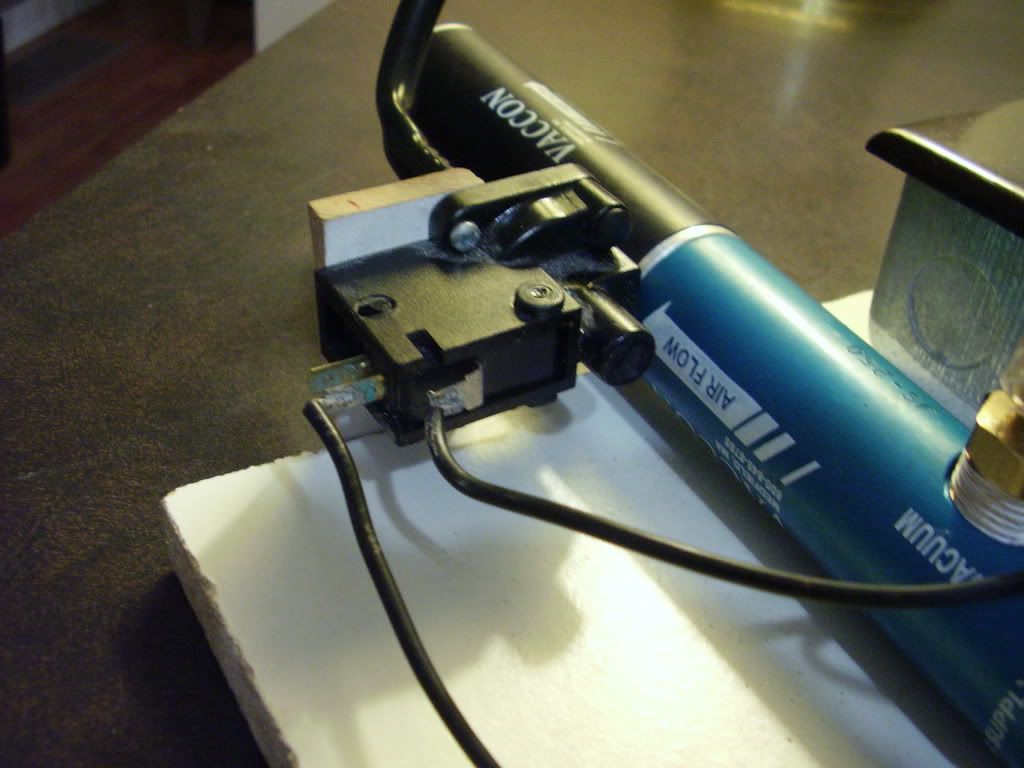 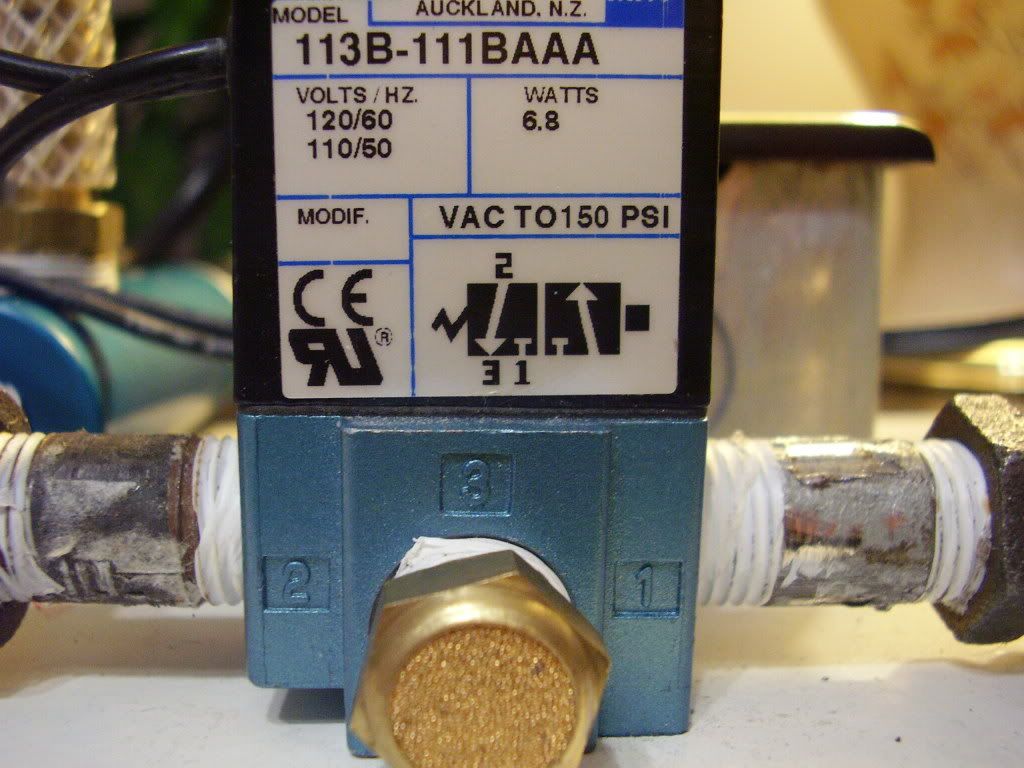 |
|
|
|
Post by b1heqh54 on Apr 21, 2011 17:05:22 GMT -5
Wing Mould Day One In order to mould the leading edge without a seam line, I need to stand the plug on the trailing edge. Easier than it sounds... Rule #1 of Modelling - Waste not; want not. This is the section of my junkpile desk that I did not have room for in my kitchen. The top is steel and is complete with T-slots. Best of all it's free! The T-slots will let me bolt on some fixturing that can be removed or adjusted as necessary. If you can't see it yet - stay tuned, this thread is about to come to life again. PostScript - you know, I probably drove by a thousand junk piles without a second glance - but a steel top of the right length to fit my wing mould pulled my truck to the side of the road without a second thought - crazy how your subconscious is always watching.... 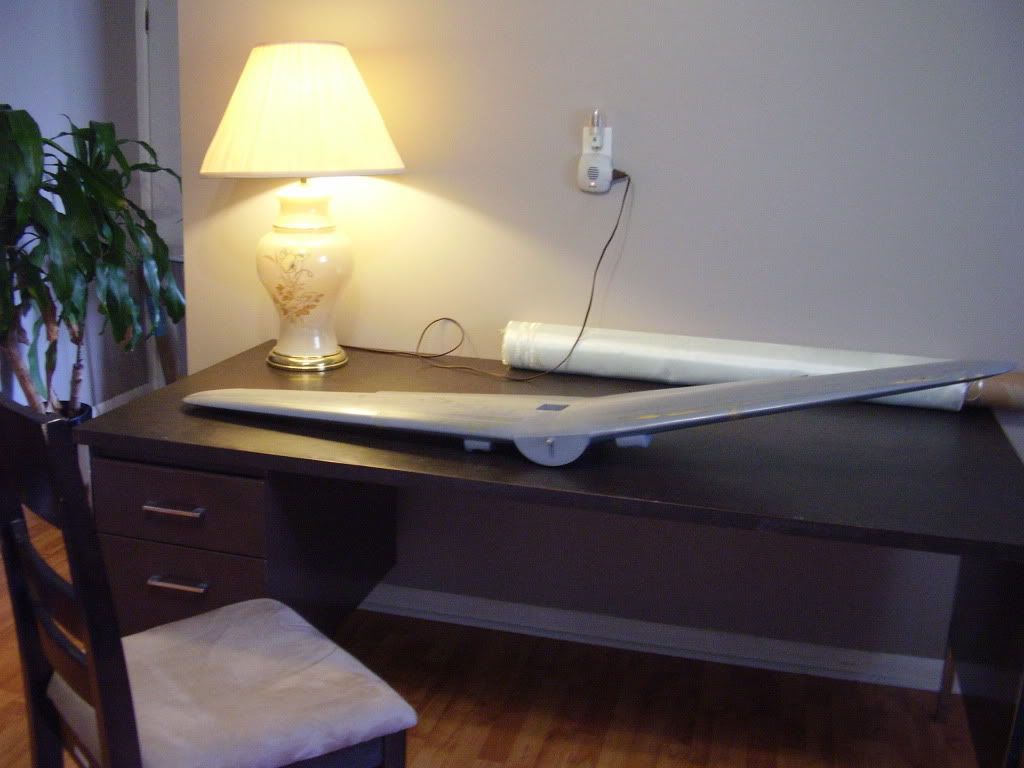 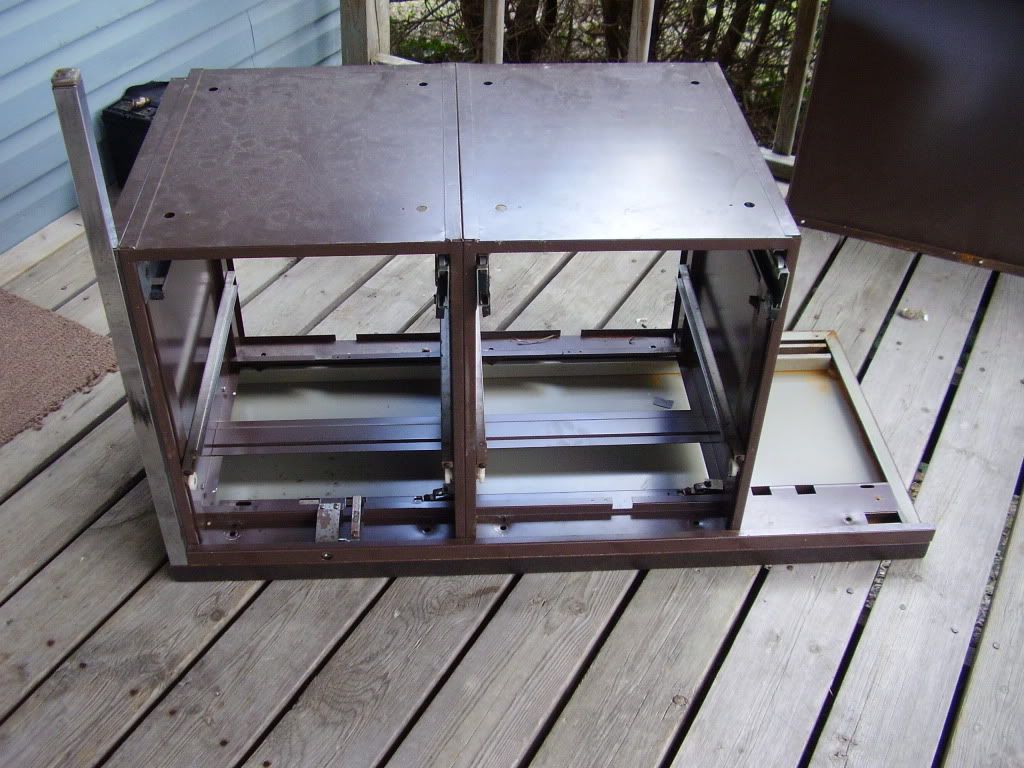 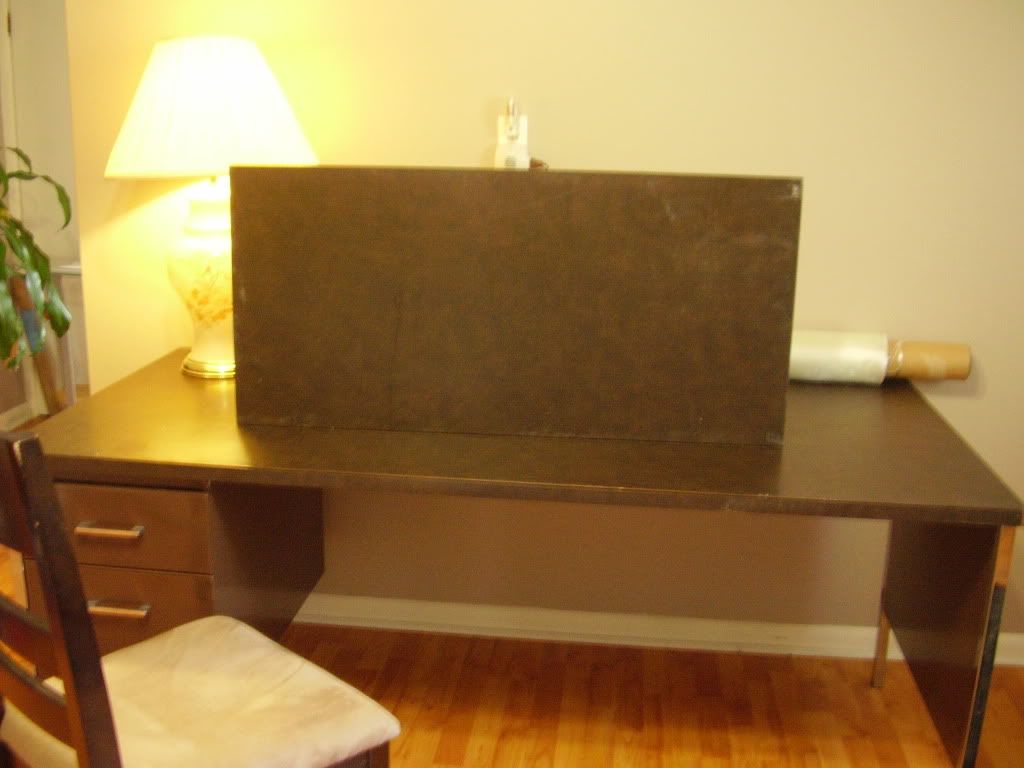 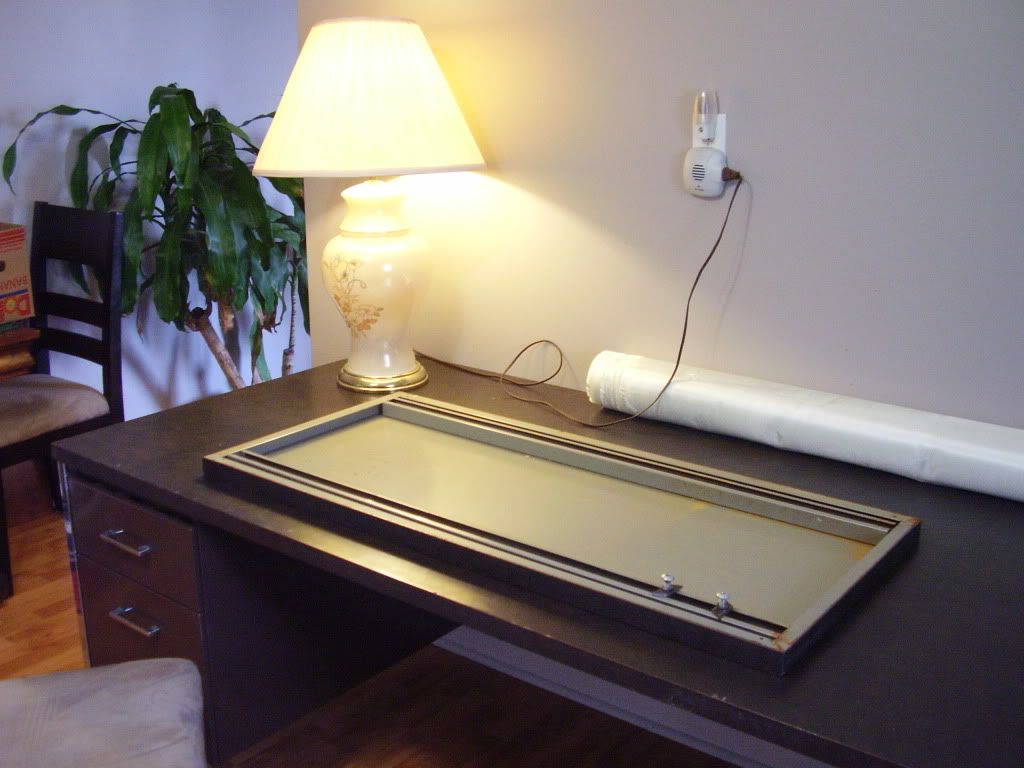 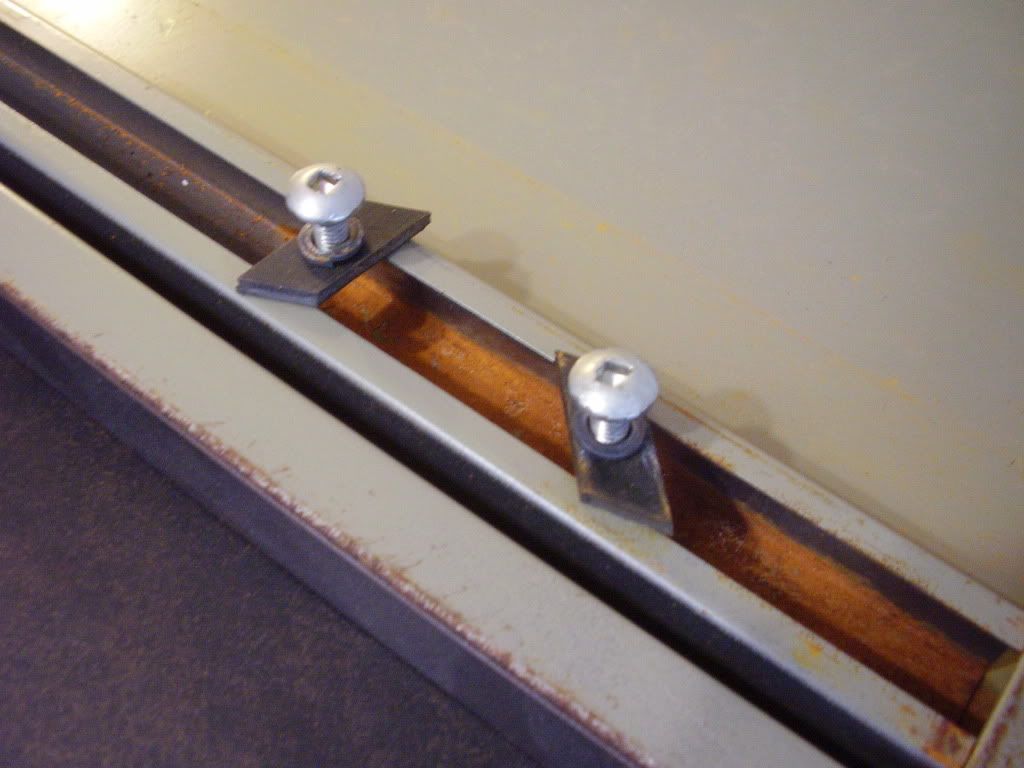   |
|
|
|
Post by b1heqh54 on Apr 25, 2011 13:13:47 GMT -5
I did some shopping this morning. I found a source for two interesting items only three doors down from my new apartment. Half-round wooden knobs for registration between mould sections. These were $0.22 each. Coroplast Sheet - this is a very interesting material... I will be using this material for parting planes. $1.39/sq/ft^2 is a little steep, but most of that charge was for the cutting service. It's just what they had ready to go; they thought they could custom cut me larger sections cheaper than what I picked up today. It has a nice smooth surface but there are undulations from the underlying internal structure. The ripple will provide some additional self-alignment in areas were a half-round registration key will not work. The more interesting property of this material is it's strength to weight ratio in terms of longitudinal shear and compression. Will I be using longer lengths of this to cut ribs and a spar shear web from rather than ply and balsa? There's a very good chance. 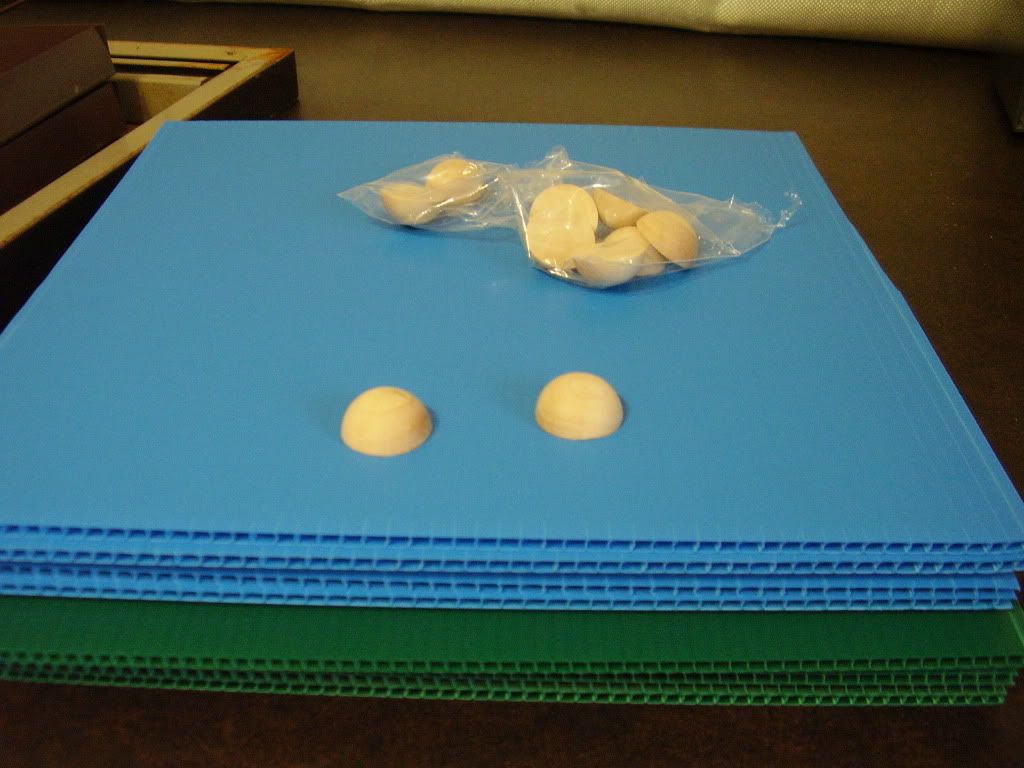 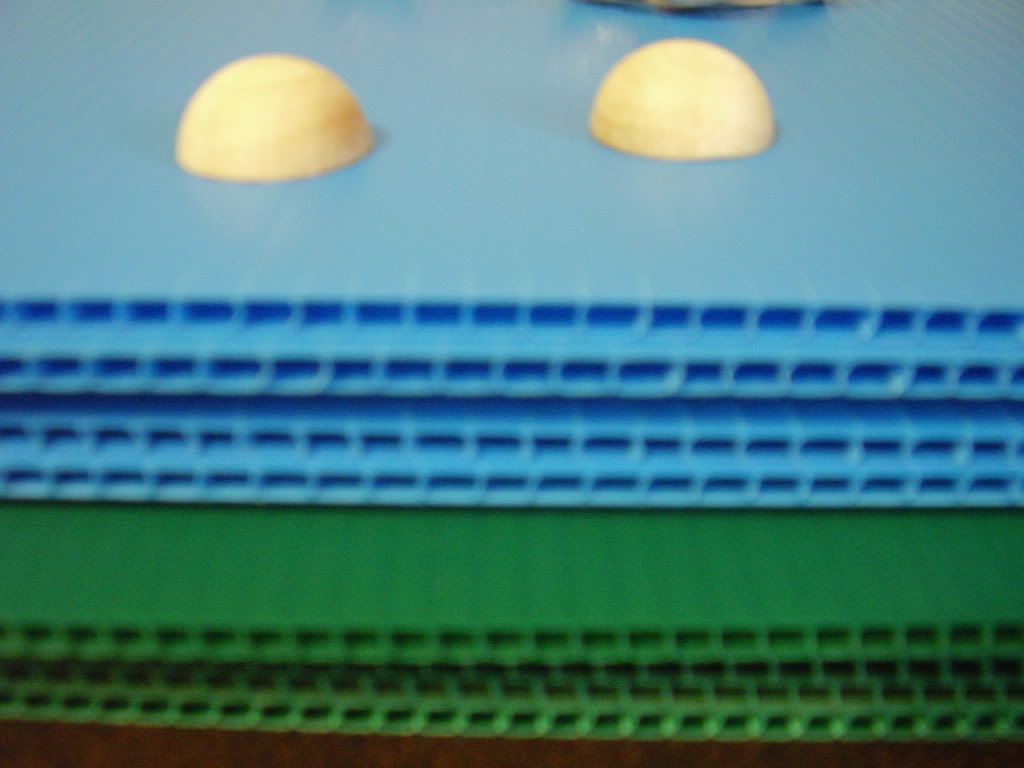 |
|
|
|
Post by b1heqh54 on Apr 25, 2011 14:29:34 GMT -5
Not to jump around too much, but I also found a heat source for my canopy mould. $10 on sale from $50 - wow I think this thing should work great. I read a few reviews and they were all outstanding. (sometimes I'm a little leary about this particular brand name...) I thought about making up an elaborate heating station, but frankly, I don't think I could've done any better for the cost. 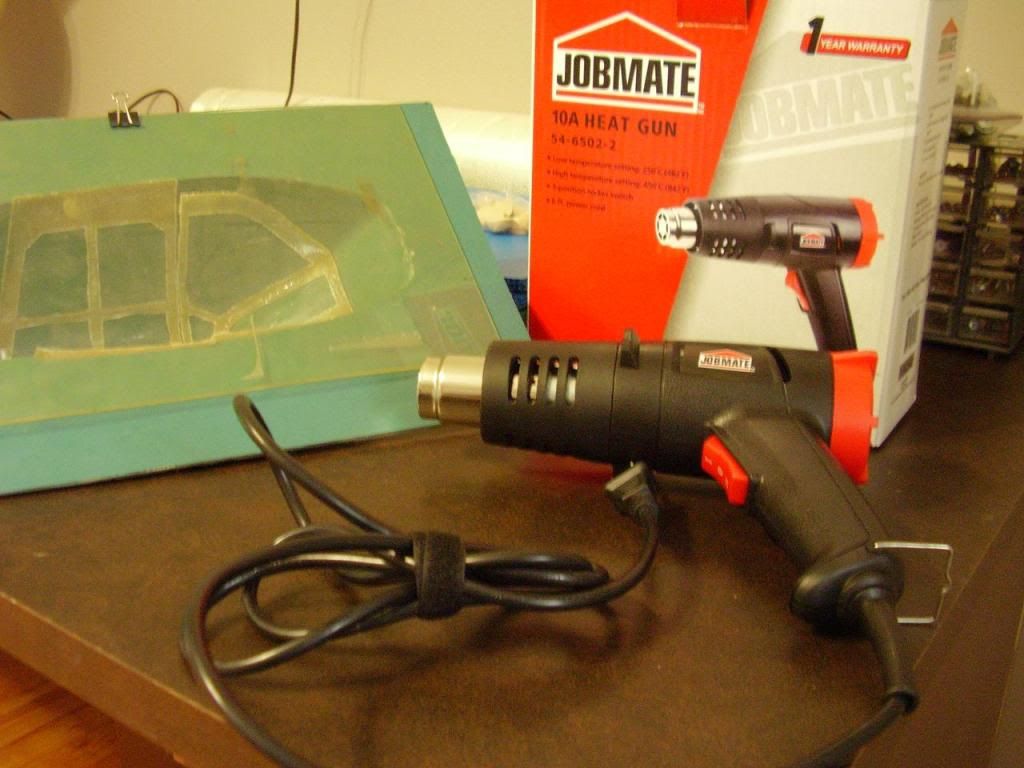  |
|
|
|
Post by b1heqh54 on Apr 28, 2011 9:19:46 GMT -5
It's a fine line and I'm not sure which side this one comes down on....lol At least I should be able to sit in my chair rather than standing bent over for hours while I make up this leading edge section. (I never claimed to be a carpenter....) 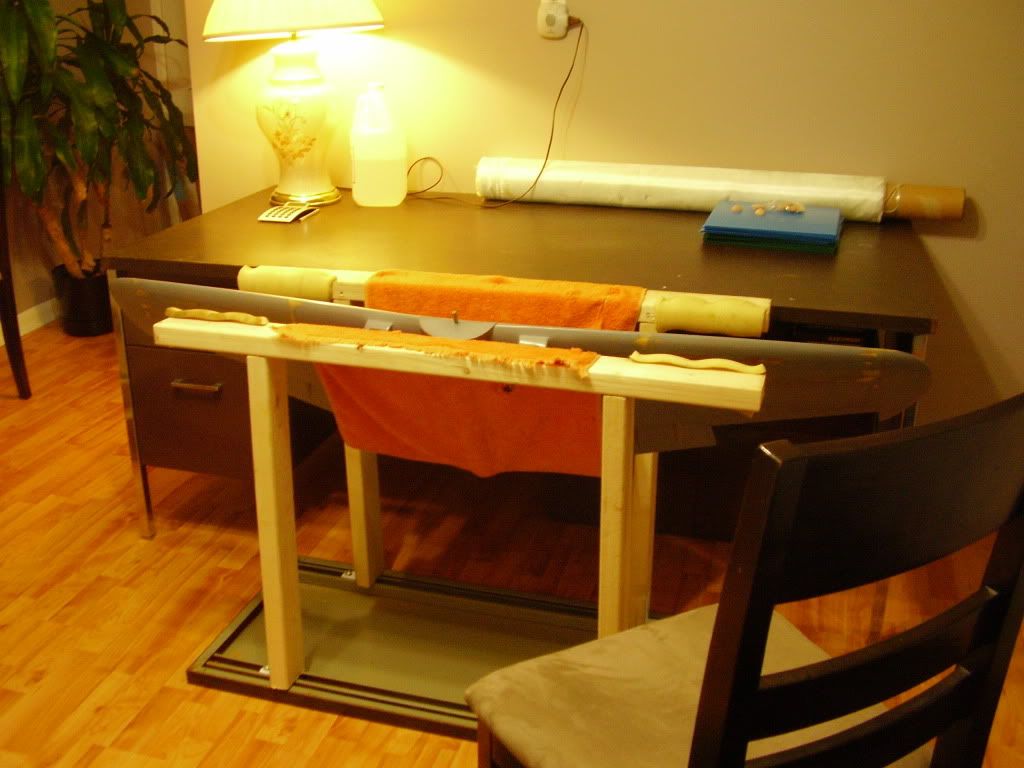 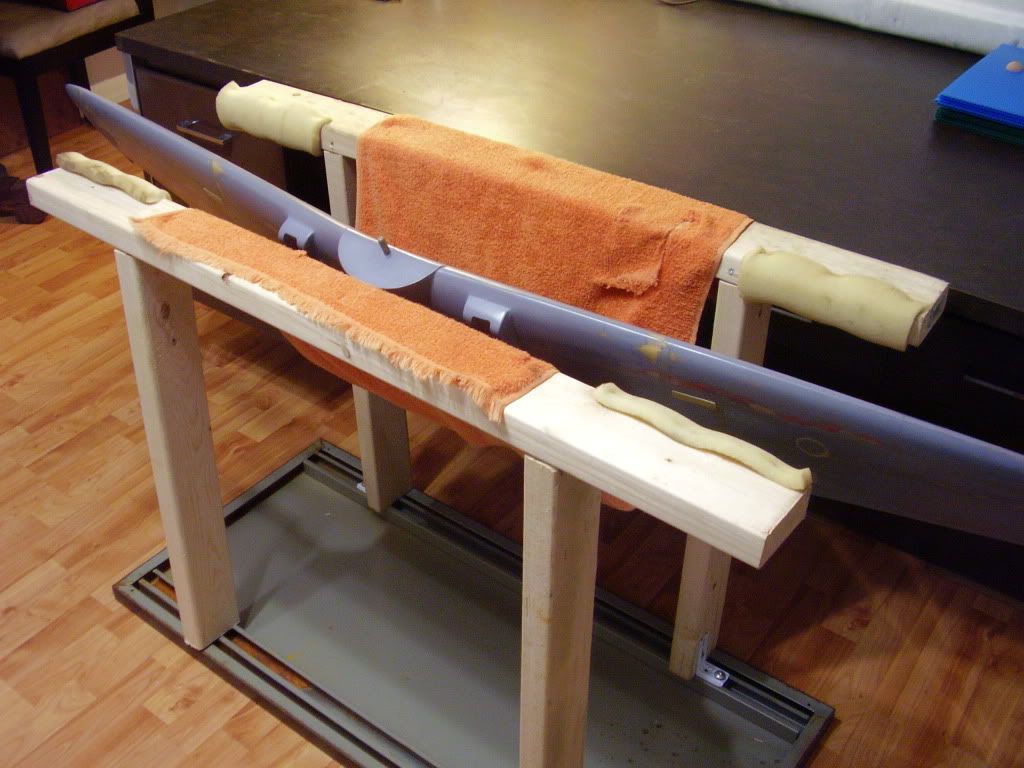 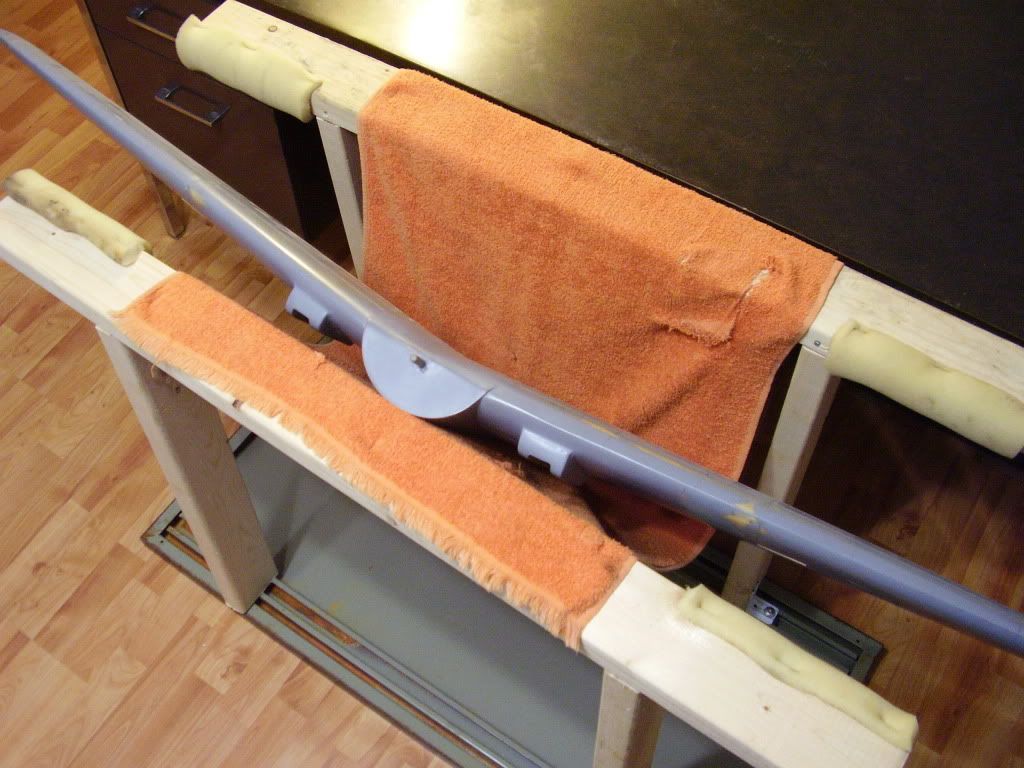 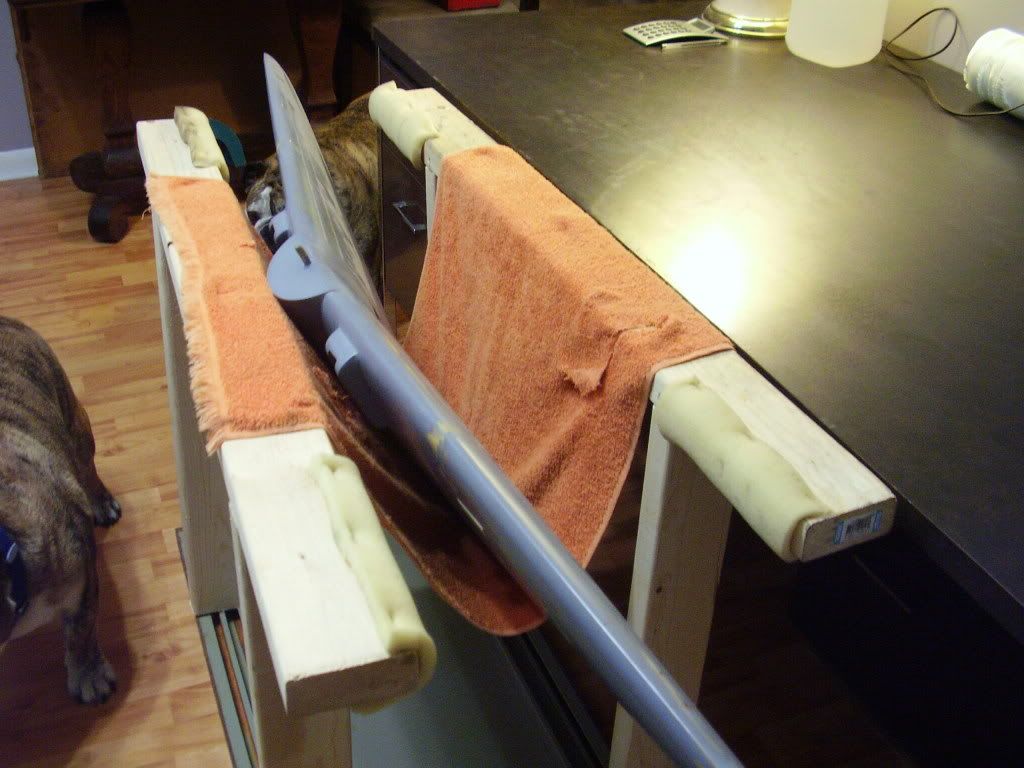 |
|